How do I change the look and feel of my Readycade?
There are many variations on how you can change the look and feel of the GUI / Front End, but as a starting point to show you what you can do, I will show you how to set up the Front End and Screen Scrapes (Media) below
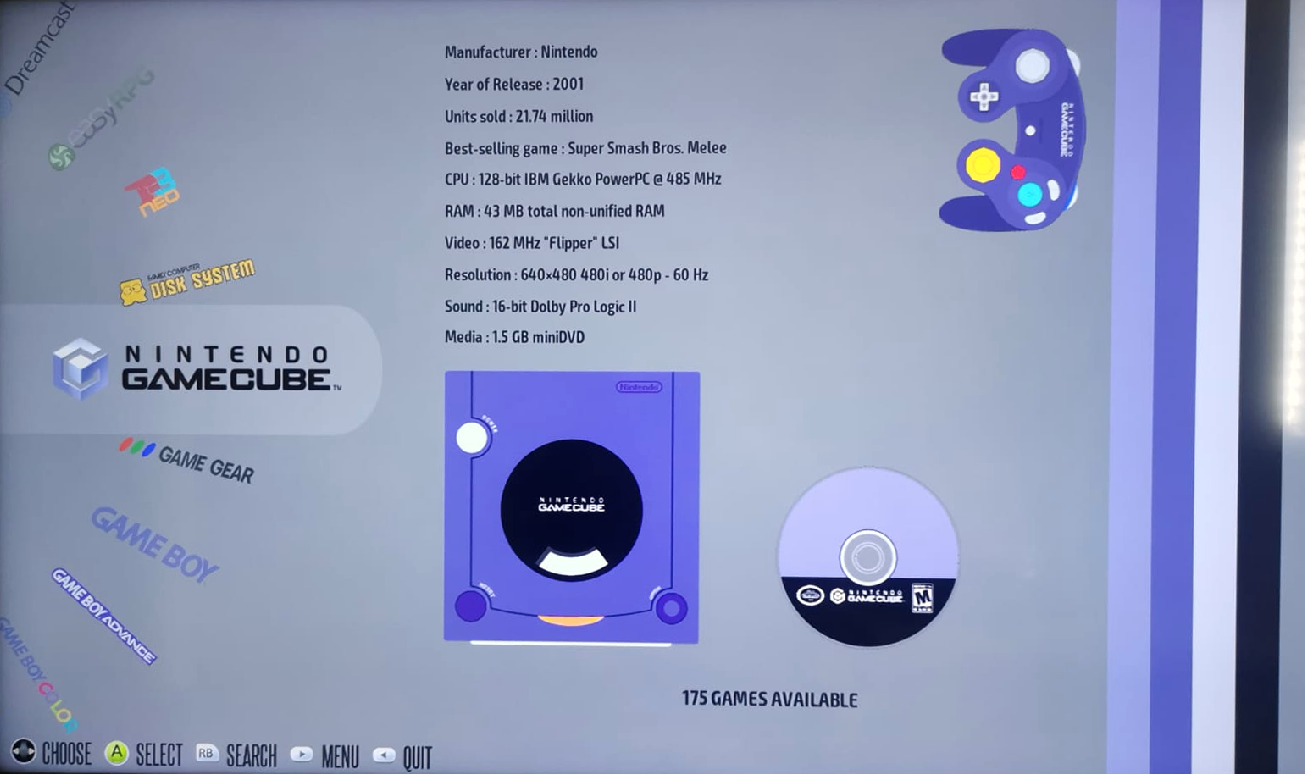
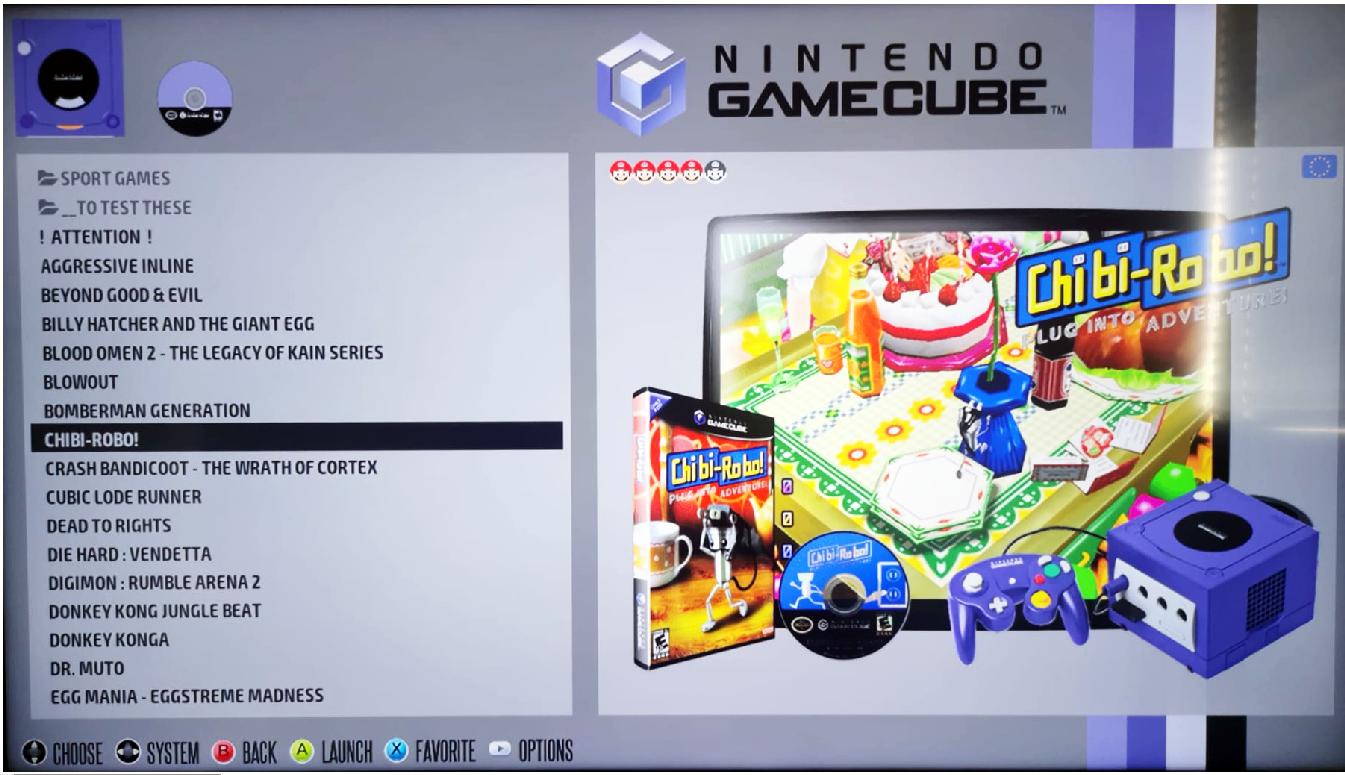
Above is a typical setup with the wheel, and a large image from your scrape
The following shows you how to achieve this, but by seeing the other options available, you can experiment to suit yourself:
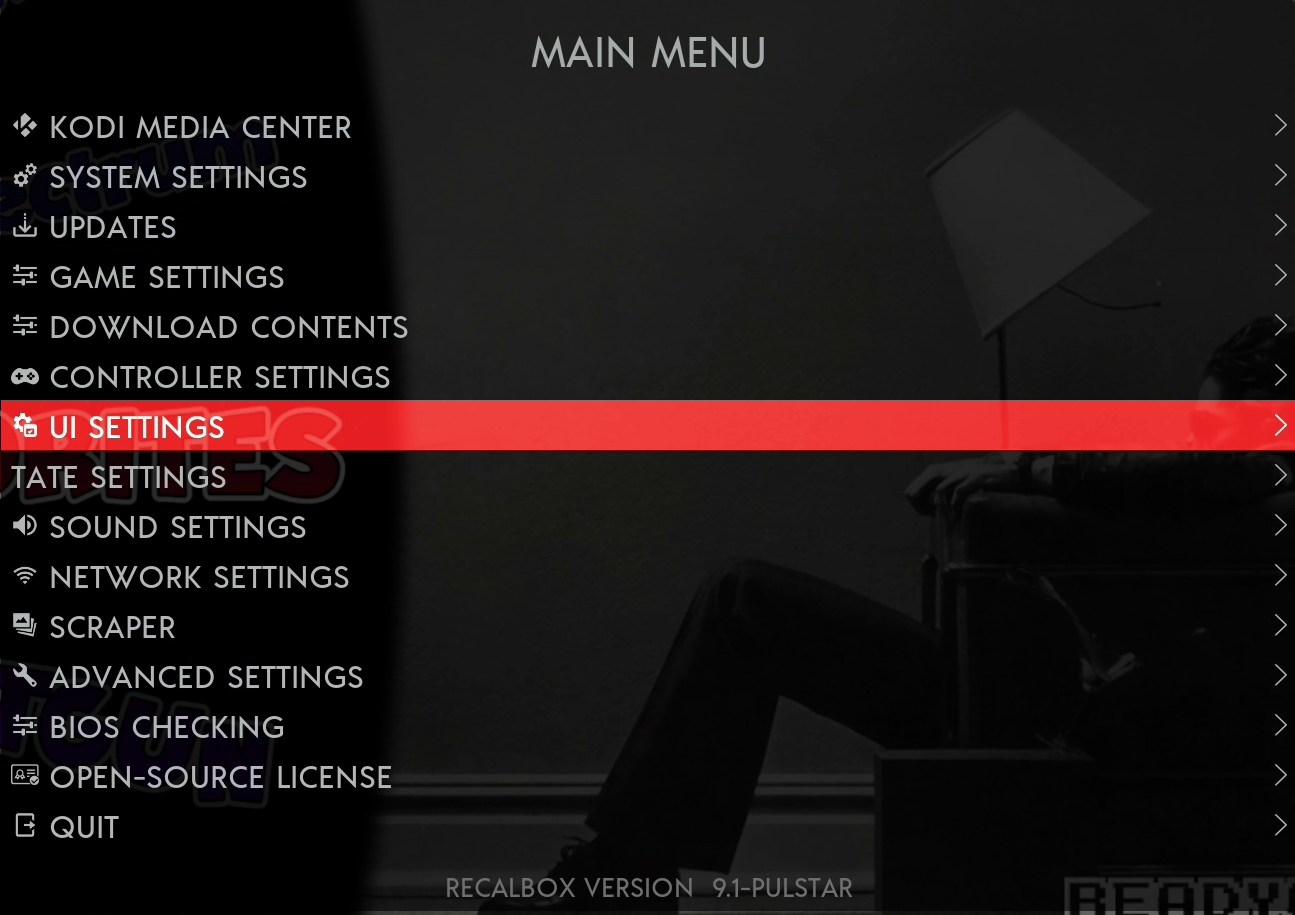
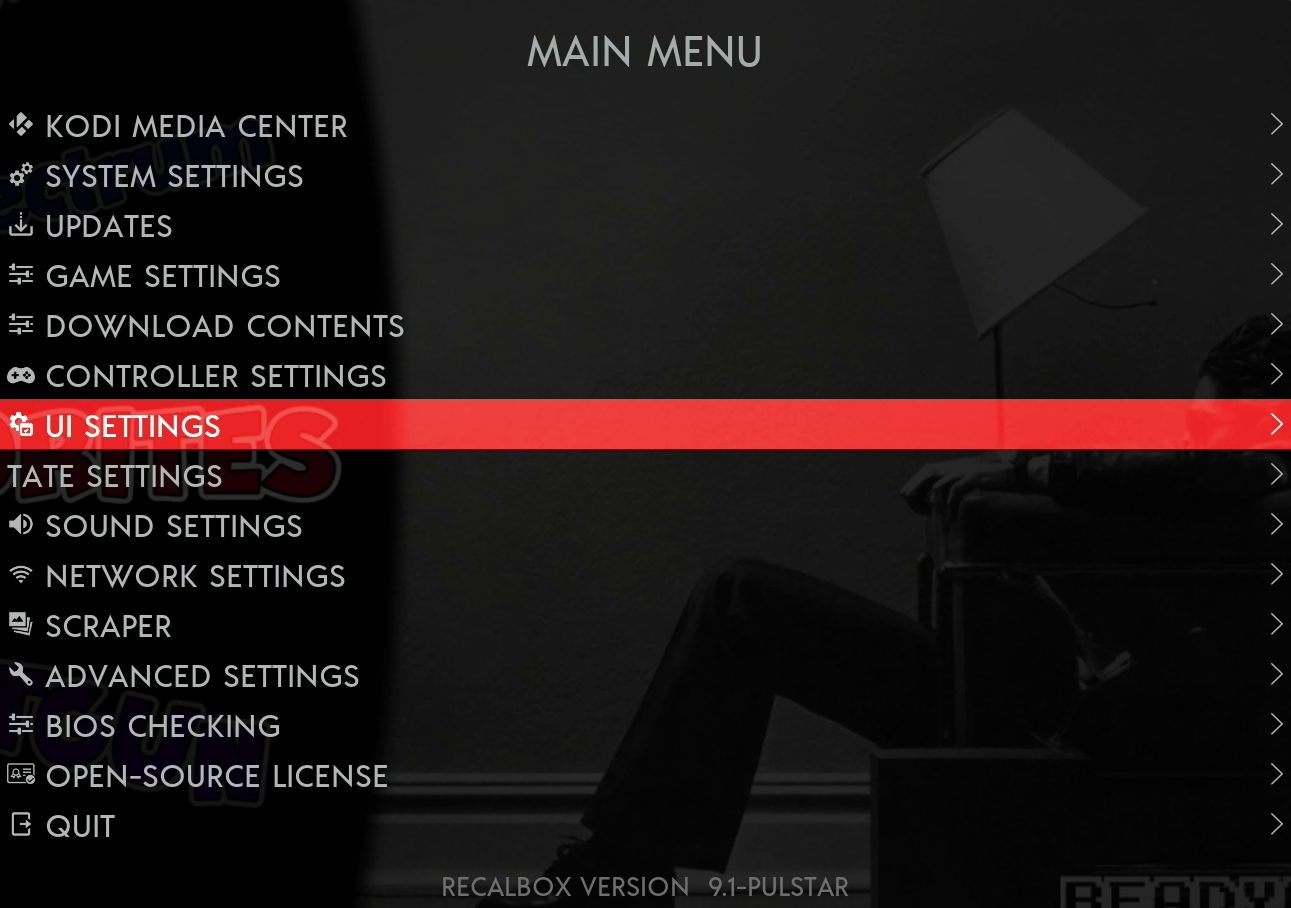
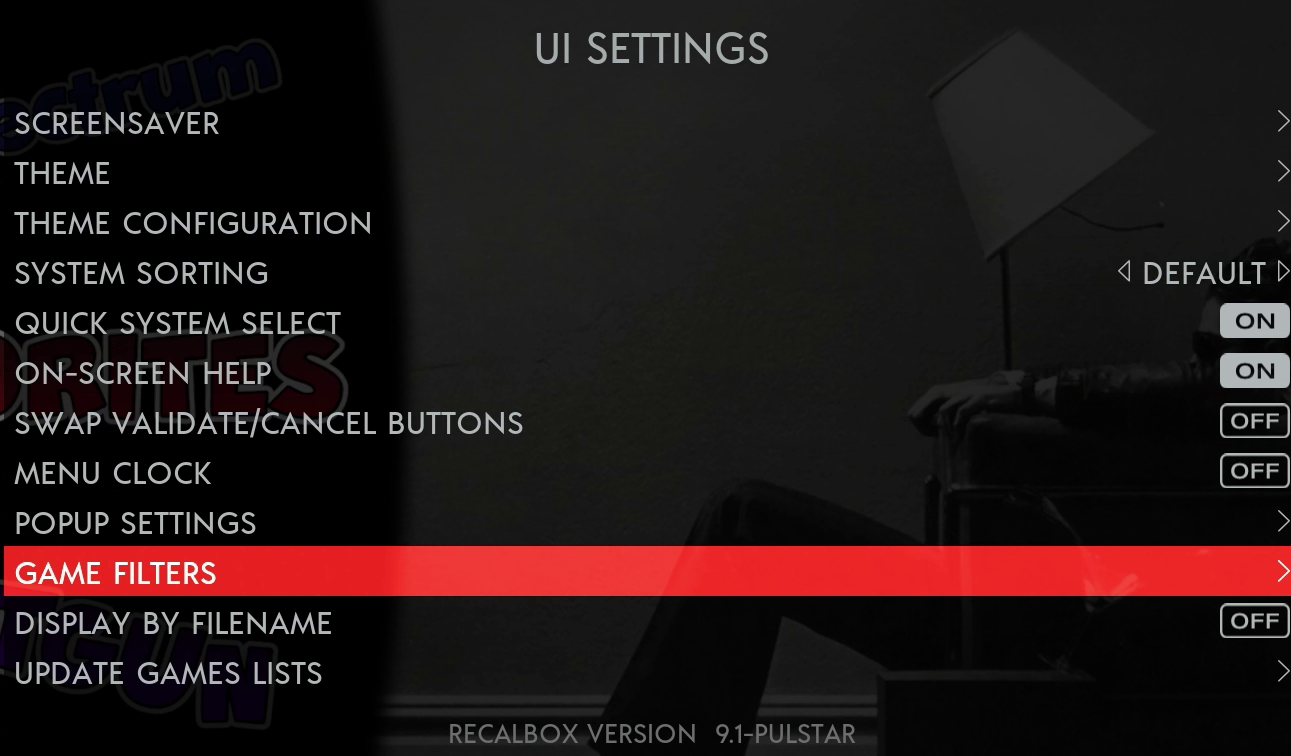
PRESS START then go to UI SETTINGS
then THEME CONFIGURATION
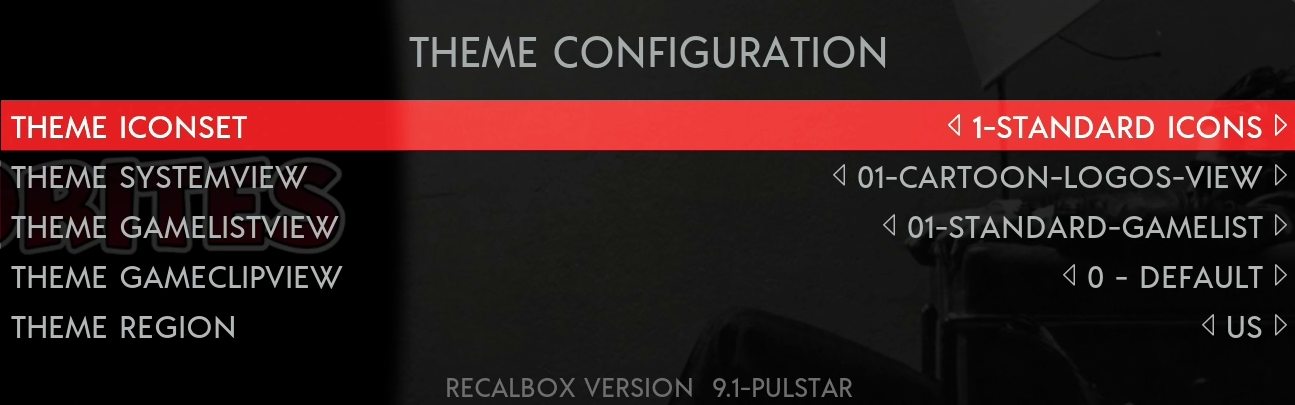
Theme Iconset = 1-Standard Icons Theme Systemview =01-Cartoon-Logos-View Theme Gamelistview = 01-Standard-Gamelist Theme Region = US
Then GO BACK and let Emulation Station restart, and you will see your new layout
Scraping / Adding Media to Games
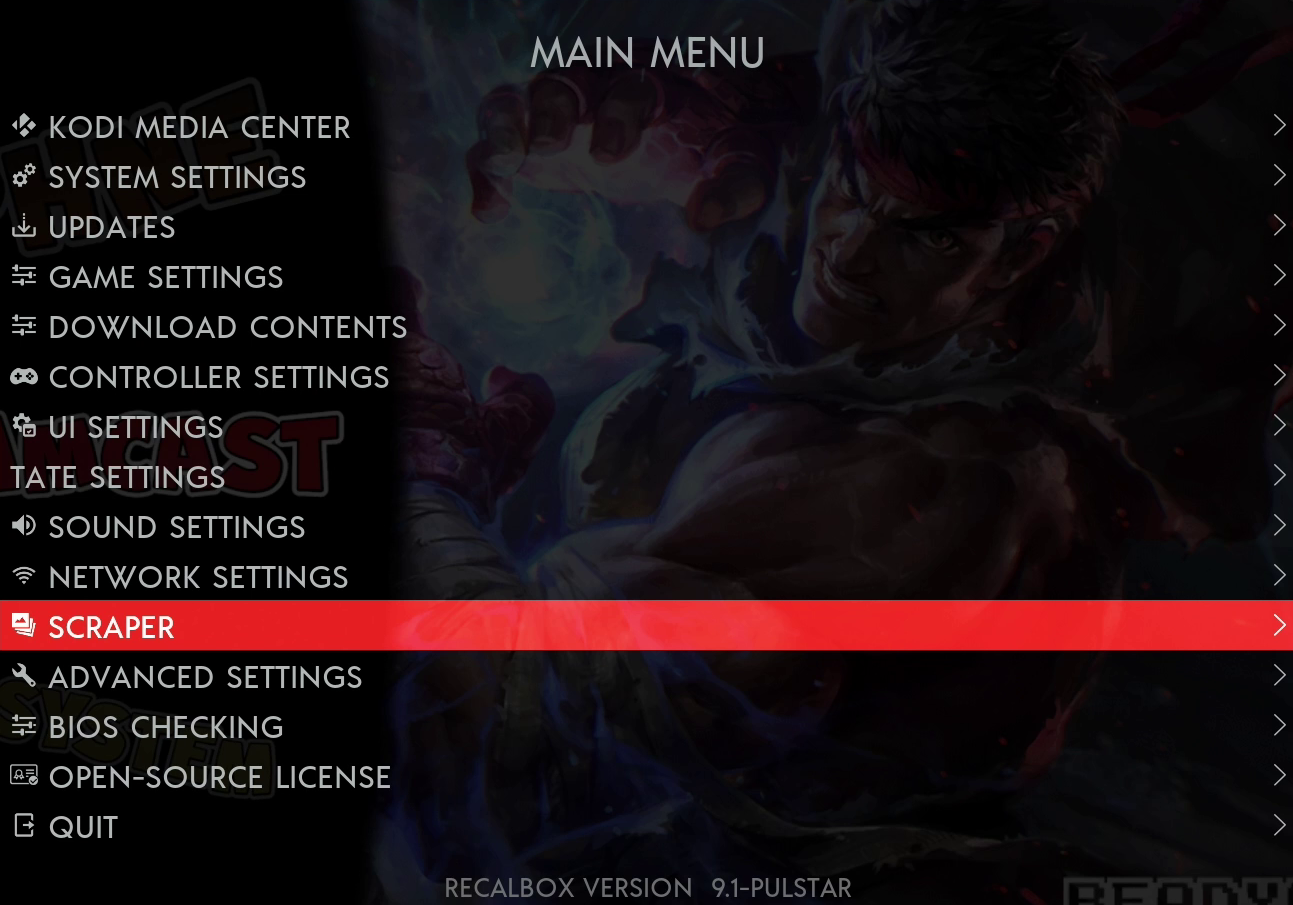
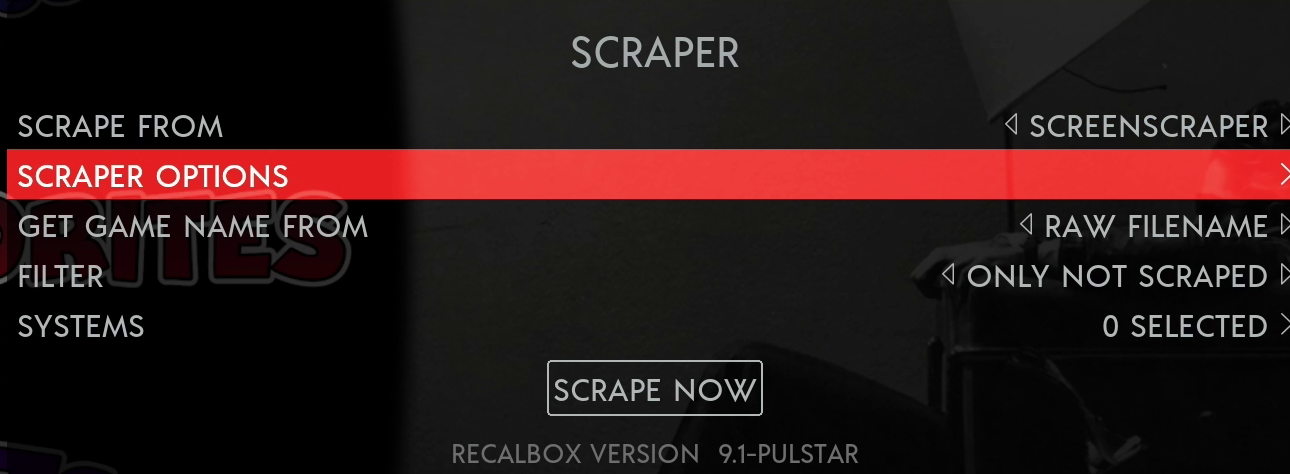
Press start and select SCRAPER
GET GAME NAME FROM can be either: RAW FILENAME UNDECORATED FILENAME OR SCRAPER RESULTS
We recommend you try ALL THREE if the scraper doesn’t provide results
Screenscraper.fr is where you are scraping from
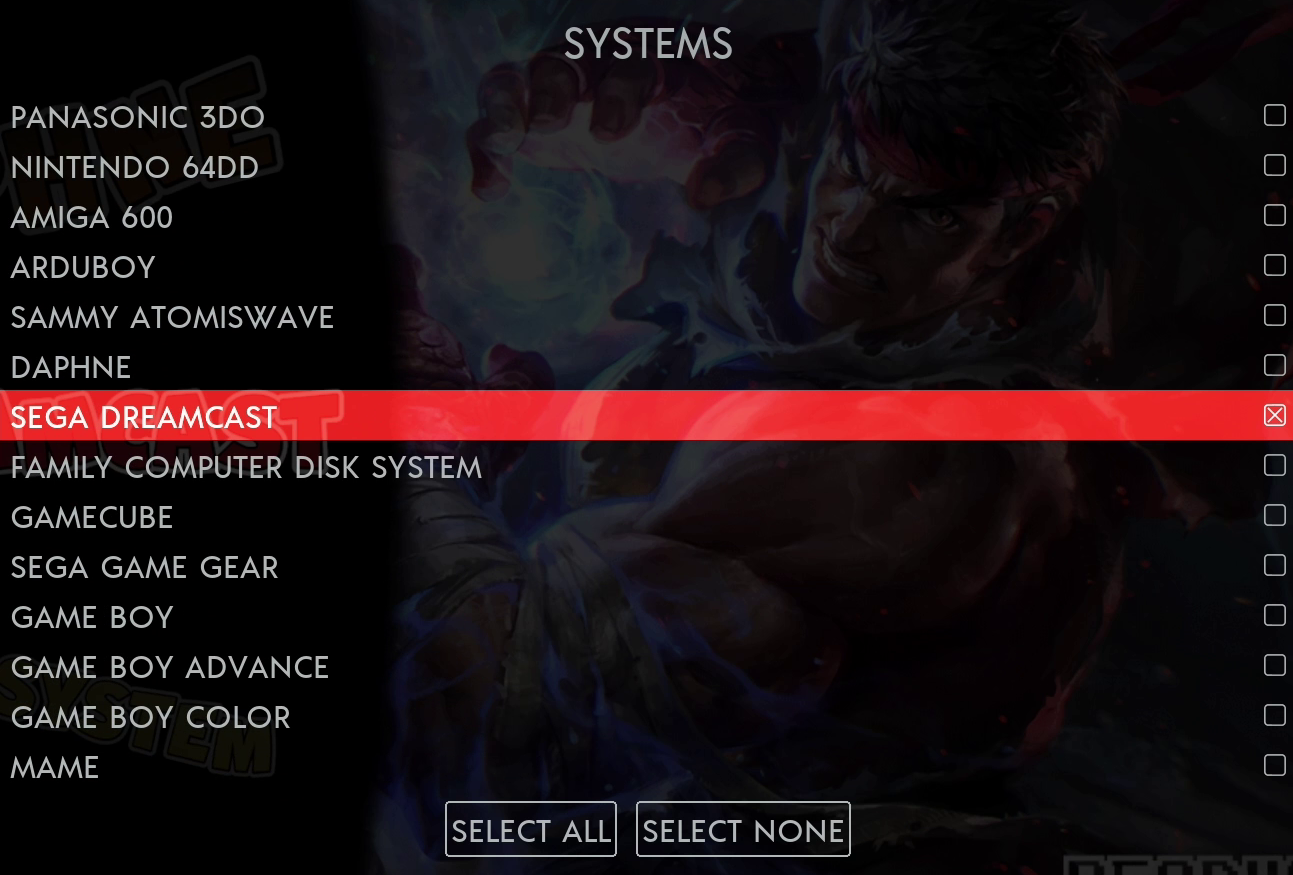
SELECT your consoles / systems you wish to scrape
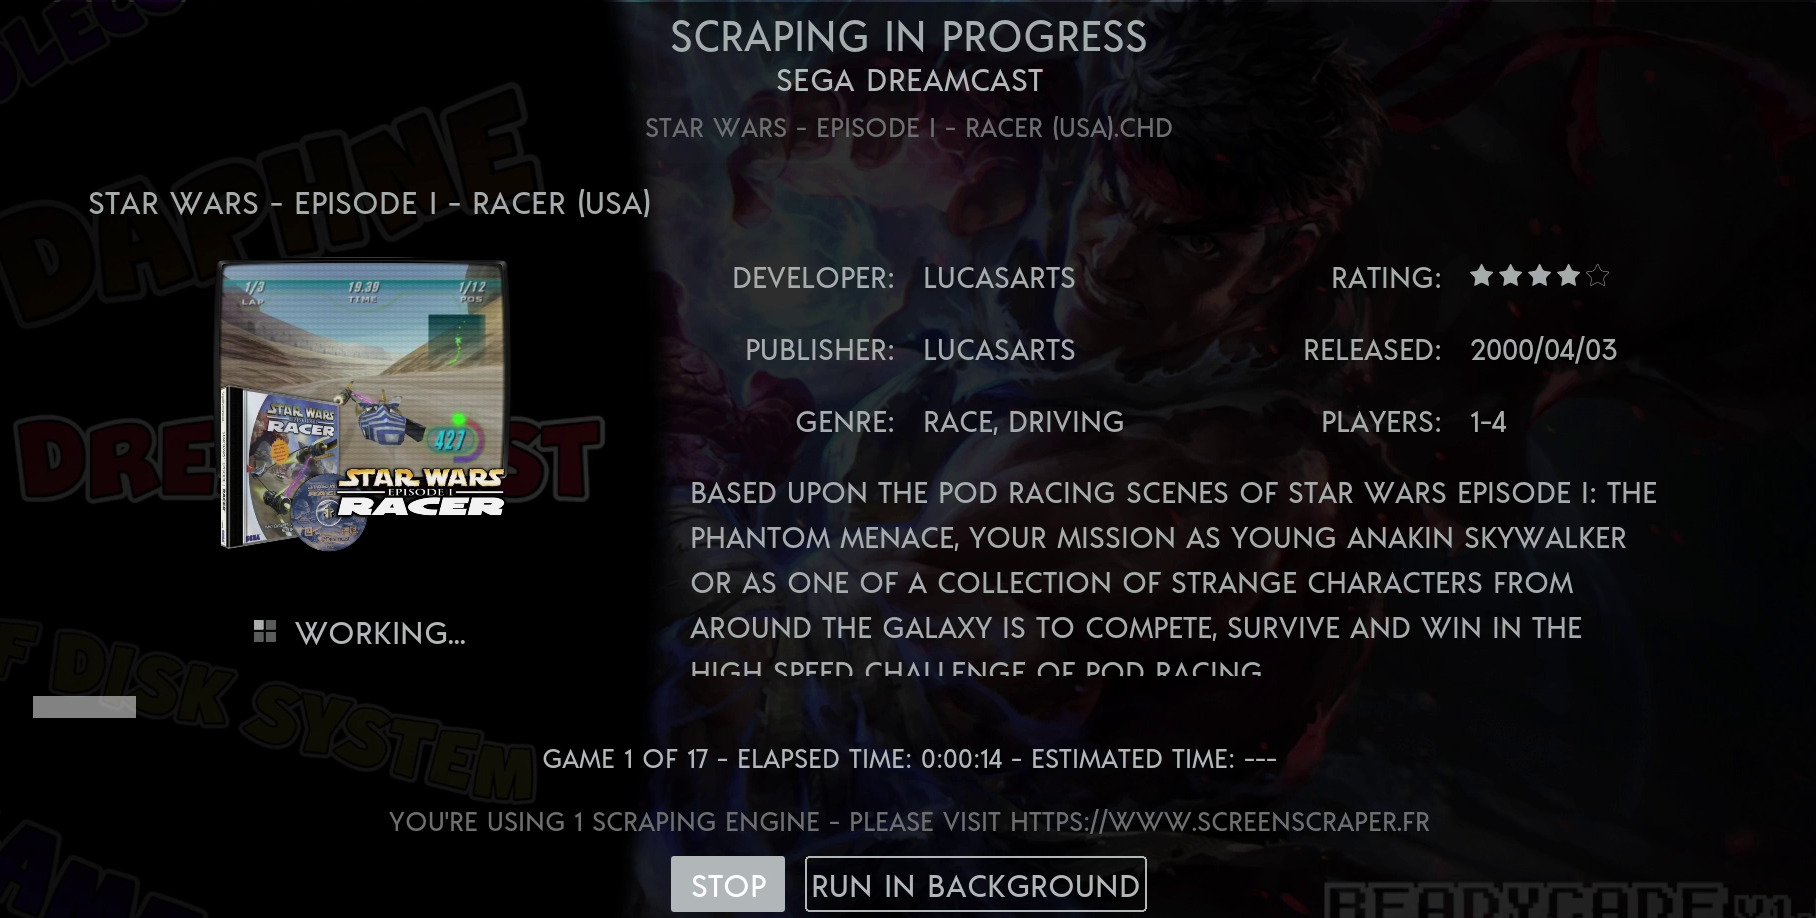
GO BACK and select SCRAPE NOW
Depending on the Scraping Options you selected this could take a long time
Our Pre-Scraped Media Packs install in MINUTES not HOURS
By letting you Scrape with Readycade Default Options selected, your Readycade will be up and running in the shortest amount of time
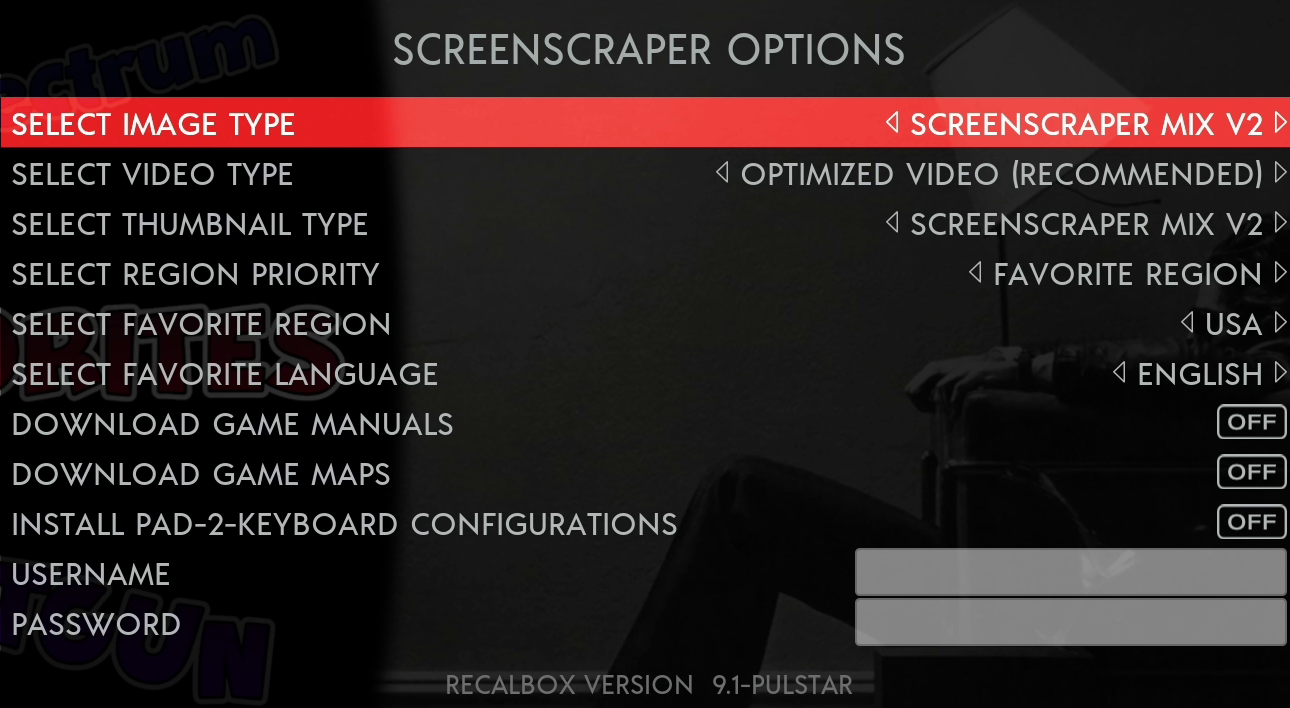
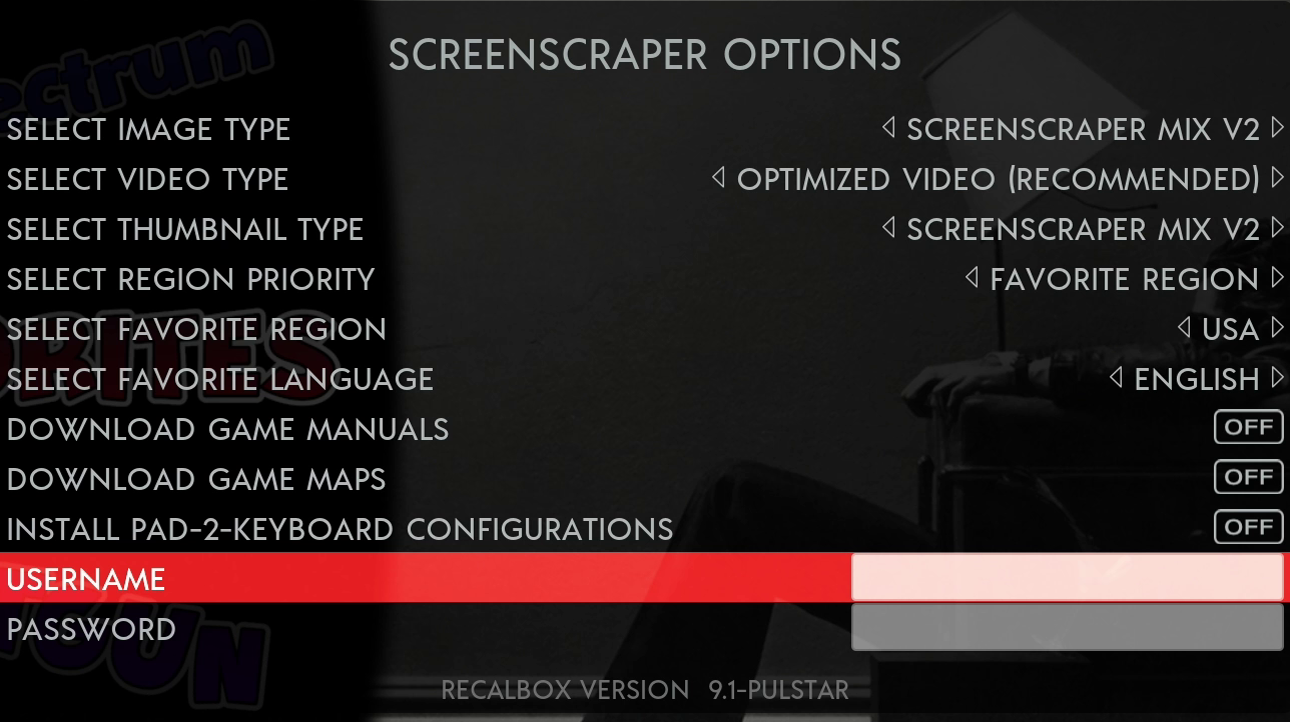
Scraping Options
Press start and select SCRAPER
Select SCRAPER OPTIONS
Below are the Readycade Default Scraper Options
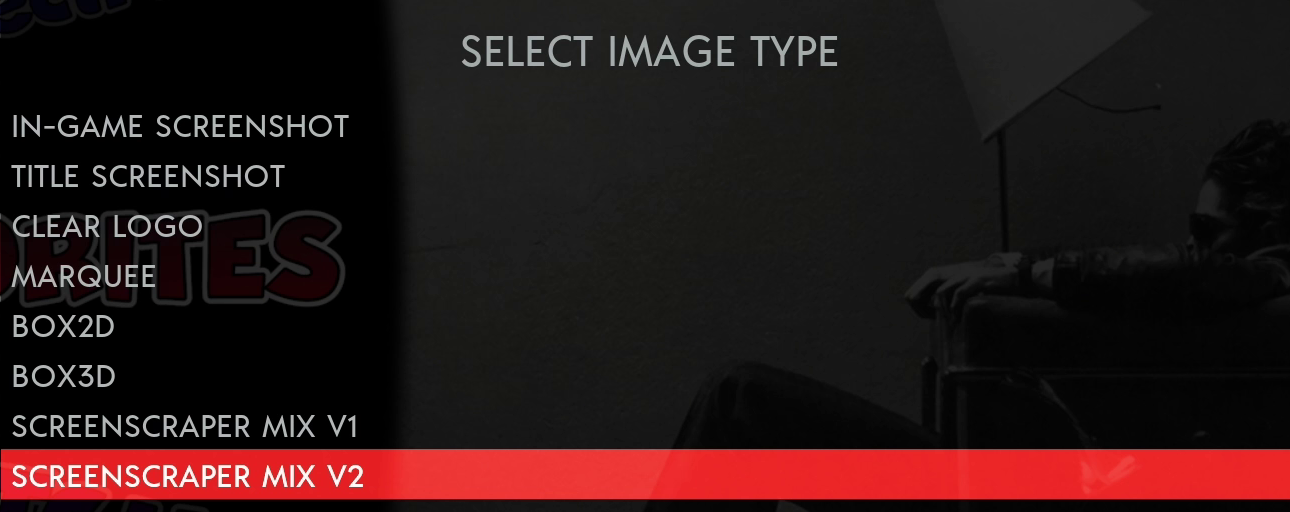
Select from Various IMAGE TYPES
IN-GAME SCREENSHOT TITLE SCREENSHOT CLEAR LOGO MARQUEE BOX2D BOX3D SCREENSCRAPER MIX V1 SCREENSCRAPER MIX V2 (RECOMMENDED)
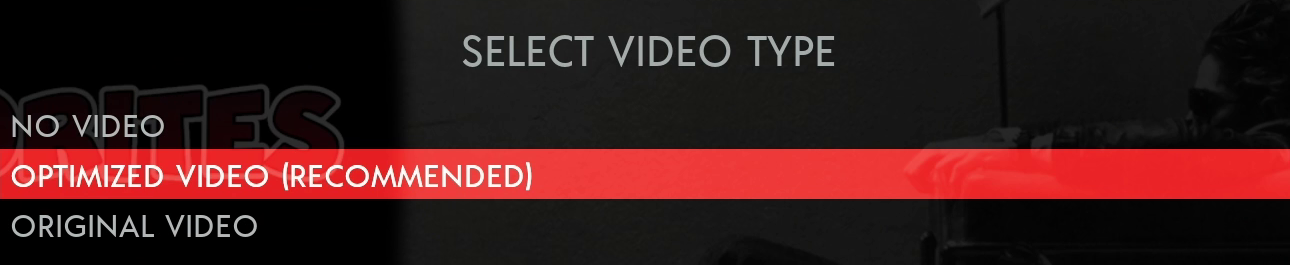
Select from 2 VIDEO TYPES
NO VIDEO OPTIMIZED VIDEO (RECOMMENDED) ORIGINAL VIDEO
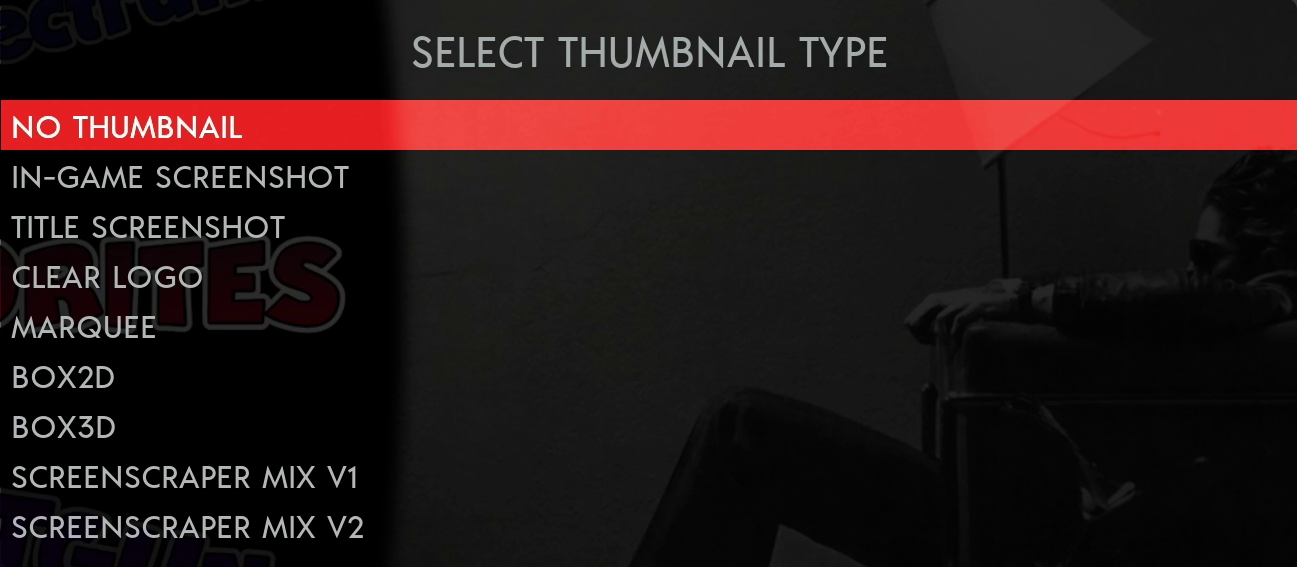
Select from Various THUMBNAIL TYPES
NO THUMBNAIL (RECOMMENDED) IN-GAME SCREENSHOT TITLE SCREENSHOT CLEAR LOGO MARQUEE BOX2D BOX3D SCREENSCRAPER MIX V1 SCREENSCRAPER MIX V2
Making an account will allow you to scrape more times per day
Unregistered users will be limited in how much they can scrape in a day
**This is also another reason to use our pre-scraped Media Packs**
Changing the default emulator for a console or system
We have made these changes already for you, however you can change them if you wish
Reasons to do this:
If you have a lot of games that don’t boot in a console or system
For example, many N64 games that do not load with the default N64 emulator core, and almost none of the N64 modded Mario 64 games load either
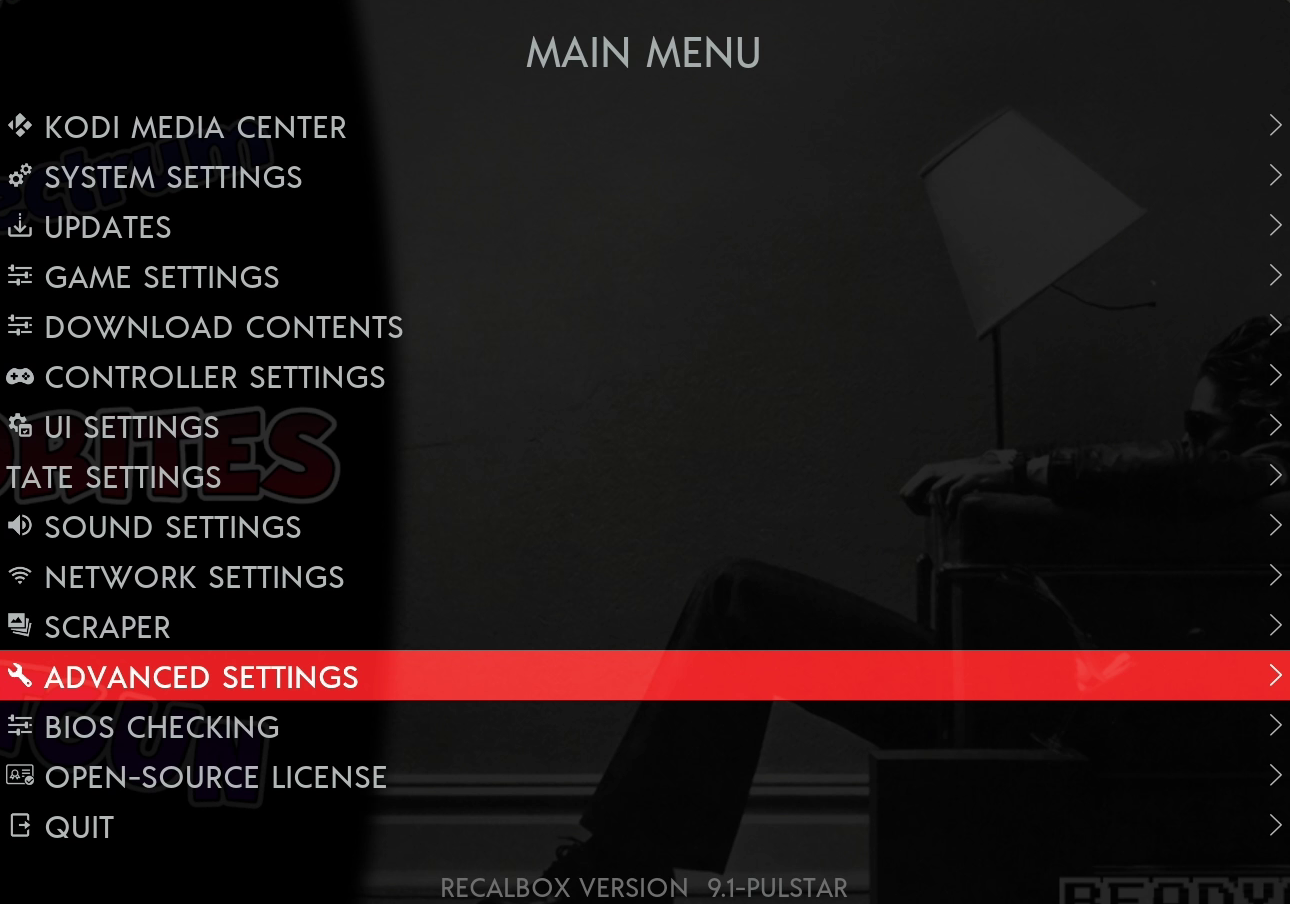
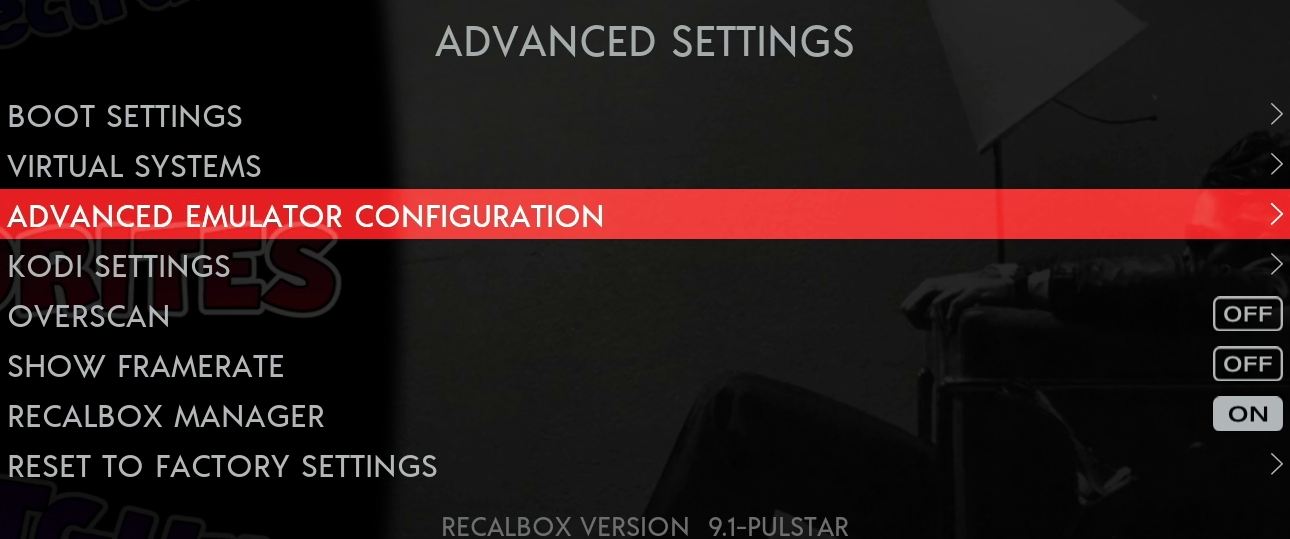
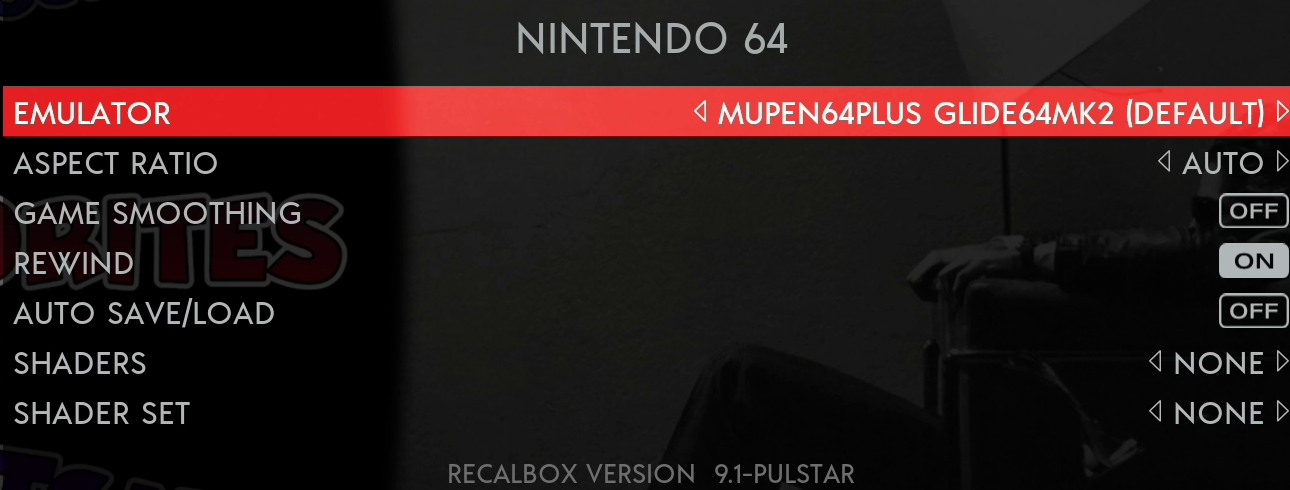
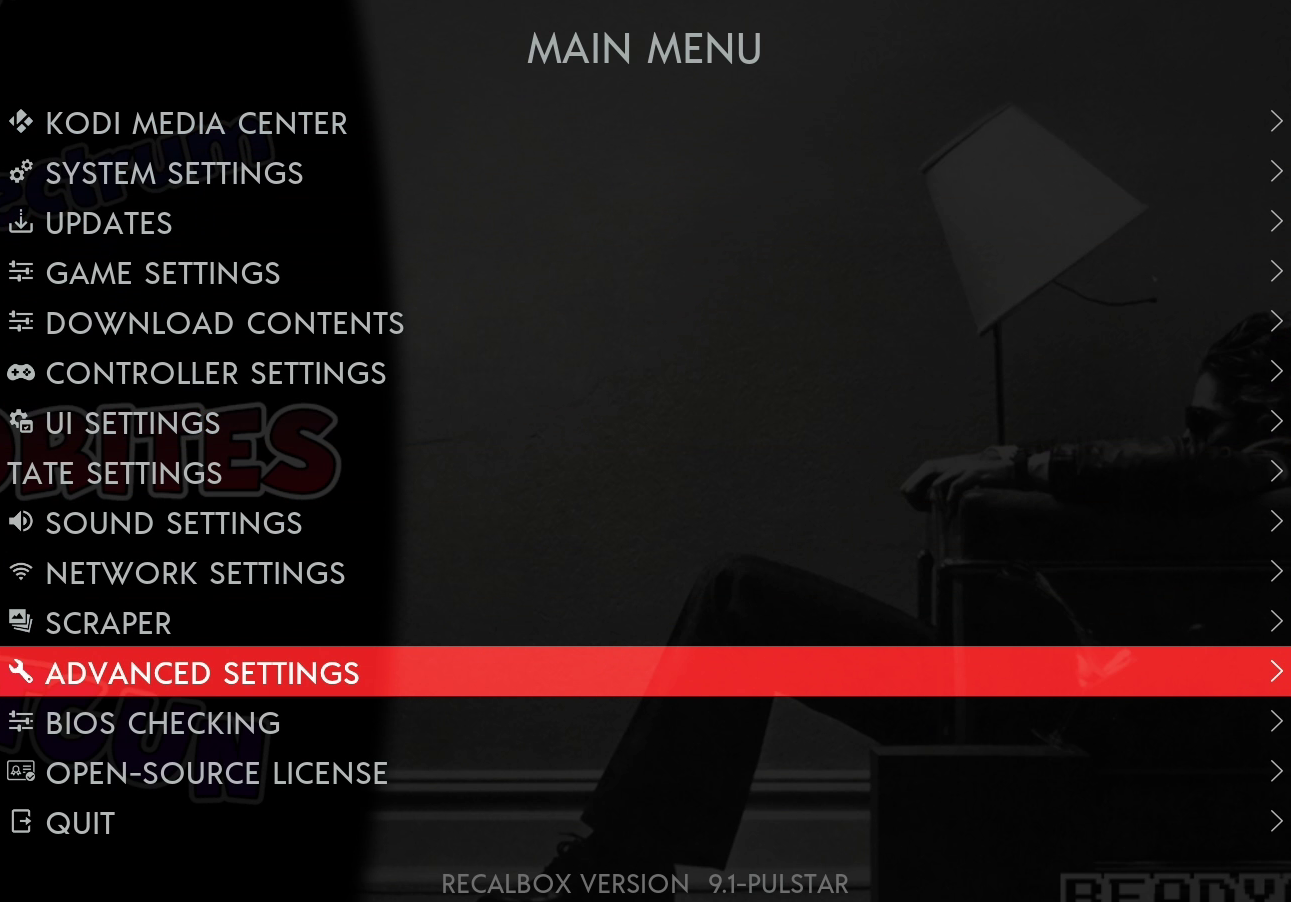
Press START, then ADVANCED SETTINGS
then ADVANCED EMULATOR CONFIGURATION
SELECT the console or system to change
In this example, Nintendo 64
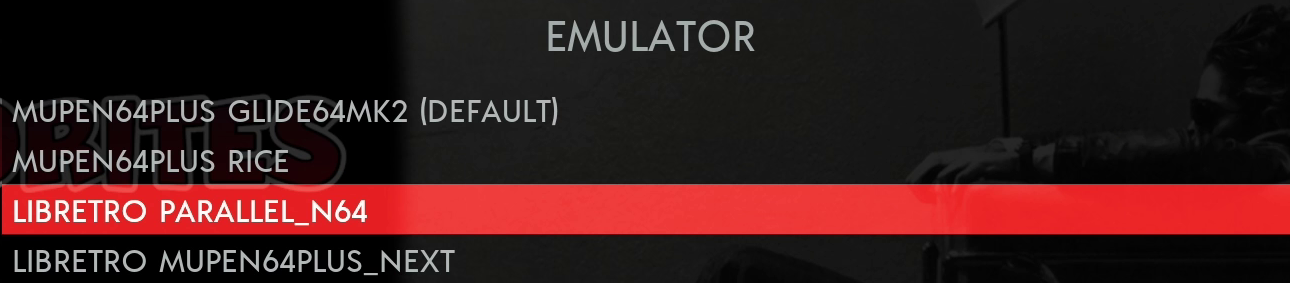
At “Emulator”, CHANGE this to LIBRETO PARALLEL_N64 This means ALL Nintendo 64 games will attempt to use this core
Another Example would be changing Playstation’s Swanstation to Duckstation
None of my NeoGeo CD Games Load
Maybe I’m unlucky with my romset, but not one of my NeoGeoCD games load
Use the instructions listed above at “Changing the default emulator for a console or system”, and change the default emulator from “LIBRETO FBNEO to LIBRETO NEOCD
Your games should now ALL run
Just remember that on the “CD Player” screen, you need to press START to load the game
Some of my ZX Spectrum games don't load - are they bad rips?
No, they are possibly fine.
The default emulator option for the ZX Spectrum on Recalbox is 128k Mode, which obviously covers all the Spectrum variants, but, quite a few 48k games had code that called specific ROM addresses on the 48k machines, which were no longer there when the 128k variants came out
The link below explains it in far more detail if you are a little more technical
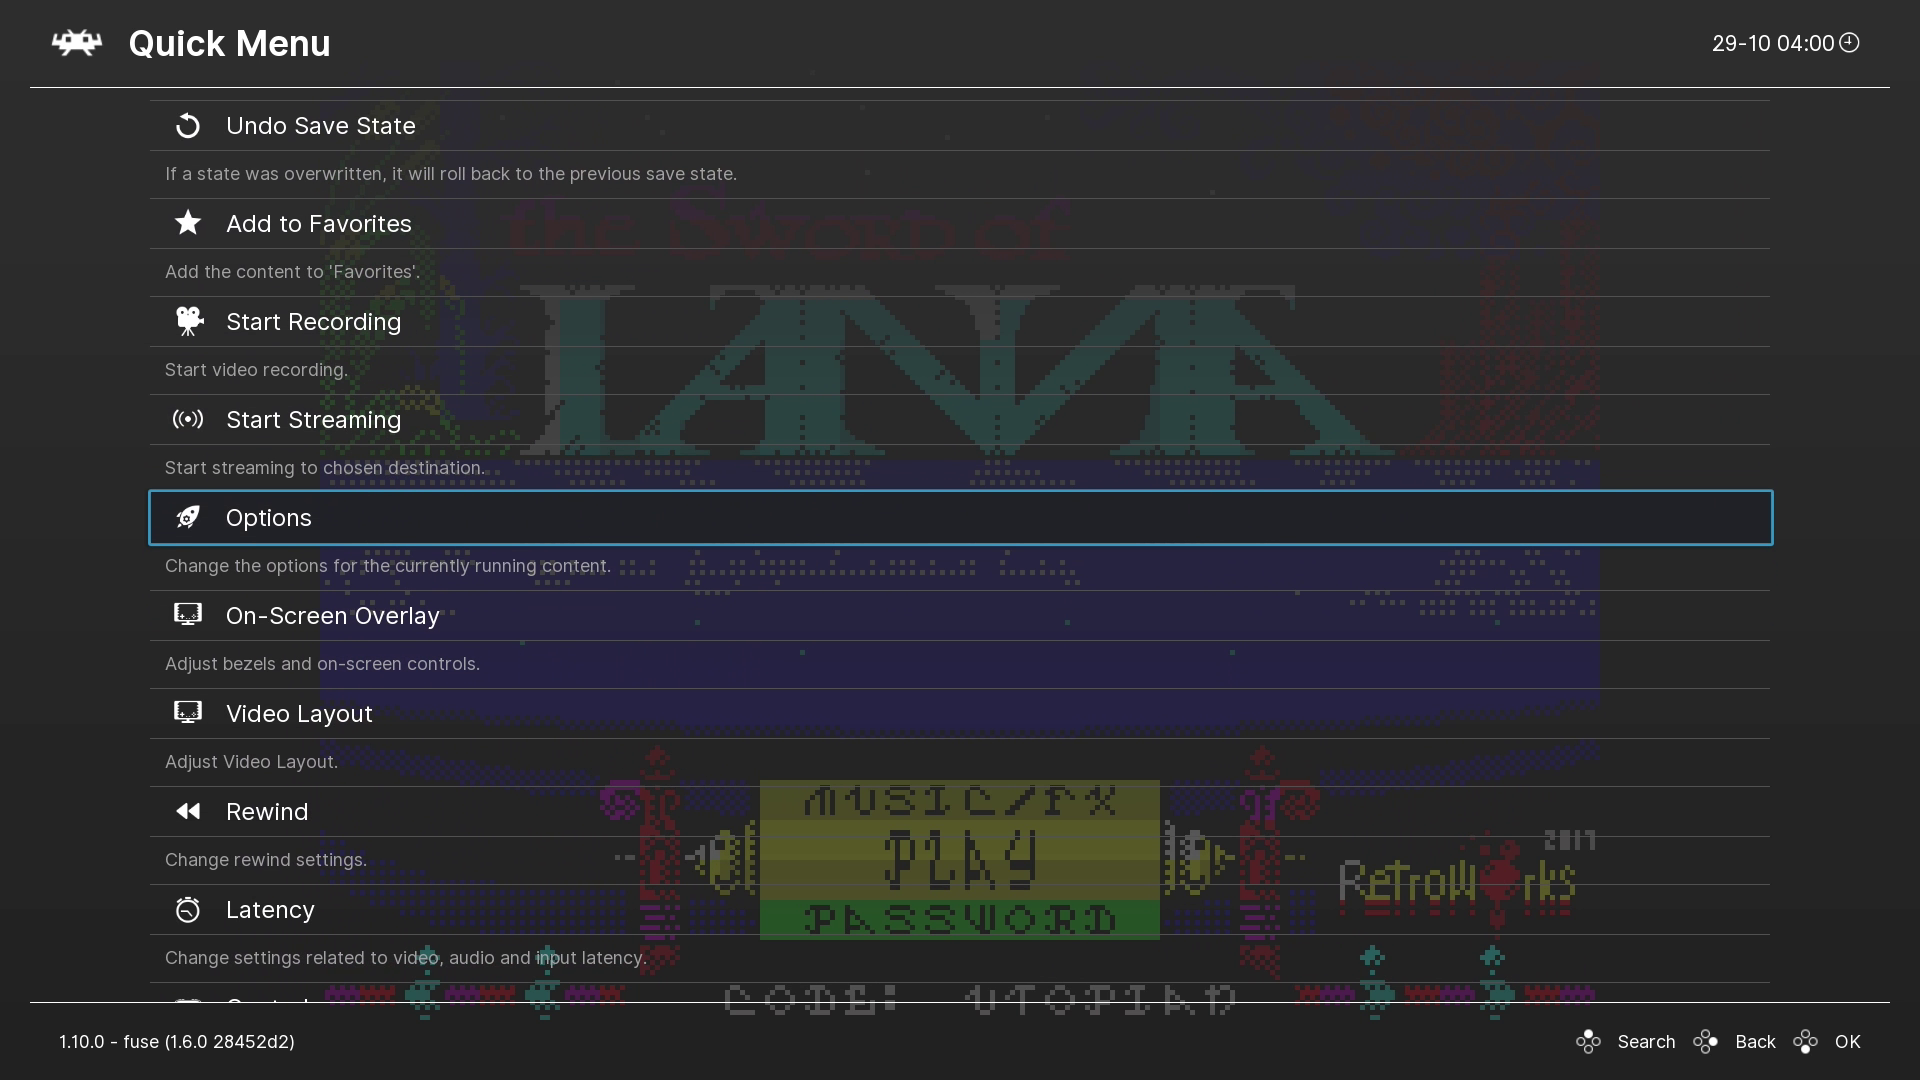
ENTER Retroarch options using Hotkey+A or Hotkey+B
Scroll down to OPTIONS
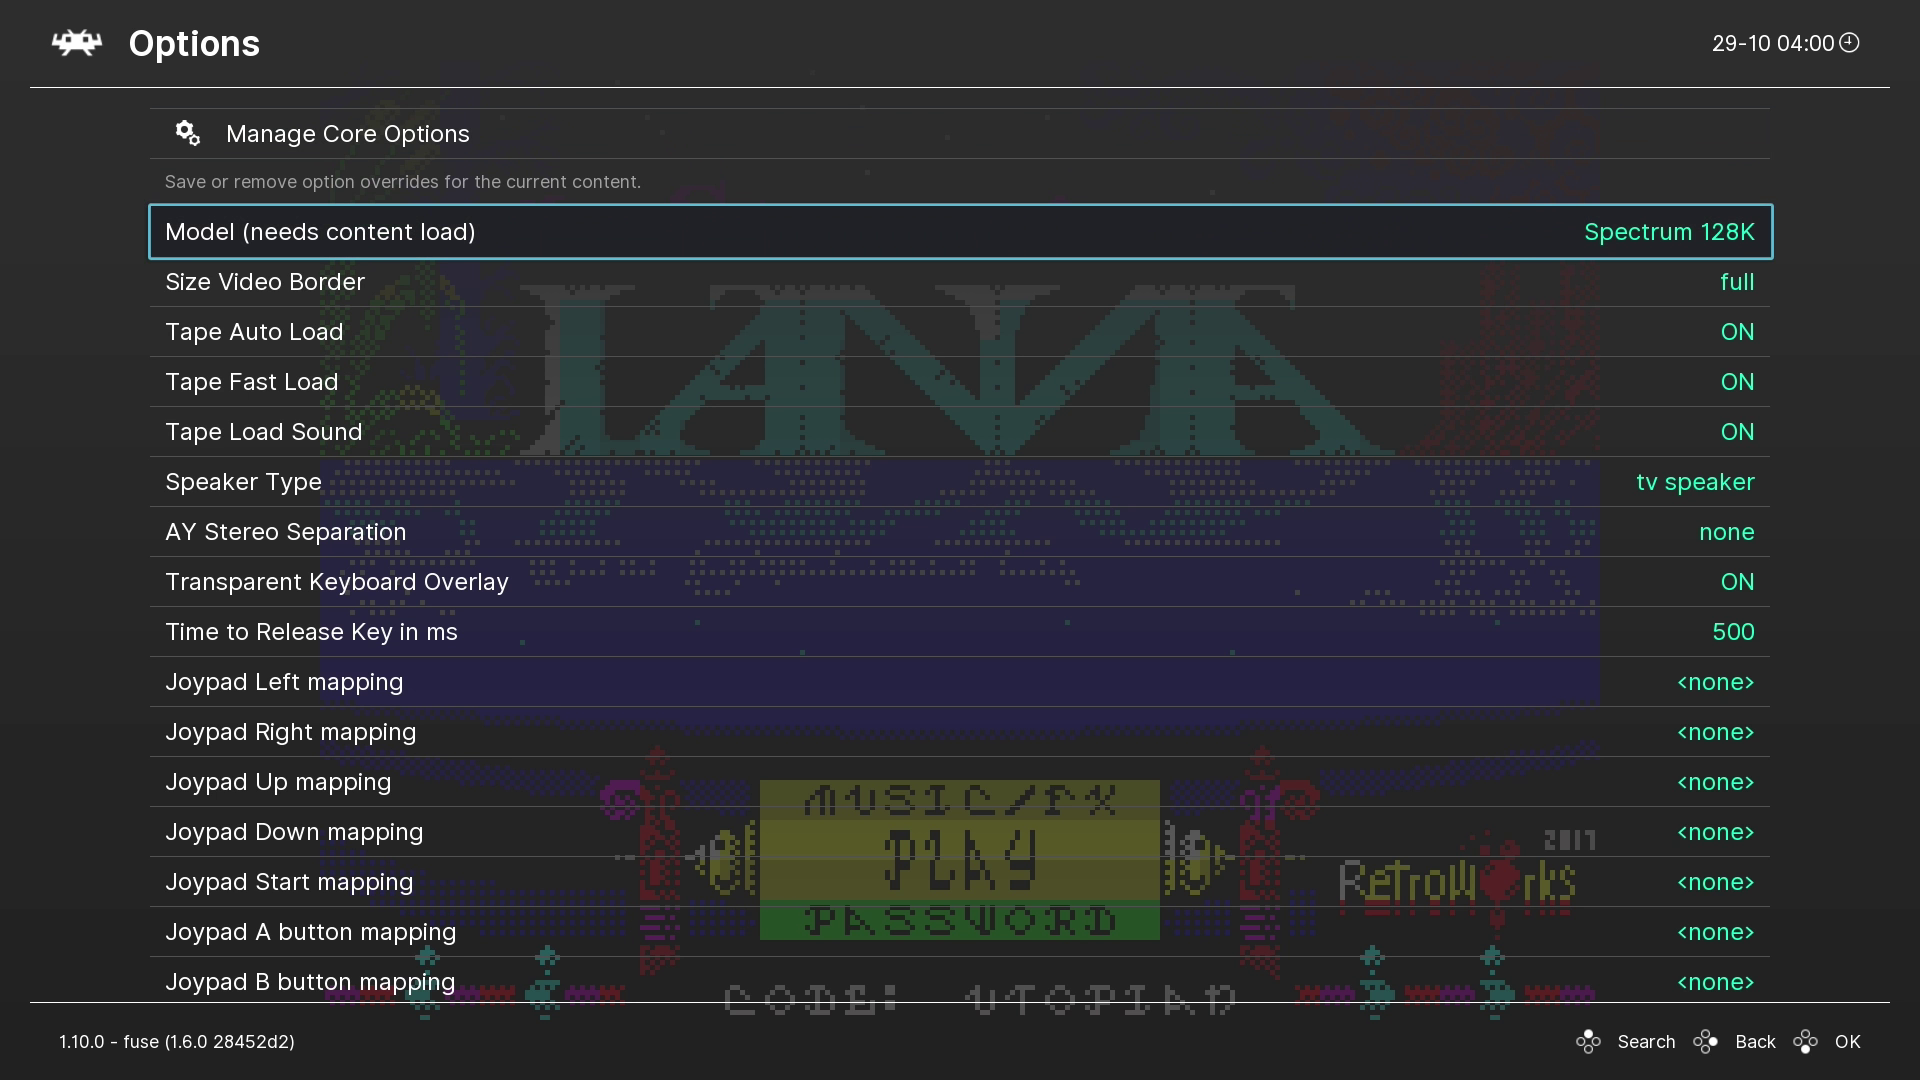
SELECT on ”Model (needs content to load)”
and CHANGE from “Spectrum 128k” to “Spectrum 48k”
PRESS A or B twice to get back to the Quick Menu
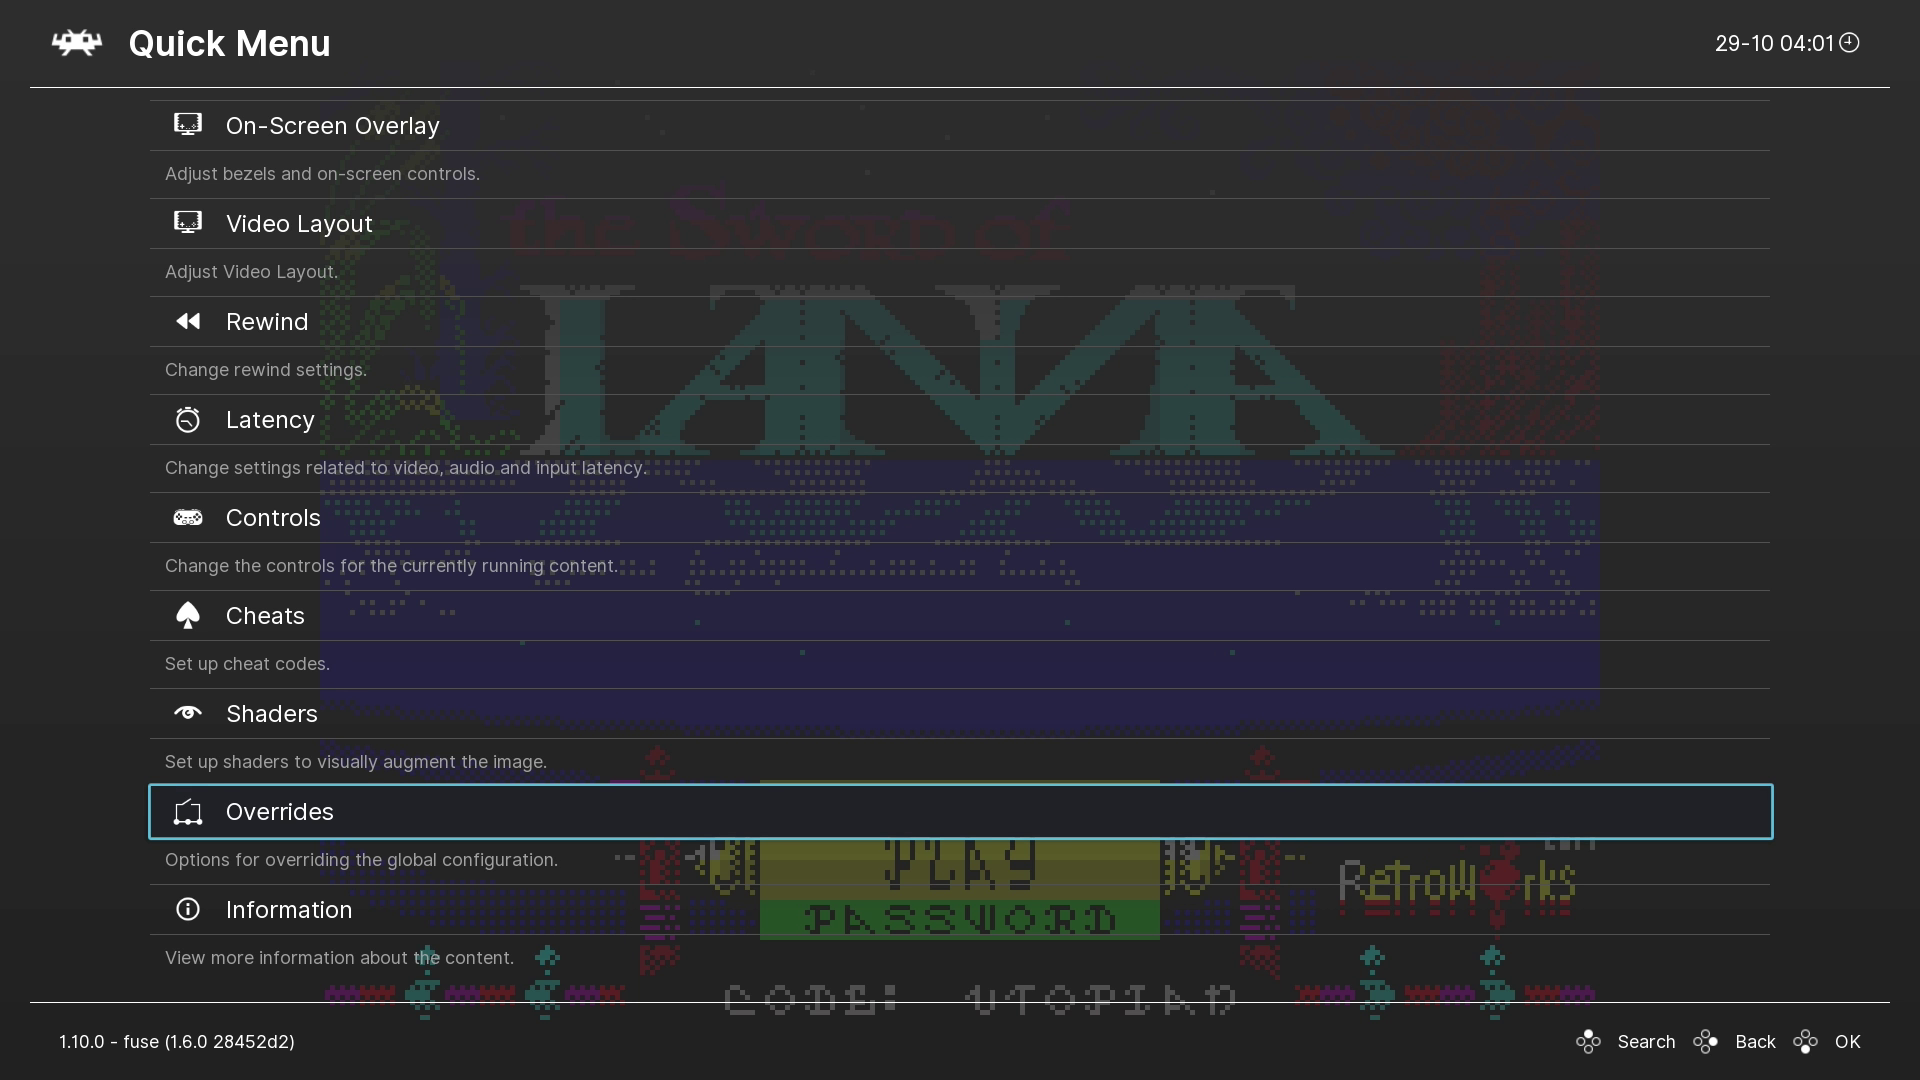
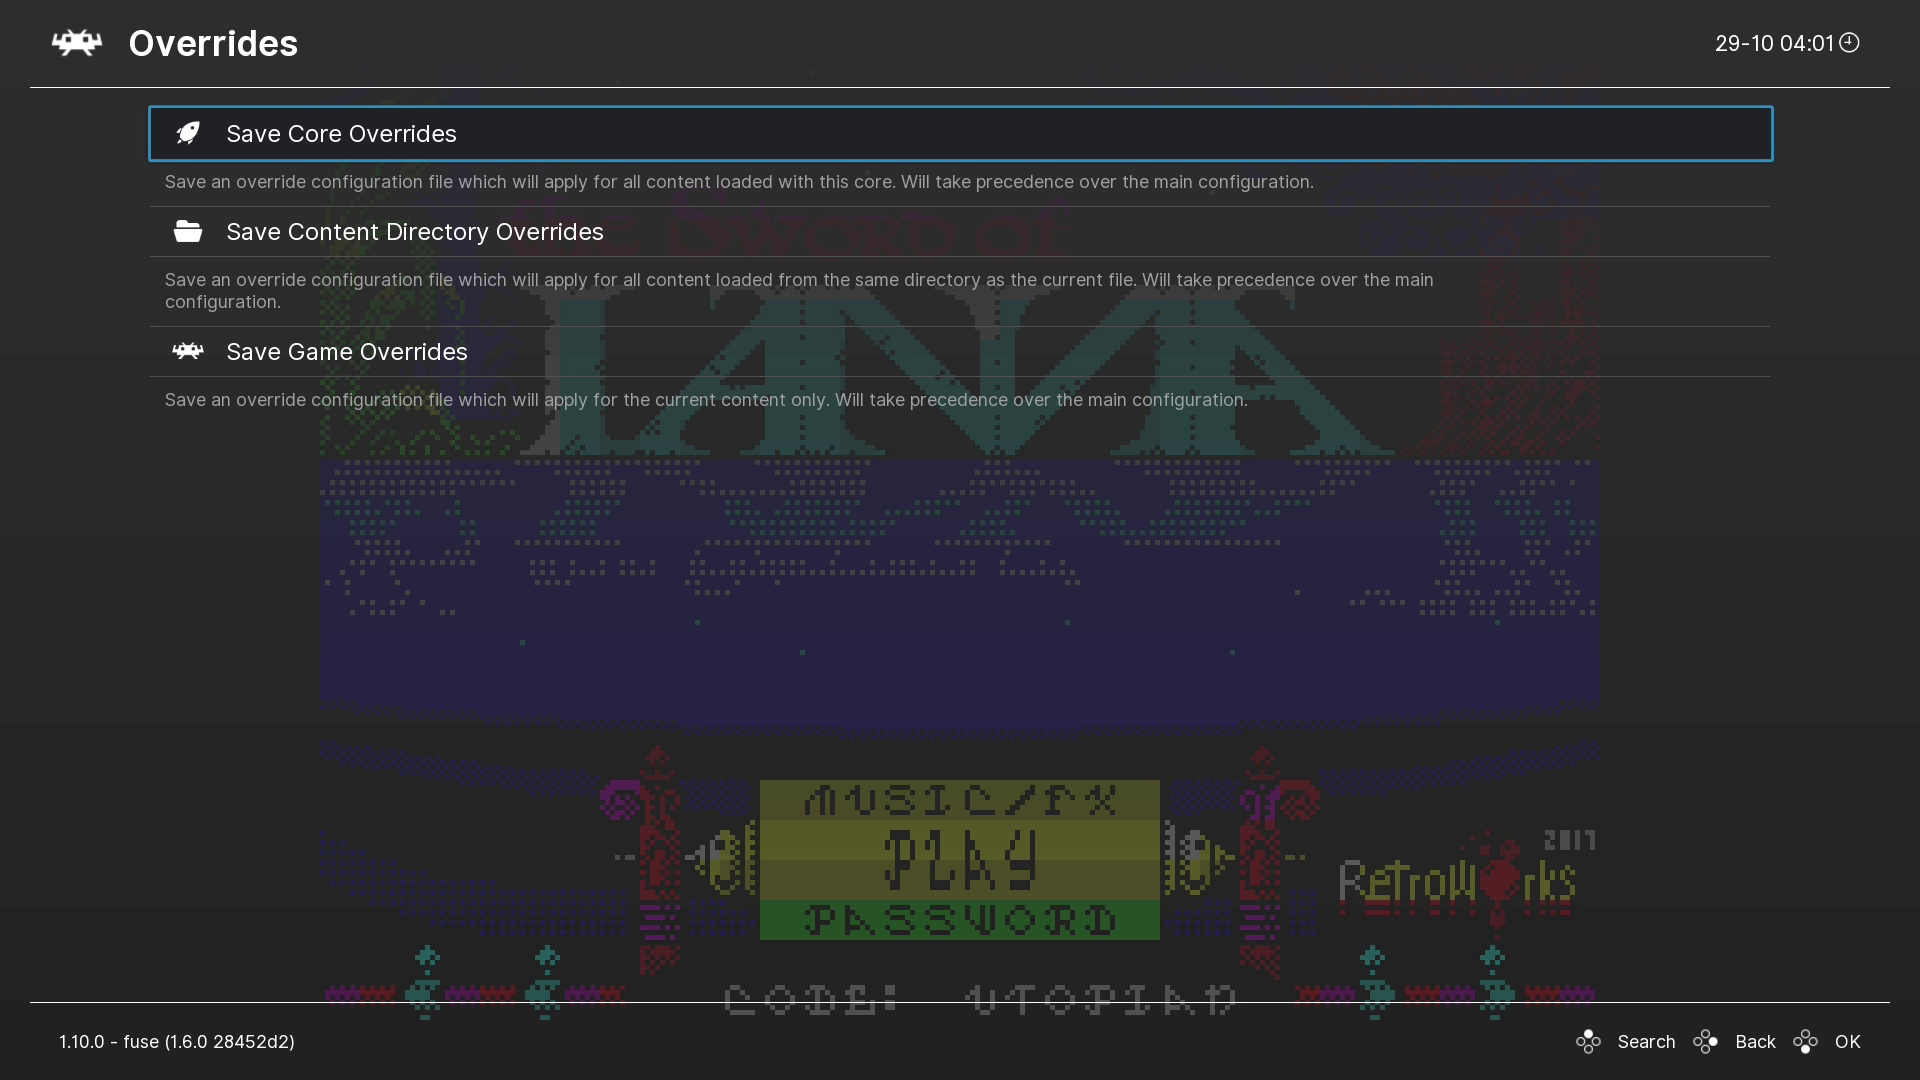
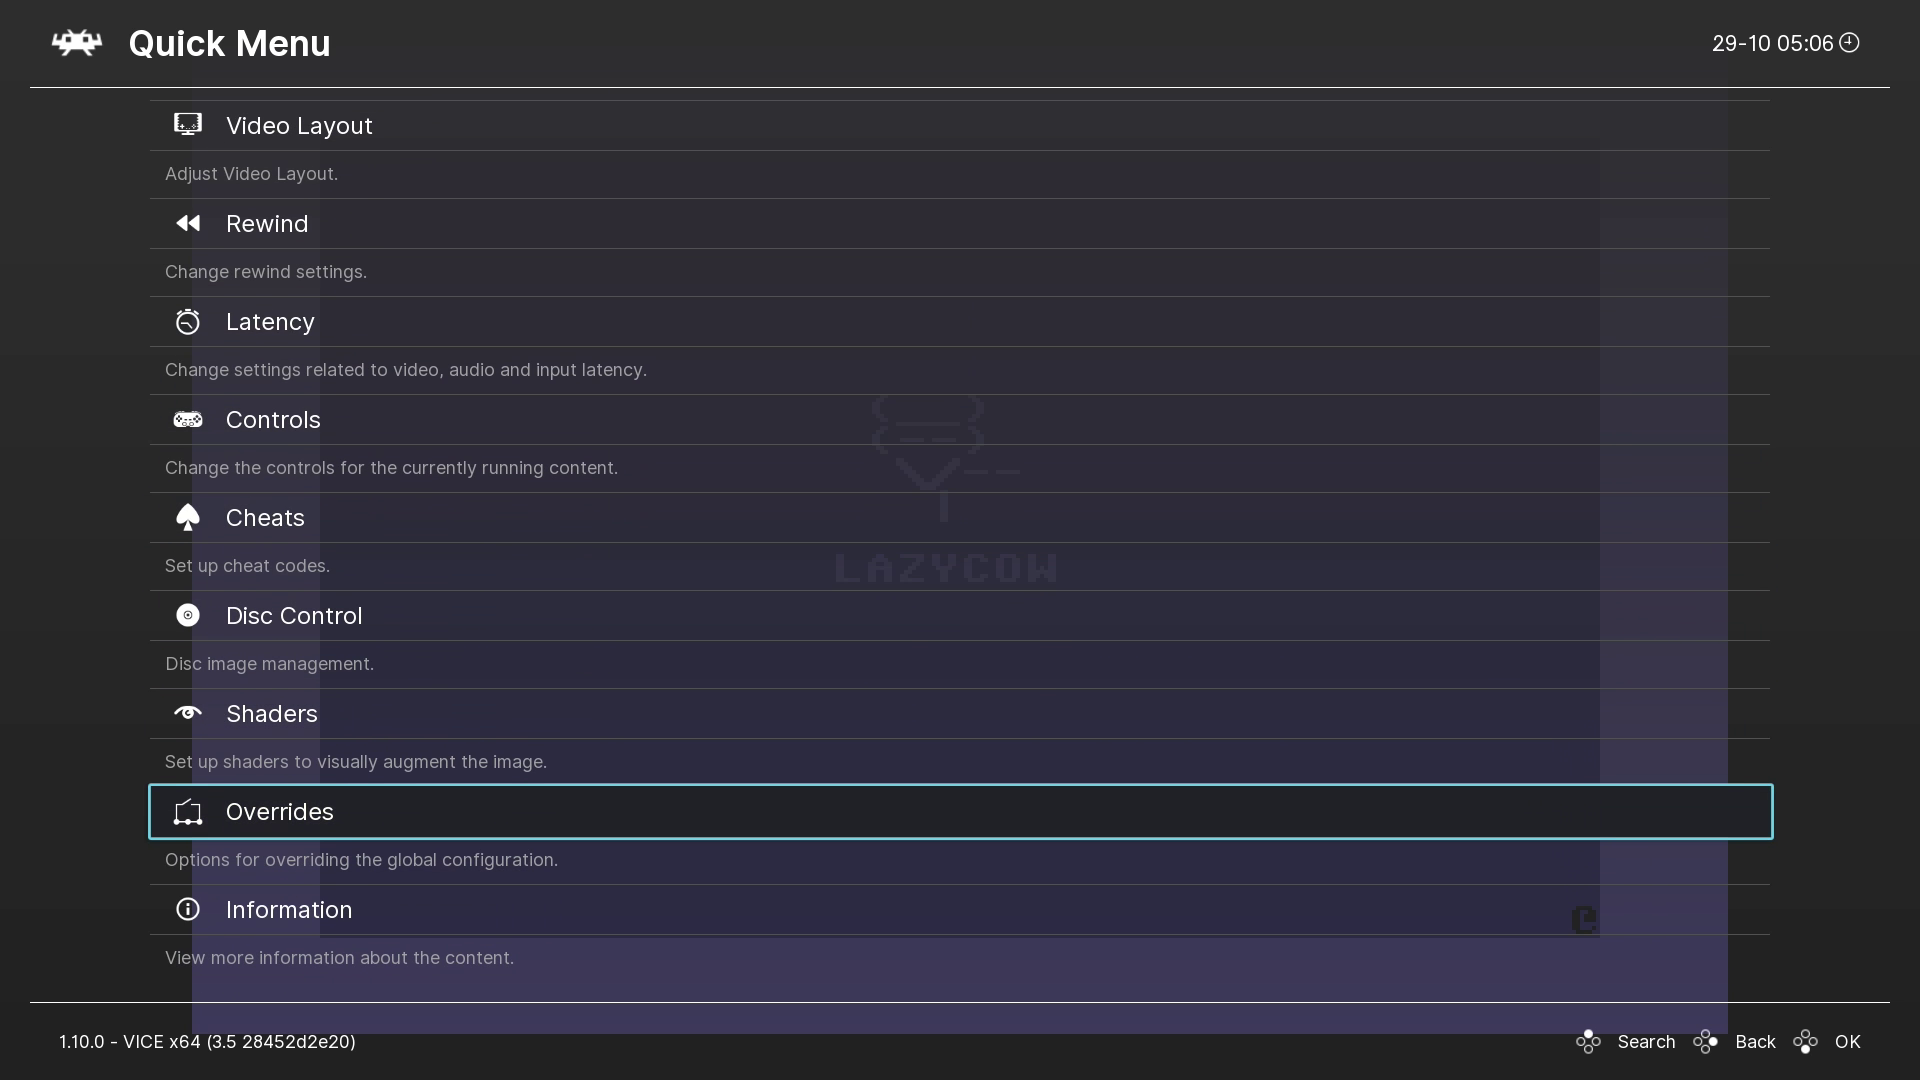
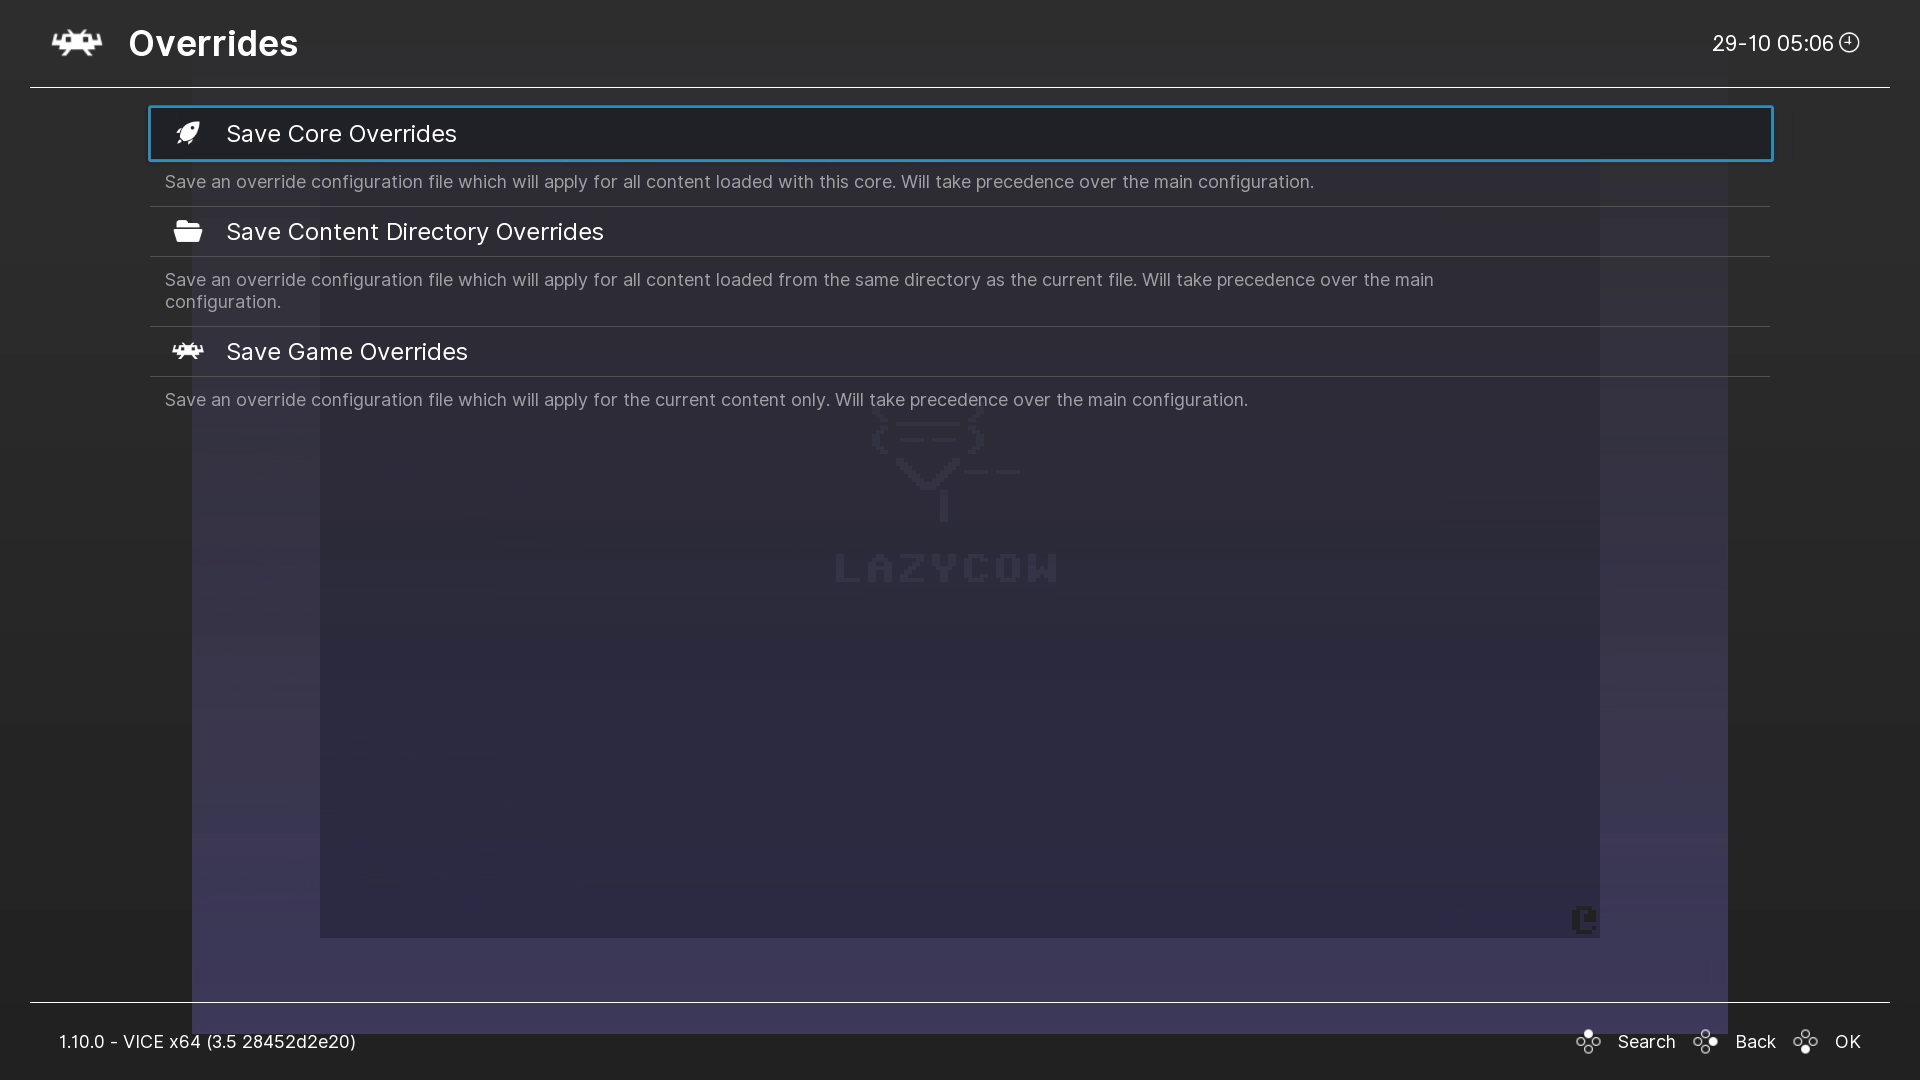
Scroll down to Overrides
Save Core Overrides – Applies to ALL Consoles/Systems that are using fuse
Save Content Directory Overrides – Applies to just the zxspectrum directory
Save Game Overrides – Applies to just this specific game
Now try your 48k game that didn’t work, and remember to change back for all your 128k / +2 / +3 games.
How do I change the background music?
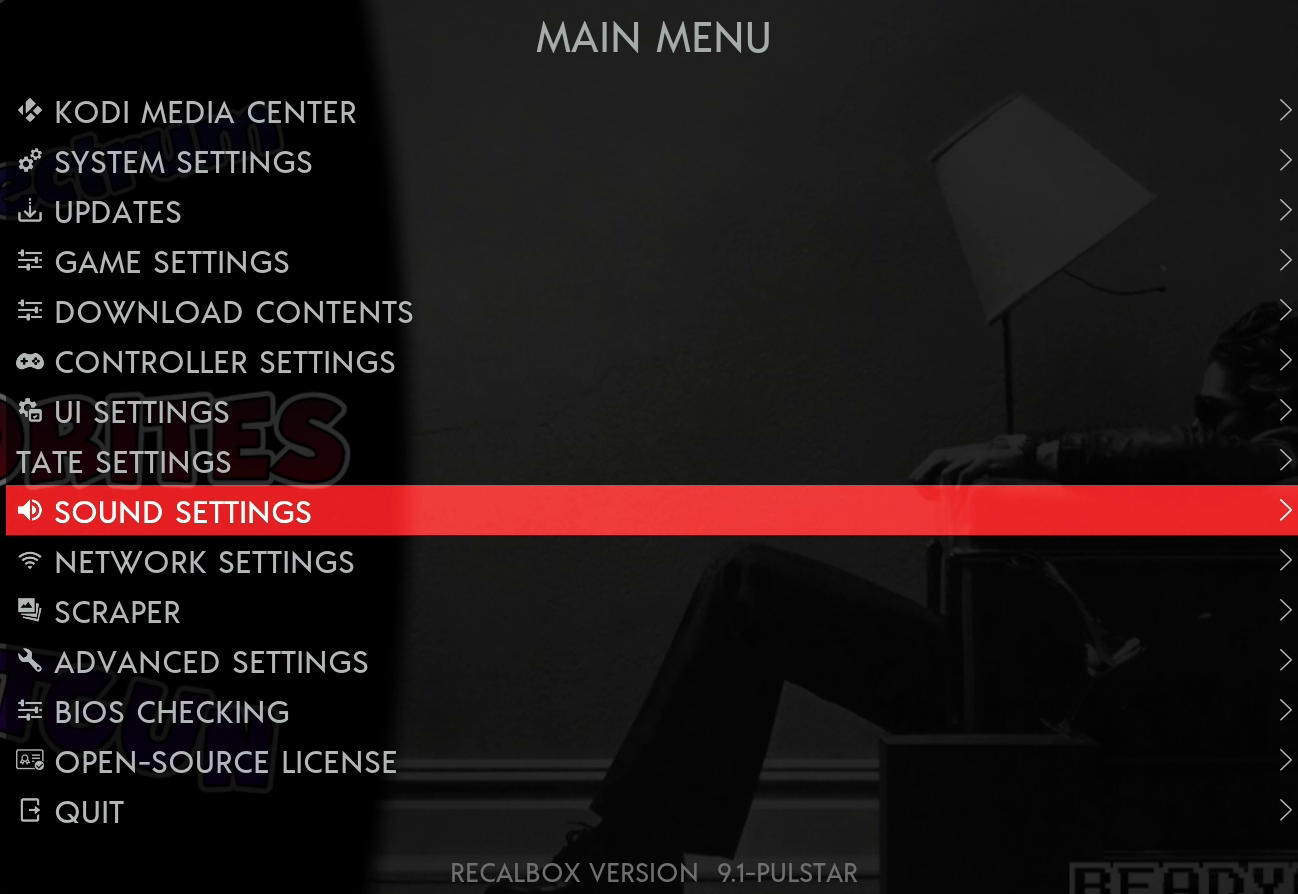
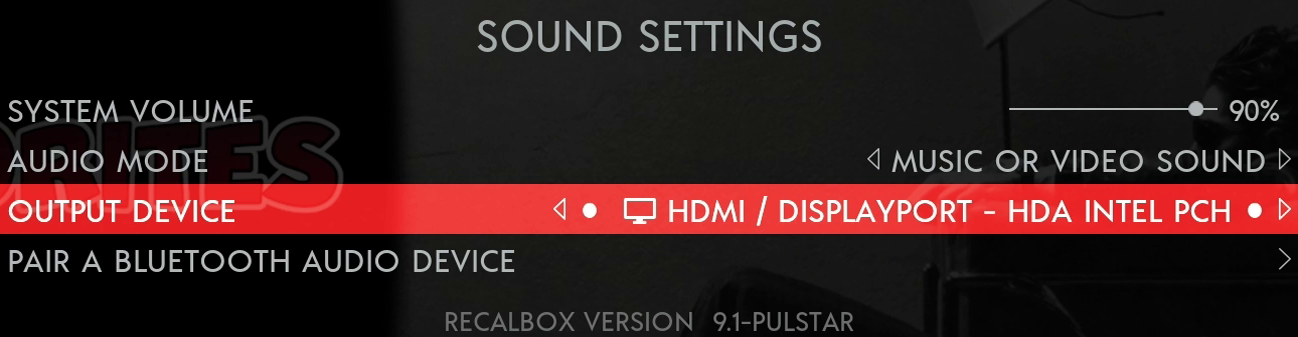
PRESS START, then SELECT SOUND SETTINGS
If the background music is annoying, switch this to “no sound”, or, if you have your own music added (see how to further below), change to “music only”
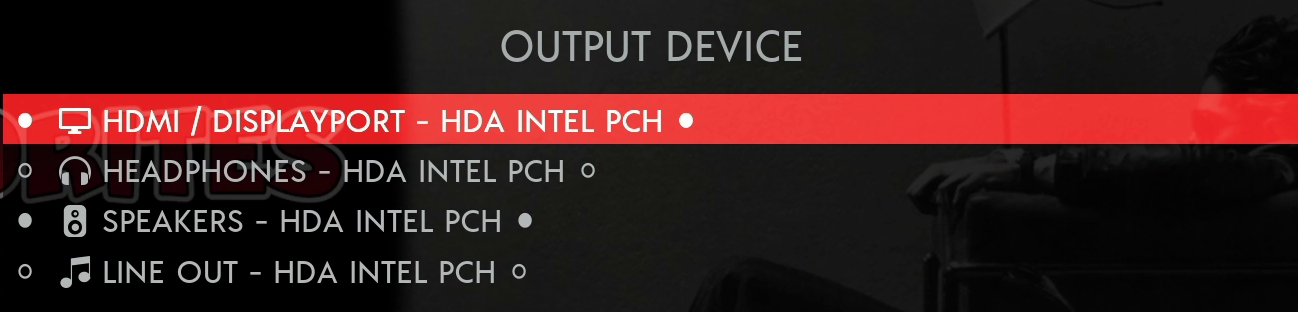
Sound isn't coming out of my TV/Speakers
If the audio is coming out your PC speaker instead of the TV, or if you have no audio at all
Readycade does not come with bluetooth capabilities out of the box *A separate bluetooth adapter must be used*
PLUG IN your Bluetooth Controller to your Readycade’s USB Port *Notice the Dialog Box that appears in the upper RIGHT of your screen*
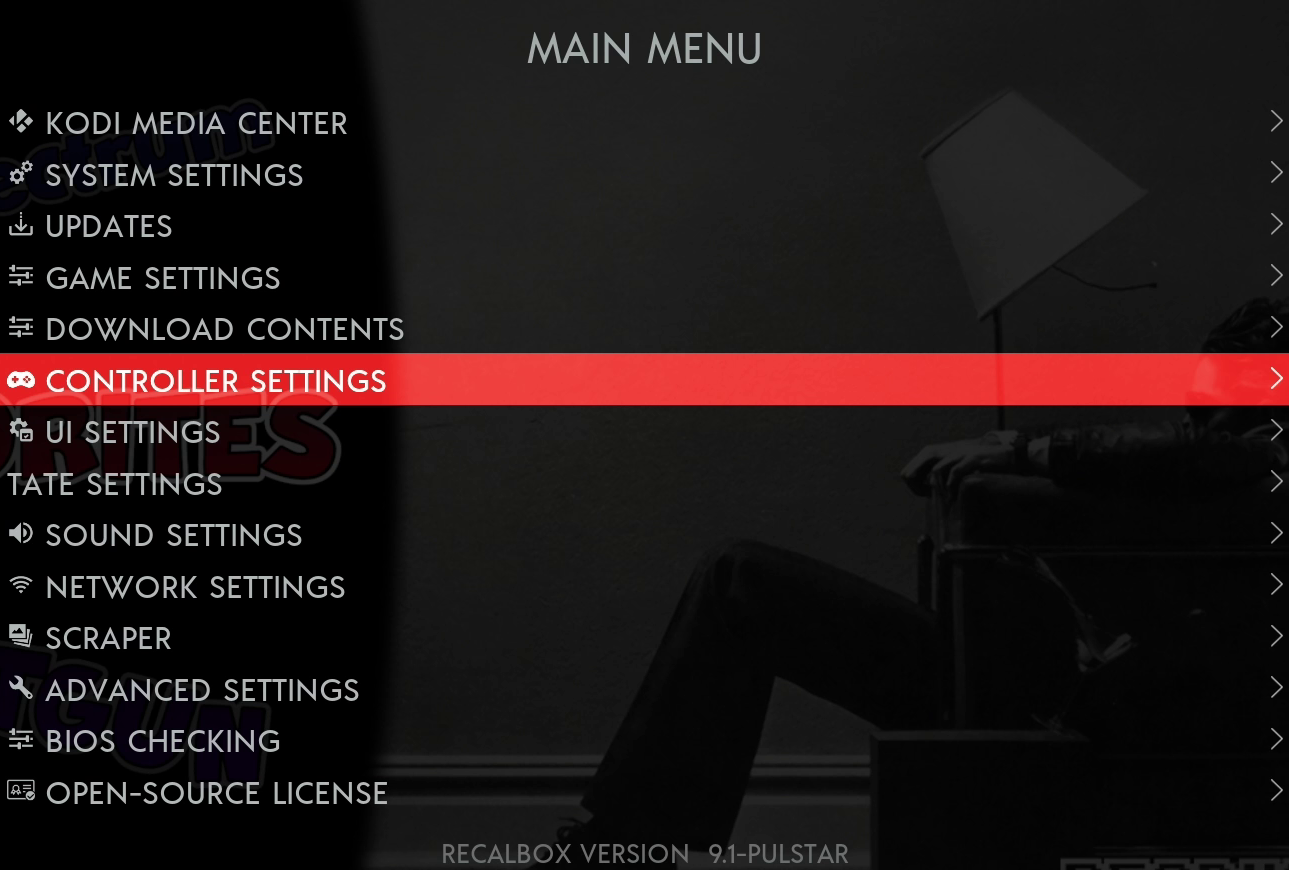
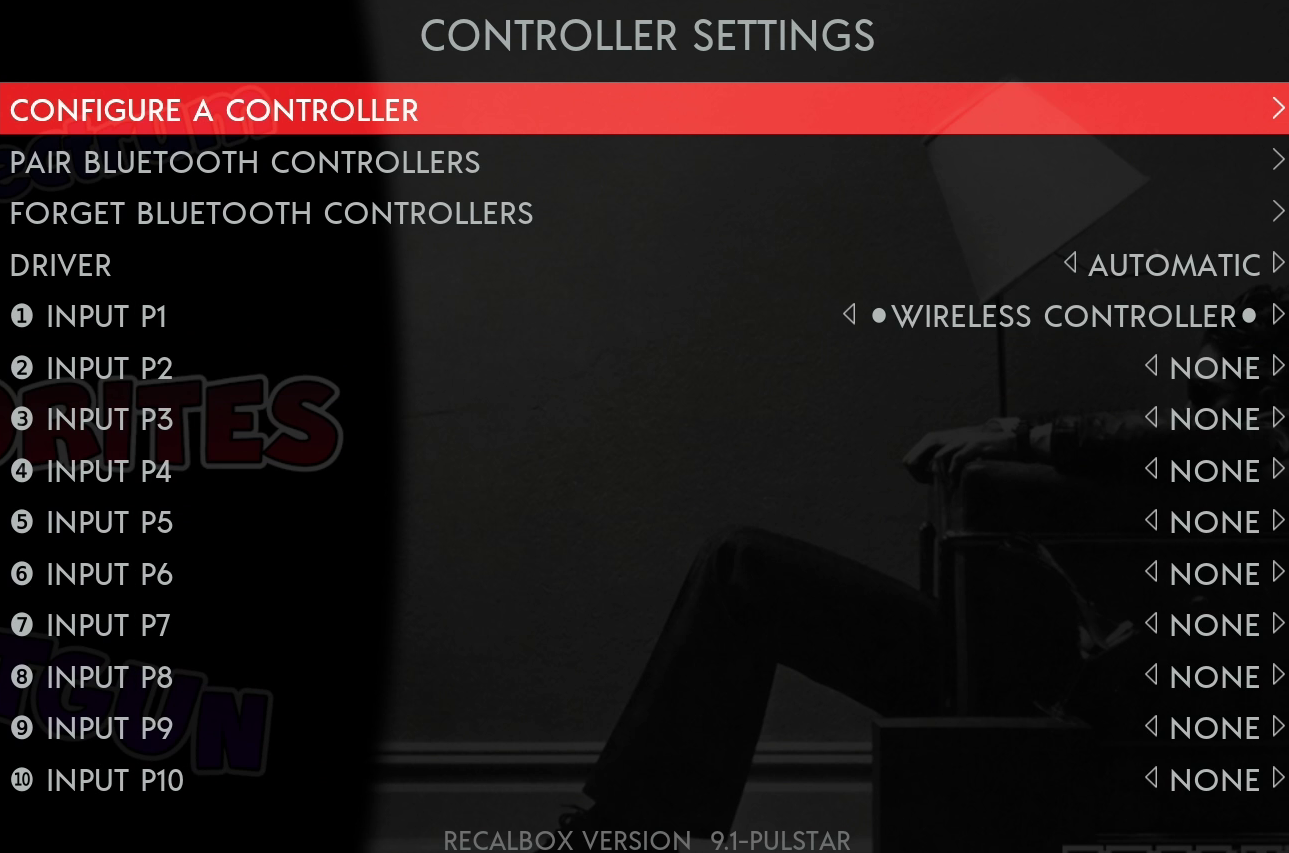
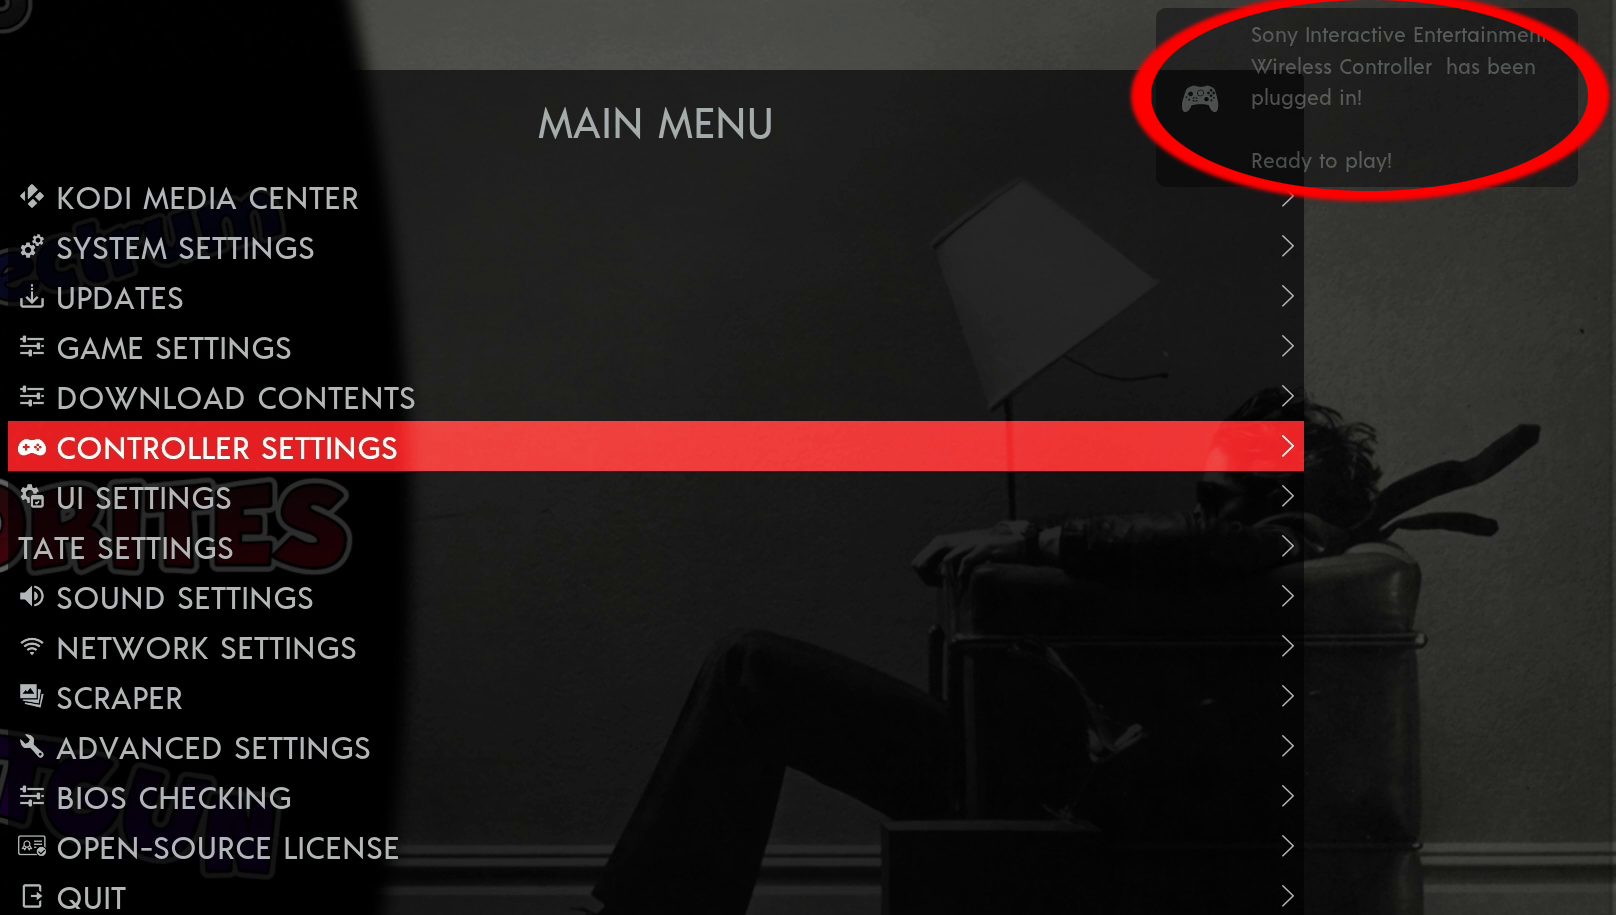
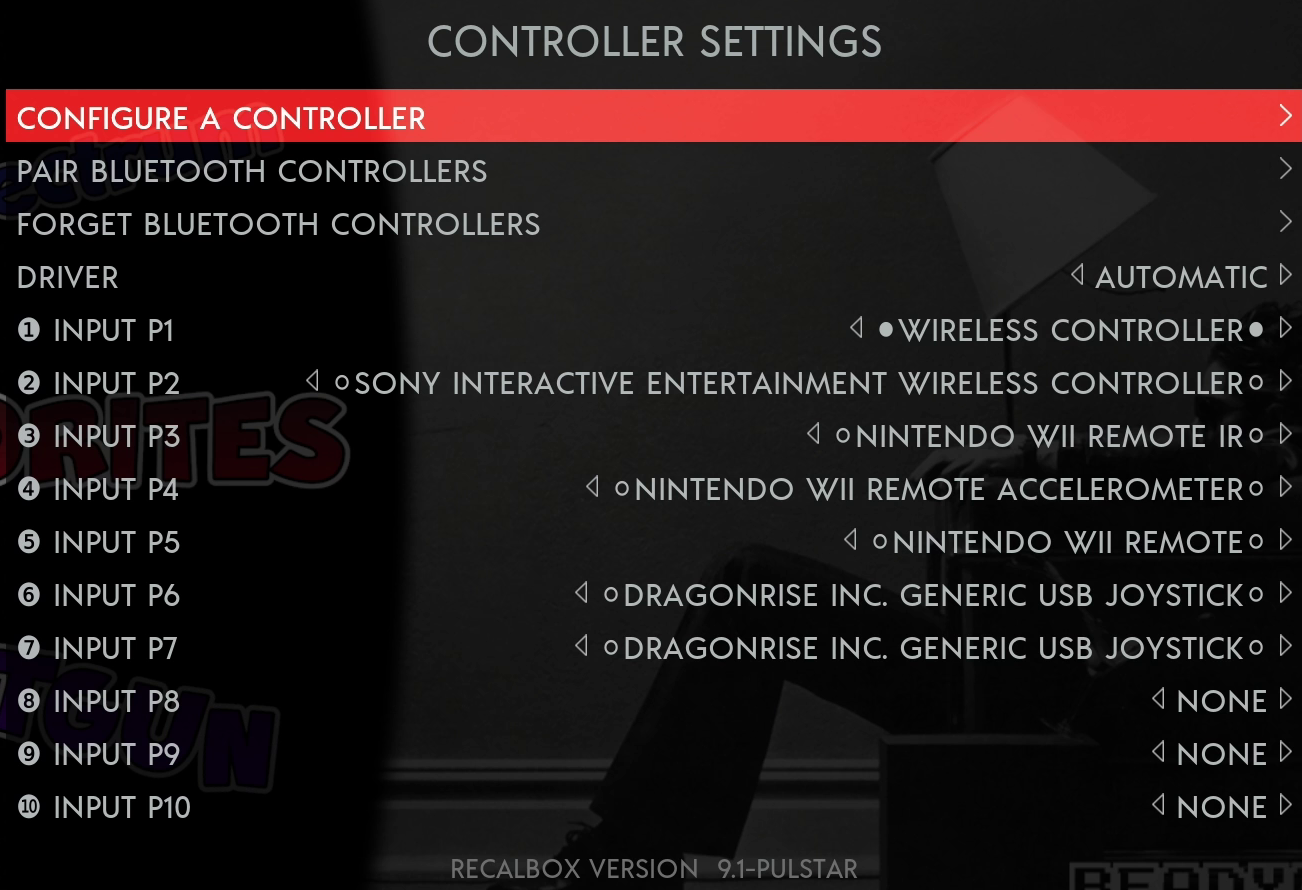
PRESS START then SELECT CONTROLLER SETTINGS
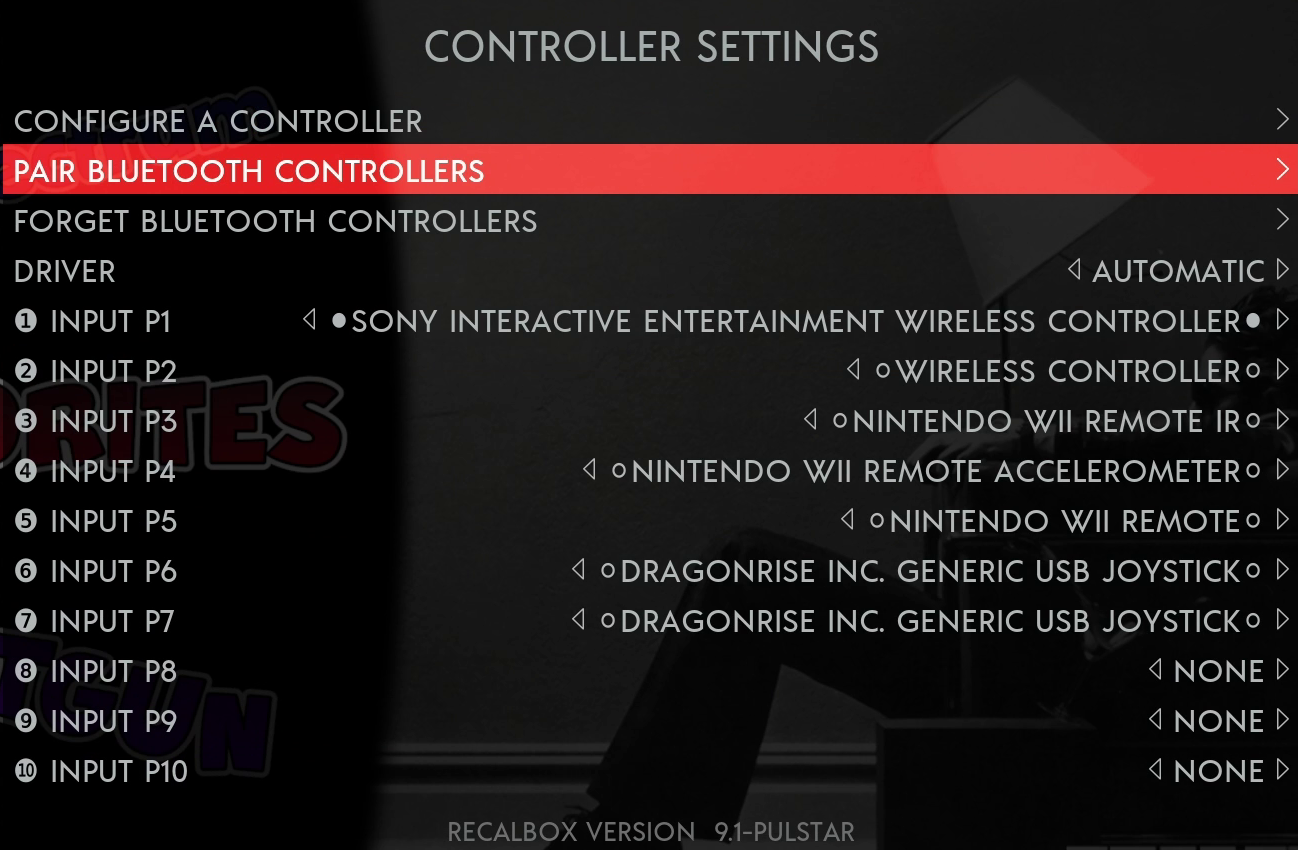
SELECT PAIR BLUETOOTH CONTROLLERS
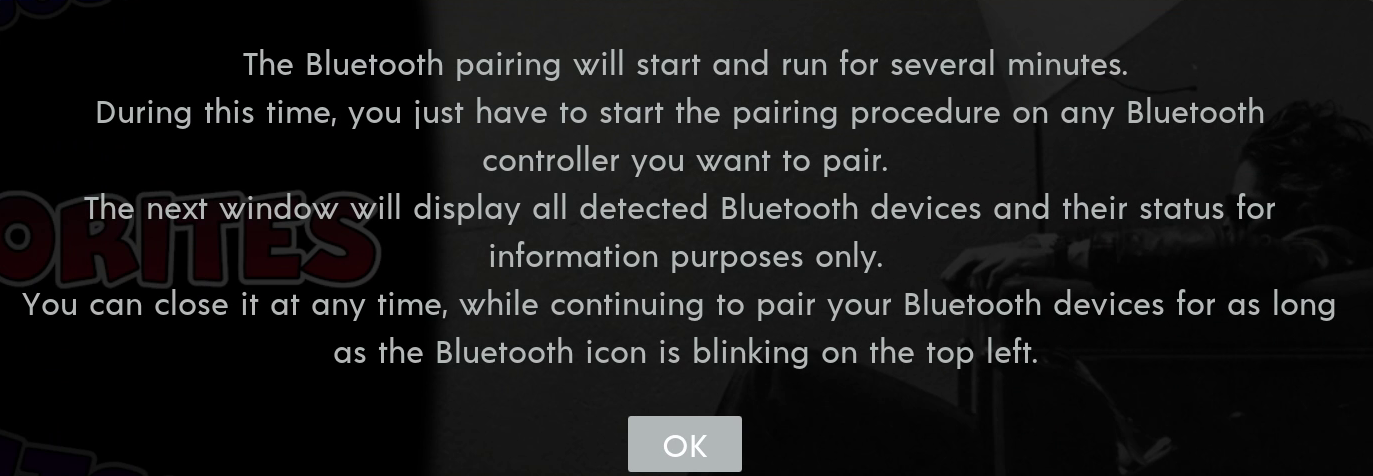
Bluetooth Disclaimer will appear telling you to get ready to start the pairing process with your device
PRESS OK
*No Device’s will appear if you have not paired anything yet*
START the Pairing Process for your controller/device PS4 Controller – Hold Share + Playstation Home Button until controller starts flashing
Xbox One Controller – PRESS and HOLD the Pairing Button along the top edge of your controller (just above the battery compartment) until controller starts flashing
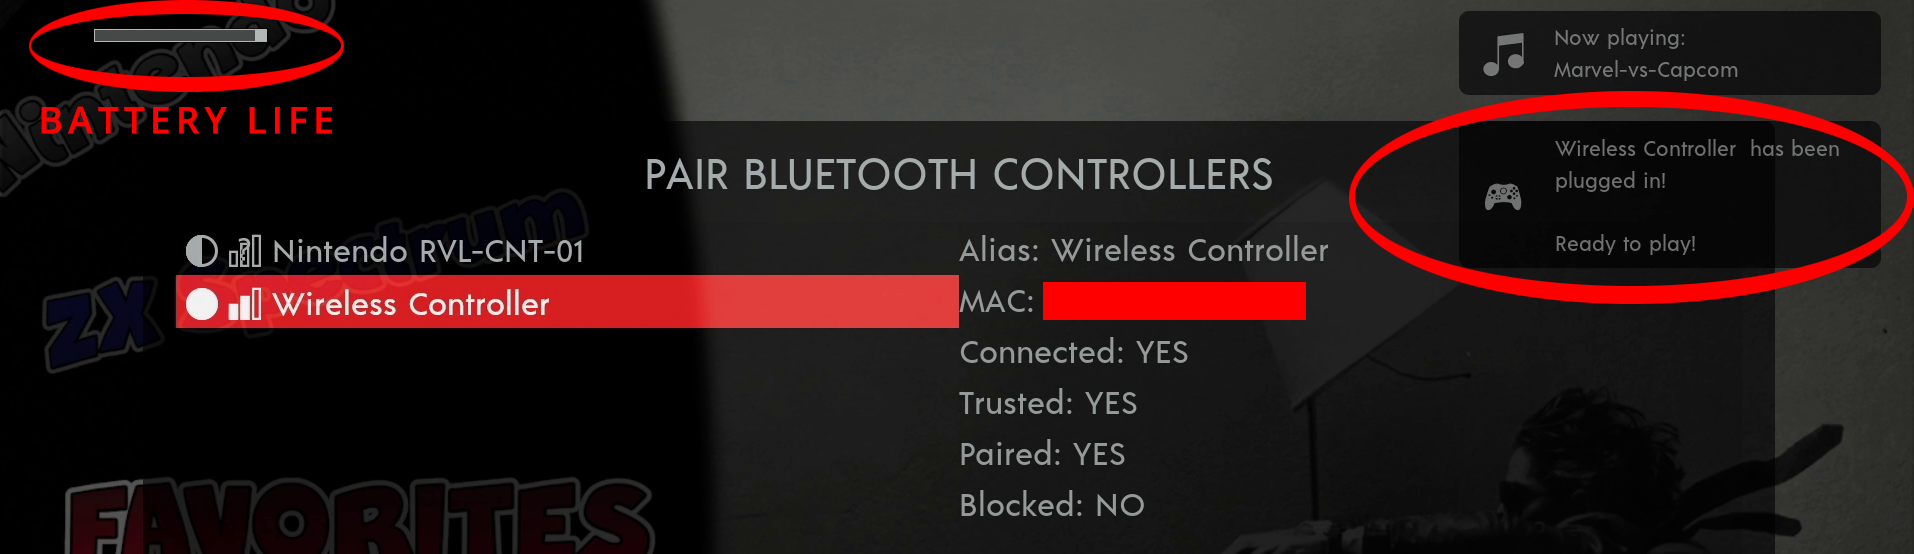
*Notice the Dialog Boxes that appear in the upper LEFT and RIGHT of your screen*
This tells you that your Wireless Controller has been plugged in This also displays the Wireless Controller’s battery life
SELECT Close to exit this screen
If pairing was successful then move on to configuring your controller If pairing failed then retry the process as many times as needed
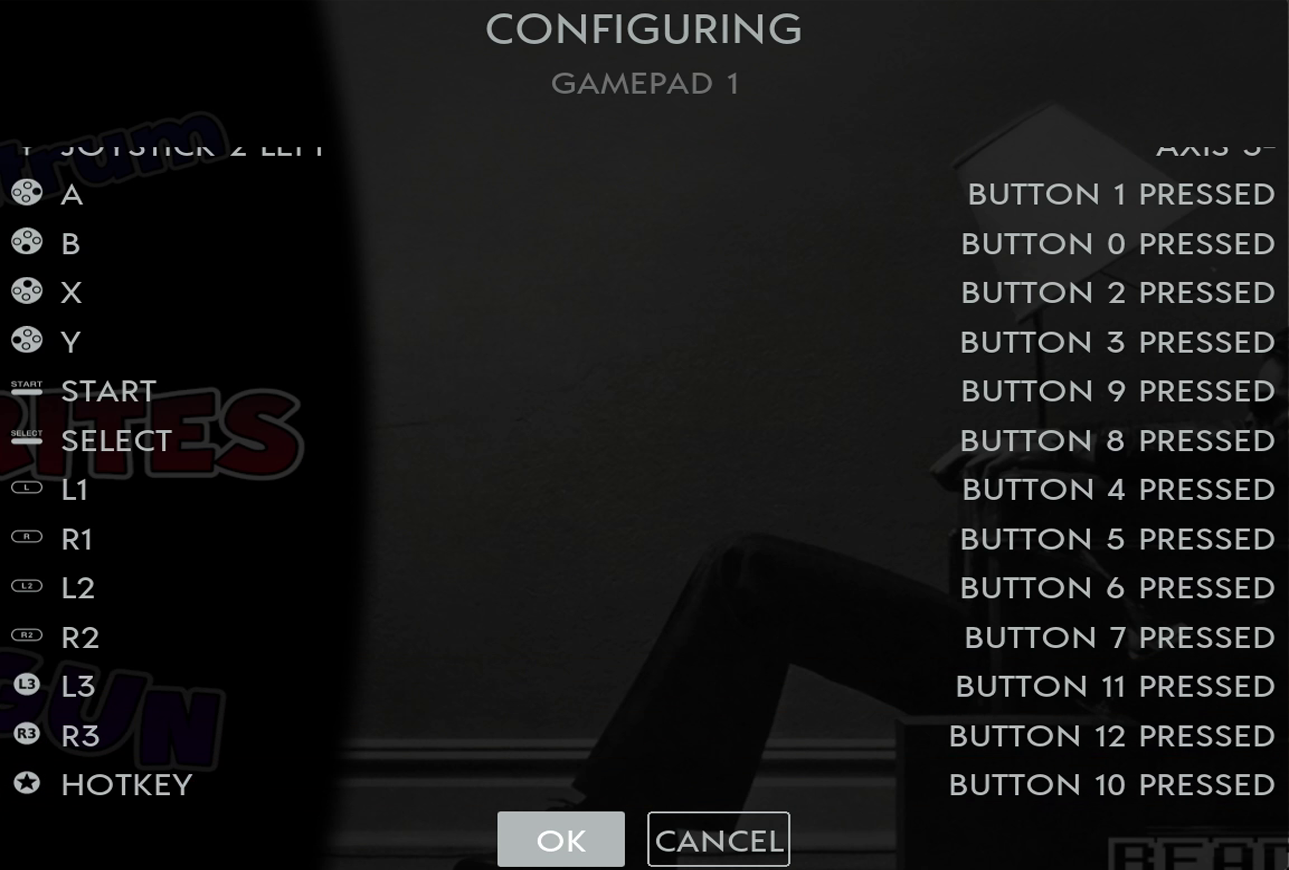
SELECT CONFIGURE A CONTROLLER
Make all the necessary input presses. *Note if your controller doesn’t have a HOME Button you can use SELECT as your HotKey* for example: Select+Start = Exit Emulator
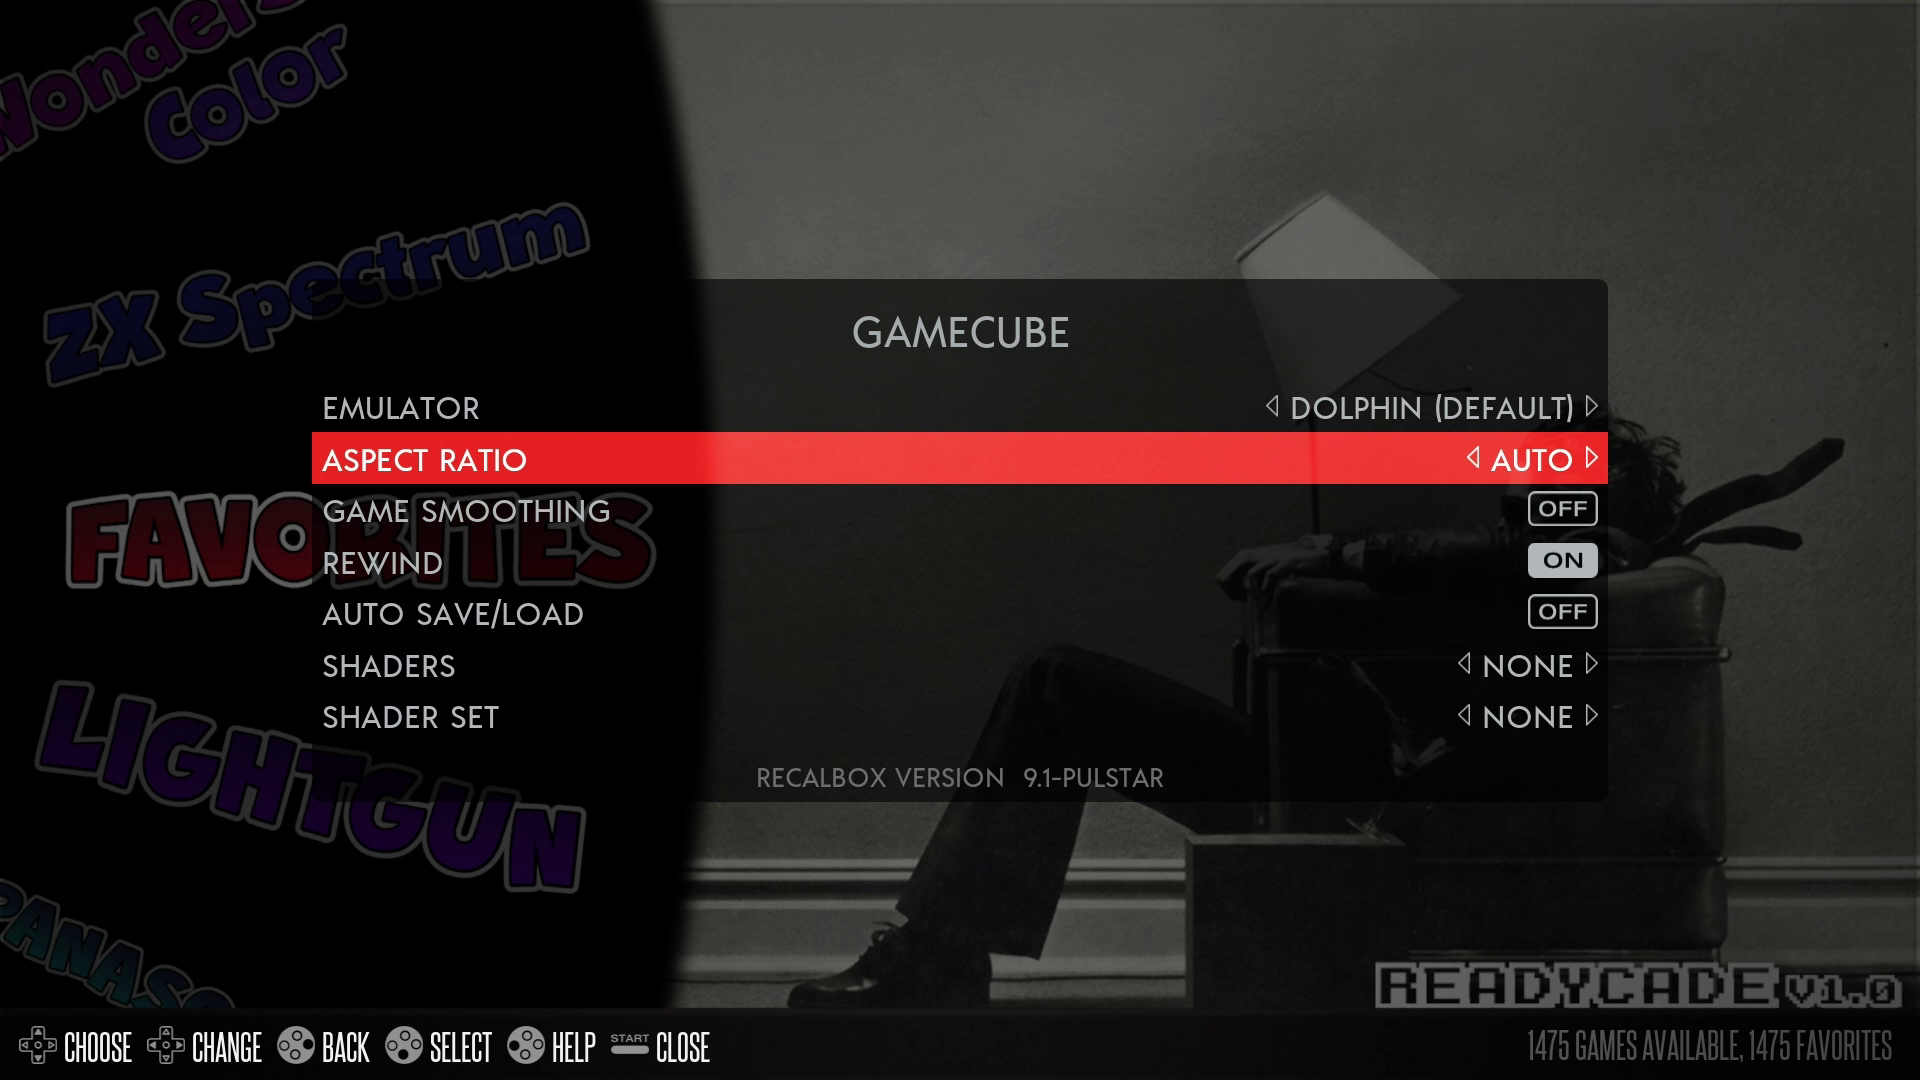
Making more modern game systems display in 16:9 Widescreen
This is where we will tell Recalbox to make the PS2, Wii, Gamecube, Openbor and Sega Model 3 games play in widescreen where possible
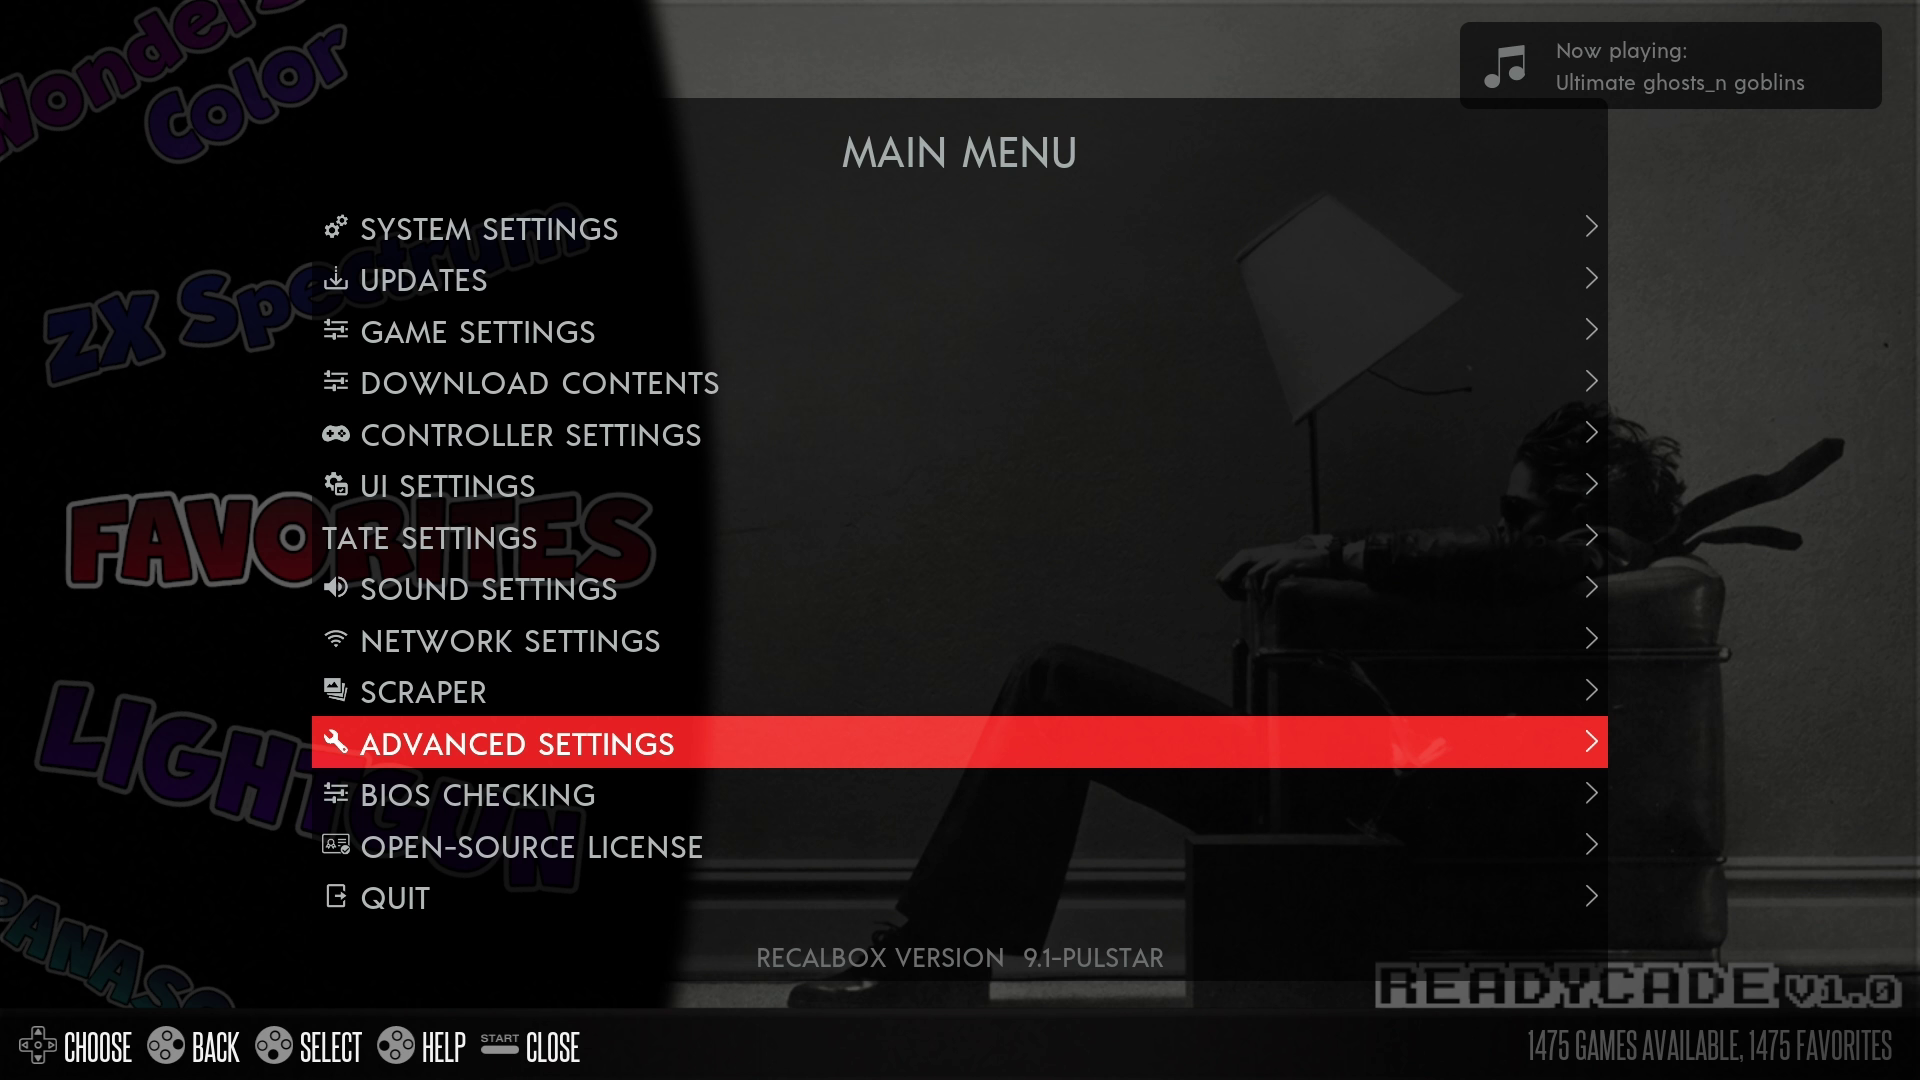
PRESS START then SELECT ADVANCED SETTINGS
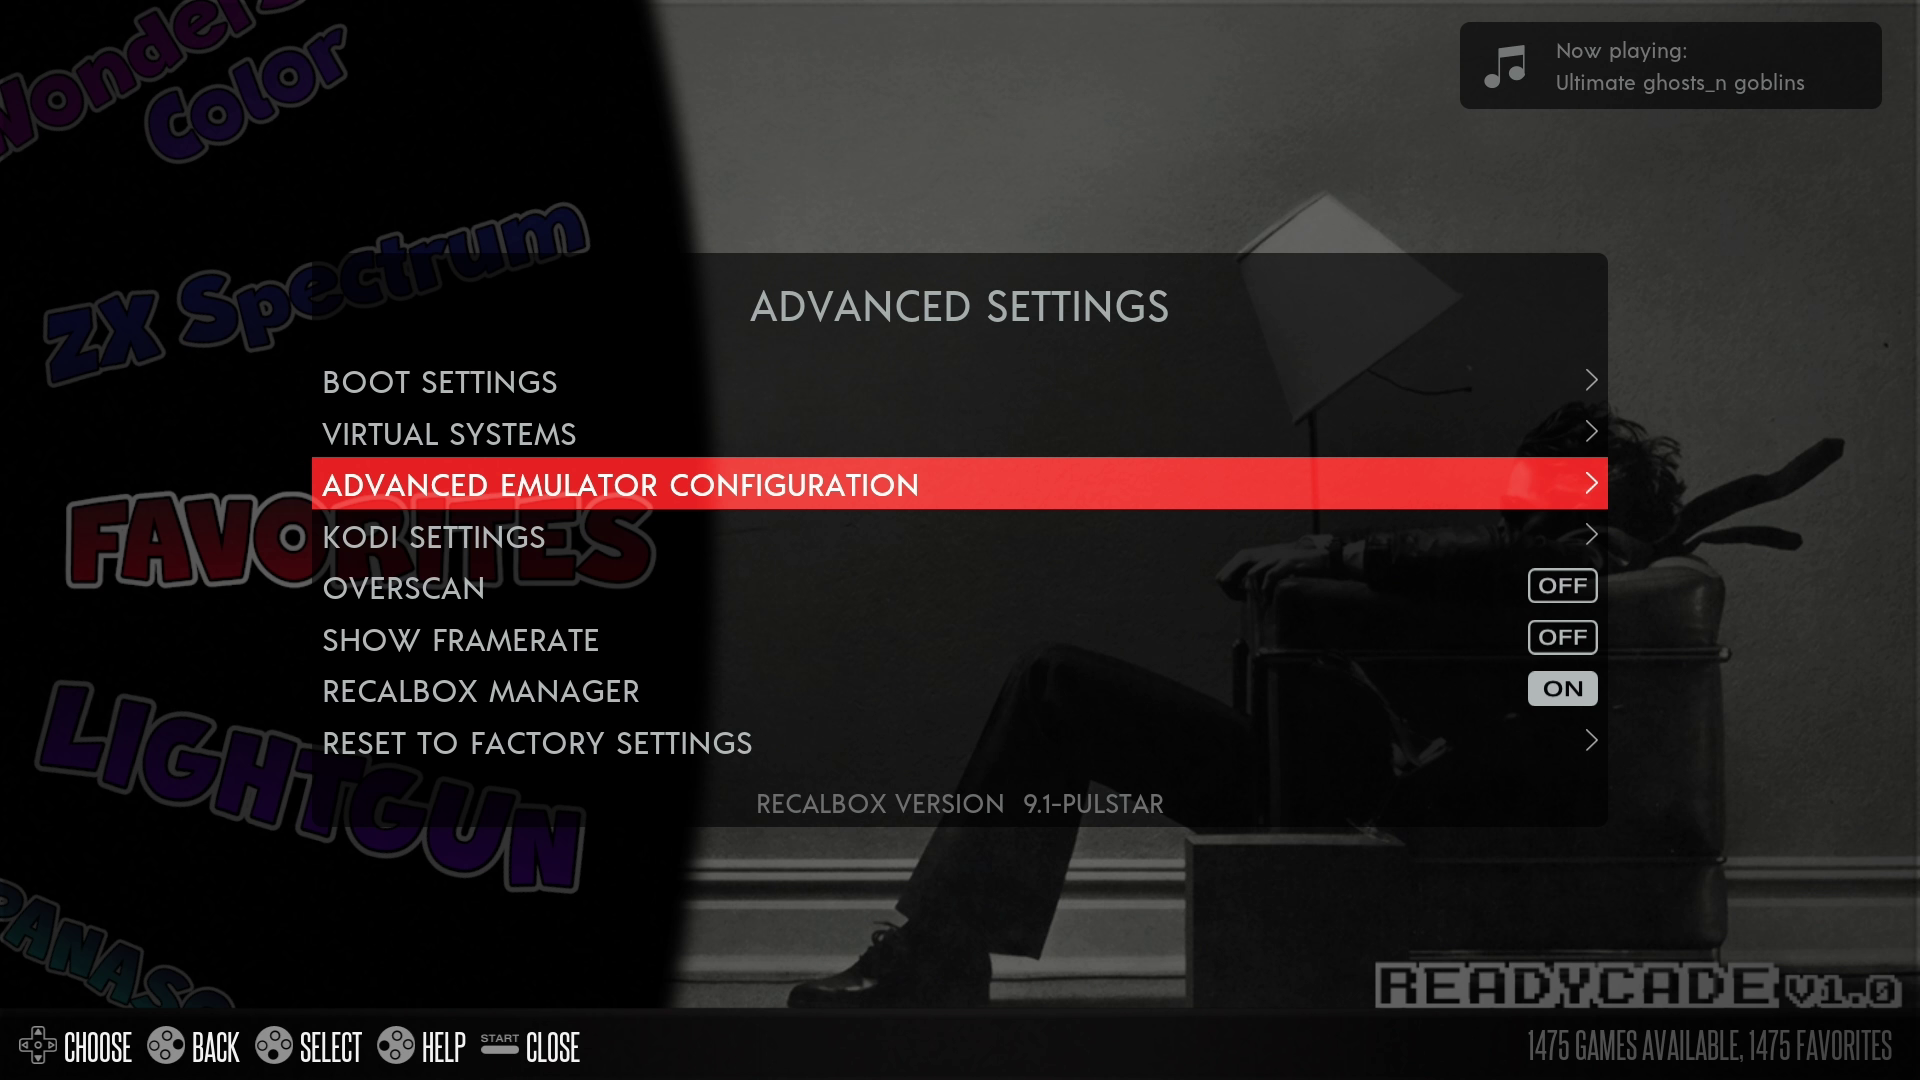
SELECT ADVANCED EMULATOR CONFIGURATION
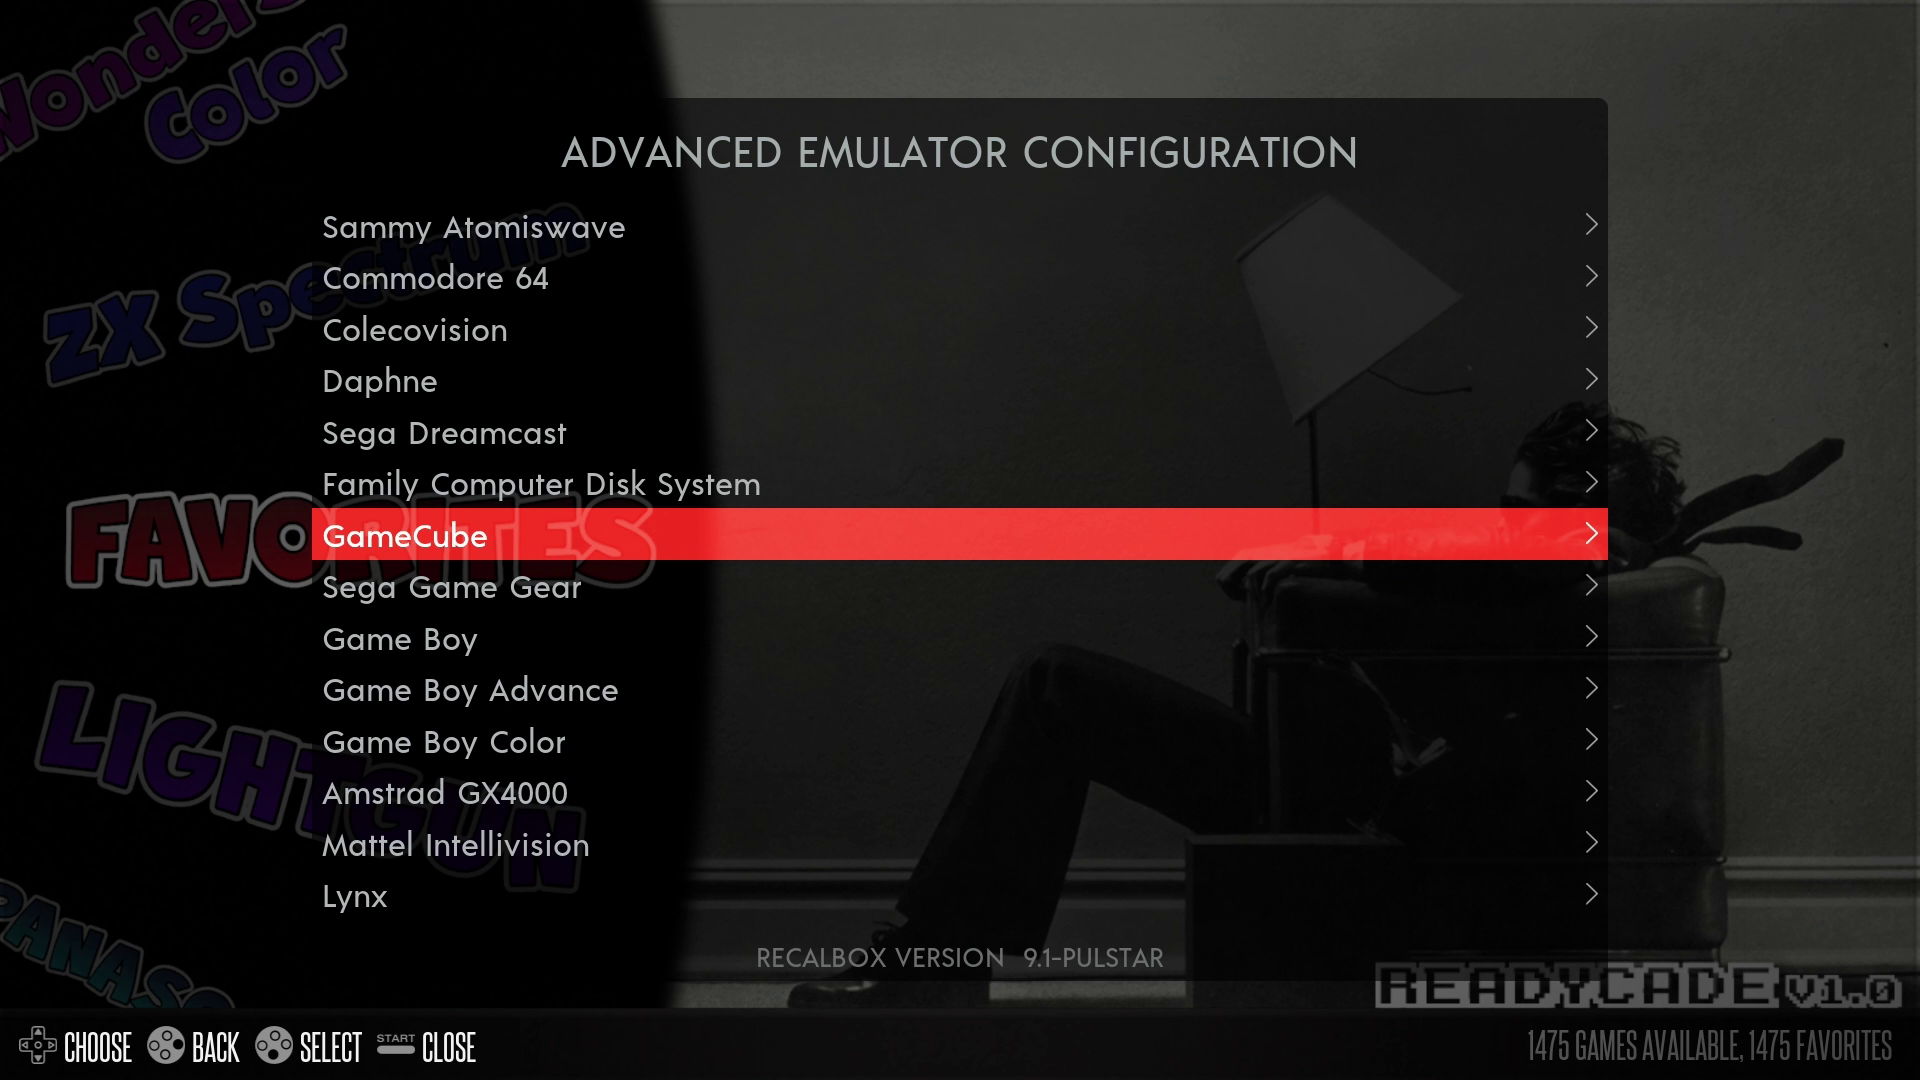
SELECT “Gamecube” and then ASPECT RATIO
CHANGE this to 16/9 (it is near the top of the list of ratio’s), and GO BACK to the list of systems
Do the same 16/9 change to “Sega Model 3”, “Openbor”, “Sony Playstation 2” and “Wii” if you wish
Can I add my own boot videos to play instead of the built in ones?
Yes!
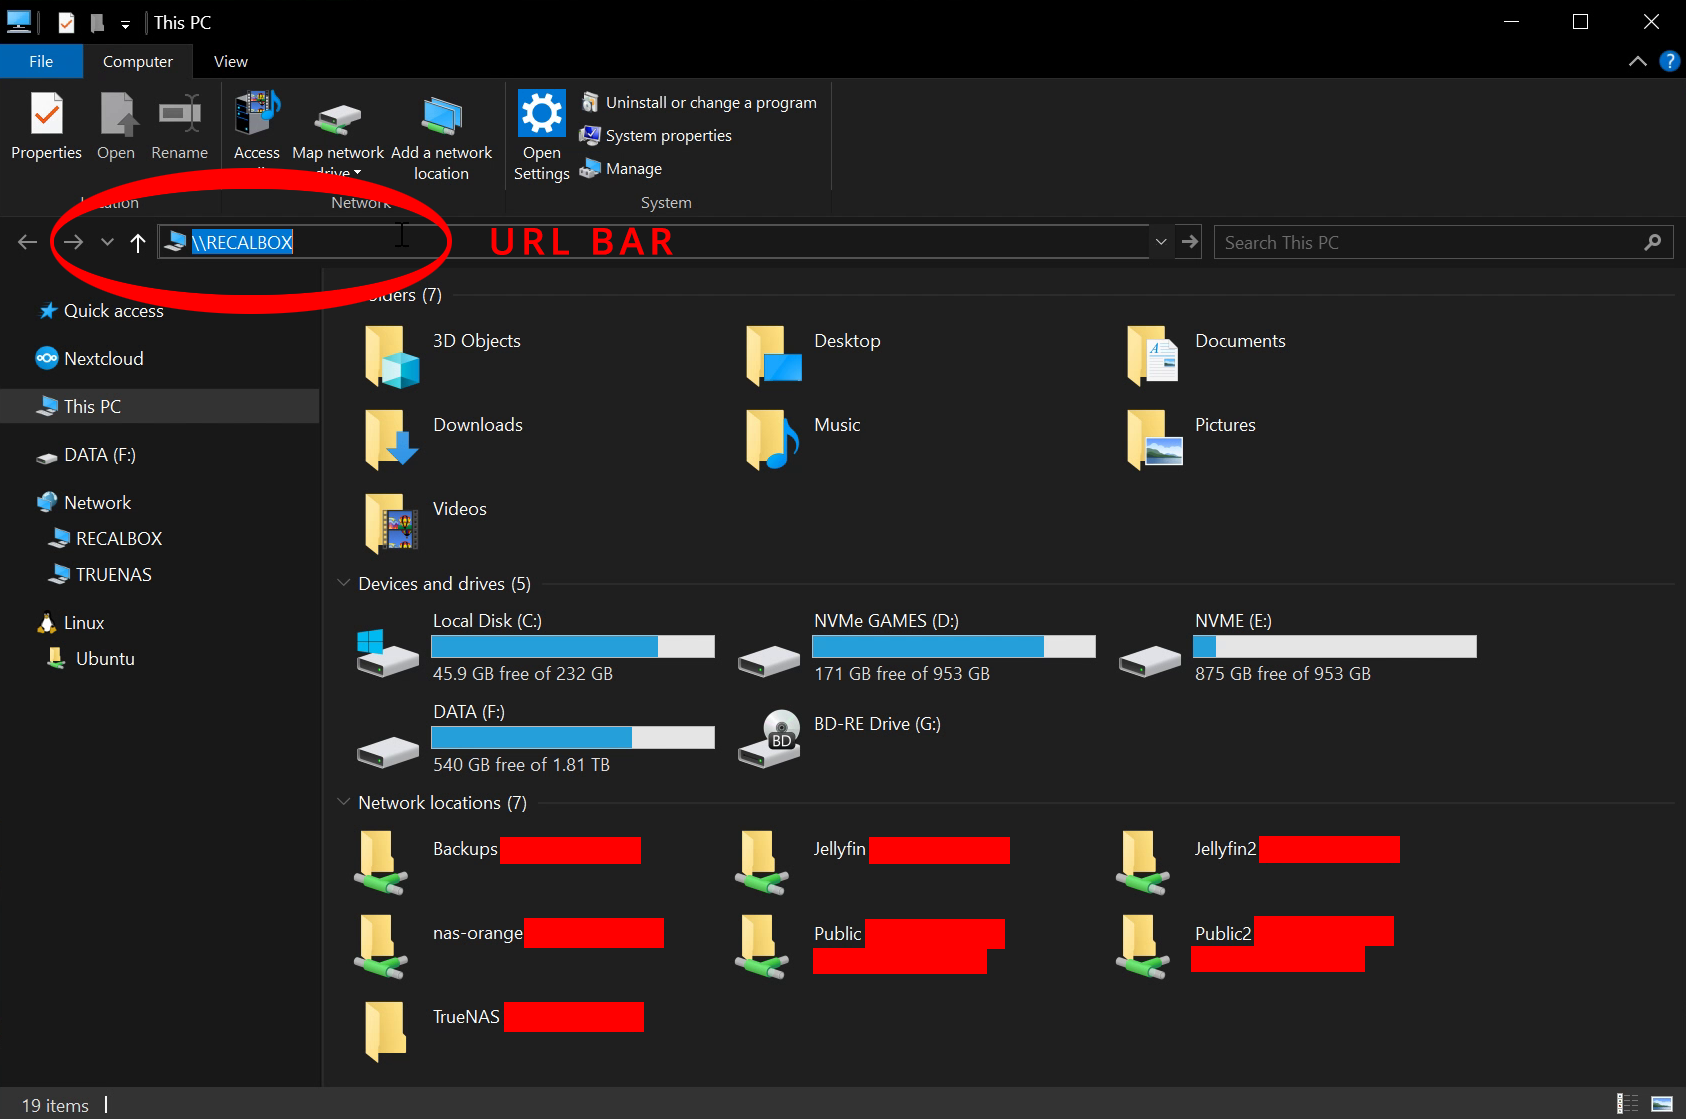
OPEN Windows Explorer on your Windows 10/11 Machine and CLICK the URL BAR at the top TYPE \\RECALBOX and PRESS Enter
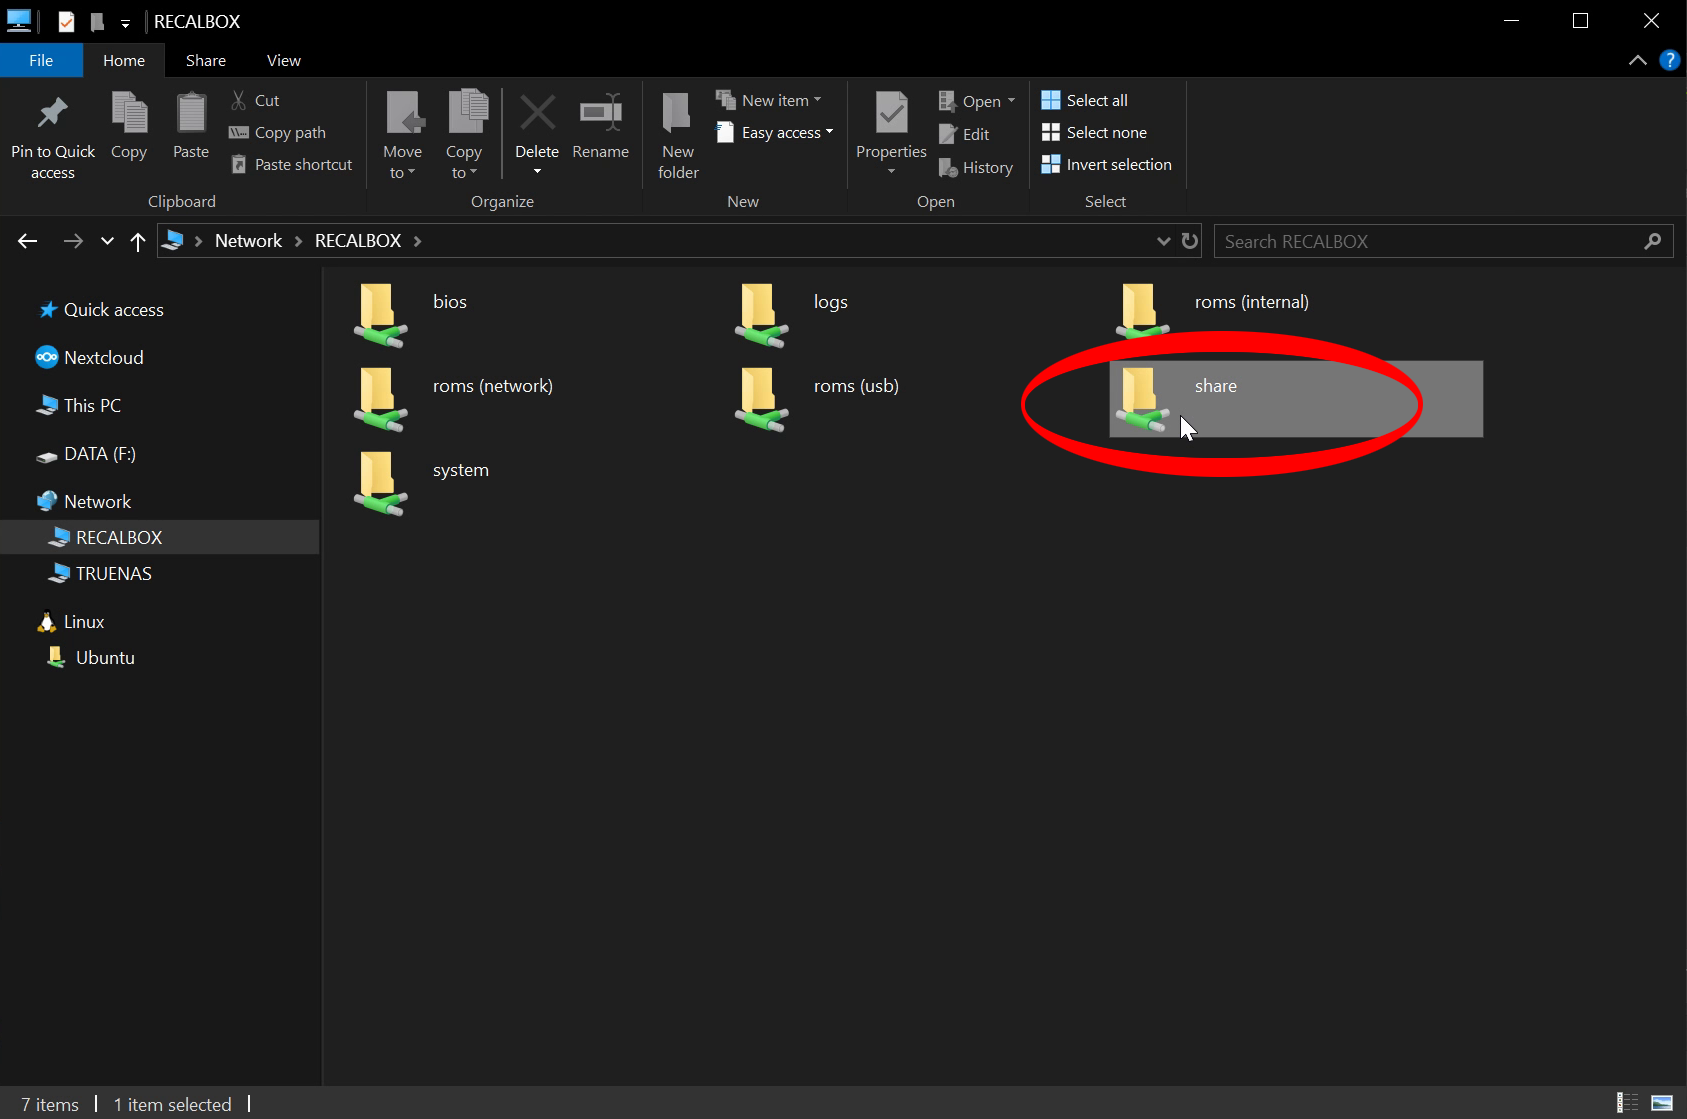
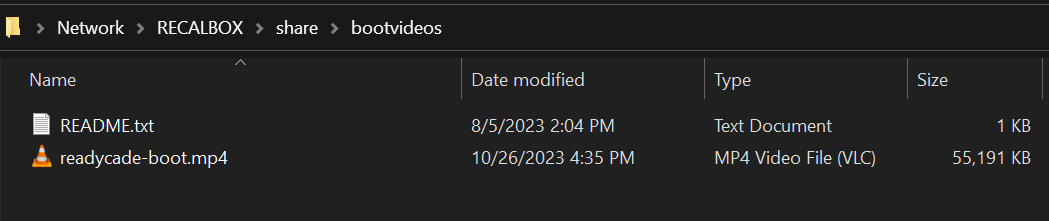
NAVIGATE to share\bootvideos
Drag and Drop whatever custom videos you would like to play at startup
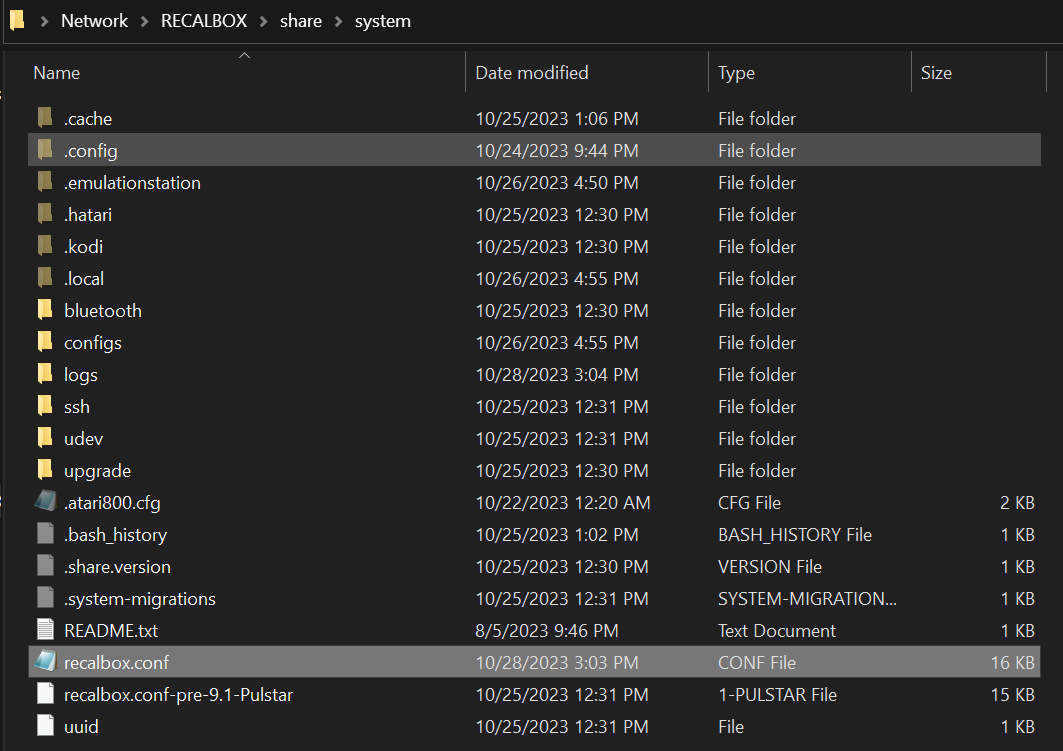
NAVIGATE to share\system\recalbox.conf
CHANGE the line system.splash.select=all to system.splash.select=custom
ALL bootvideos on your Readycade are 1920×1080 resolution
Can I use my own music instead? (Front-End)
Yes!
The method is almost identical to adding your boot videos as detailed above
The only difference being, you place the music files in the\share\music folder in shown below:
Adding, Removing, Modifying your Readycade
There are many ways to add files to your Readycade. Please see the offical Recalbox Wiki for a full list of details: https://wiki.recalbox.com/en/home
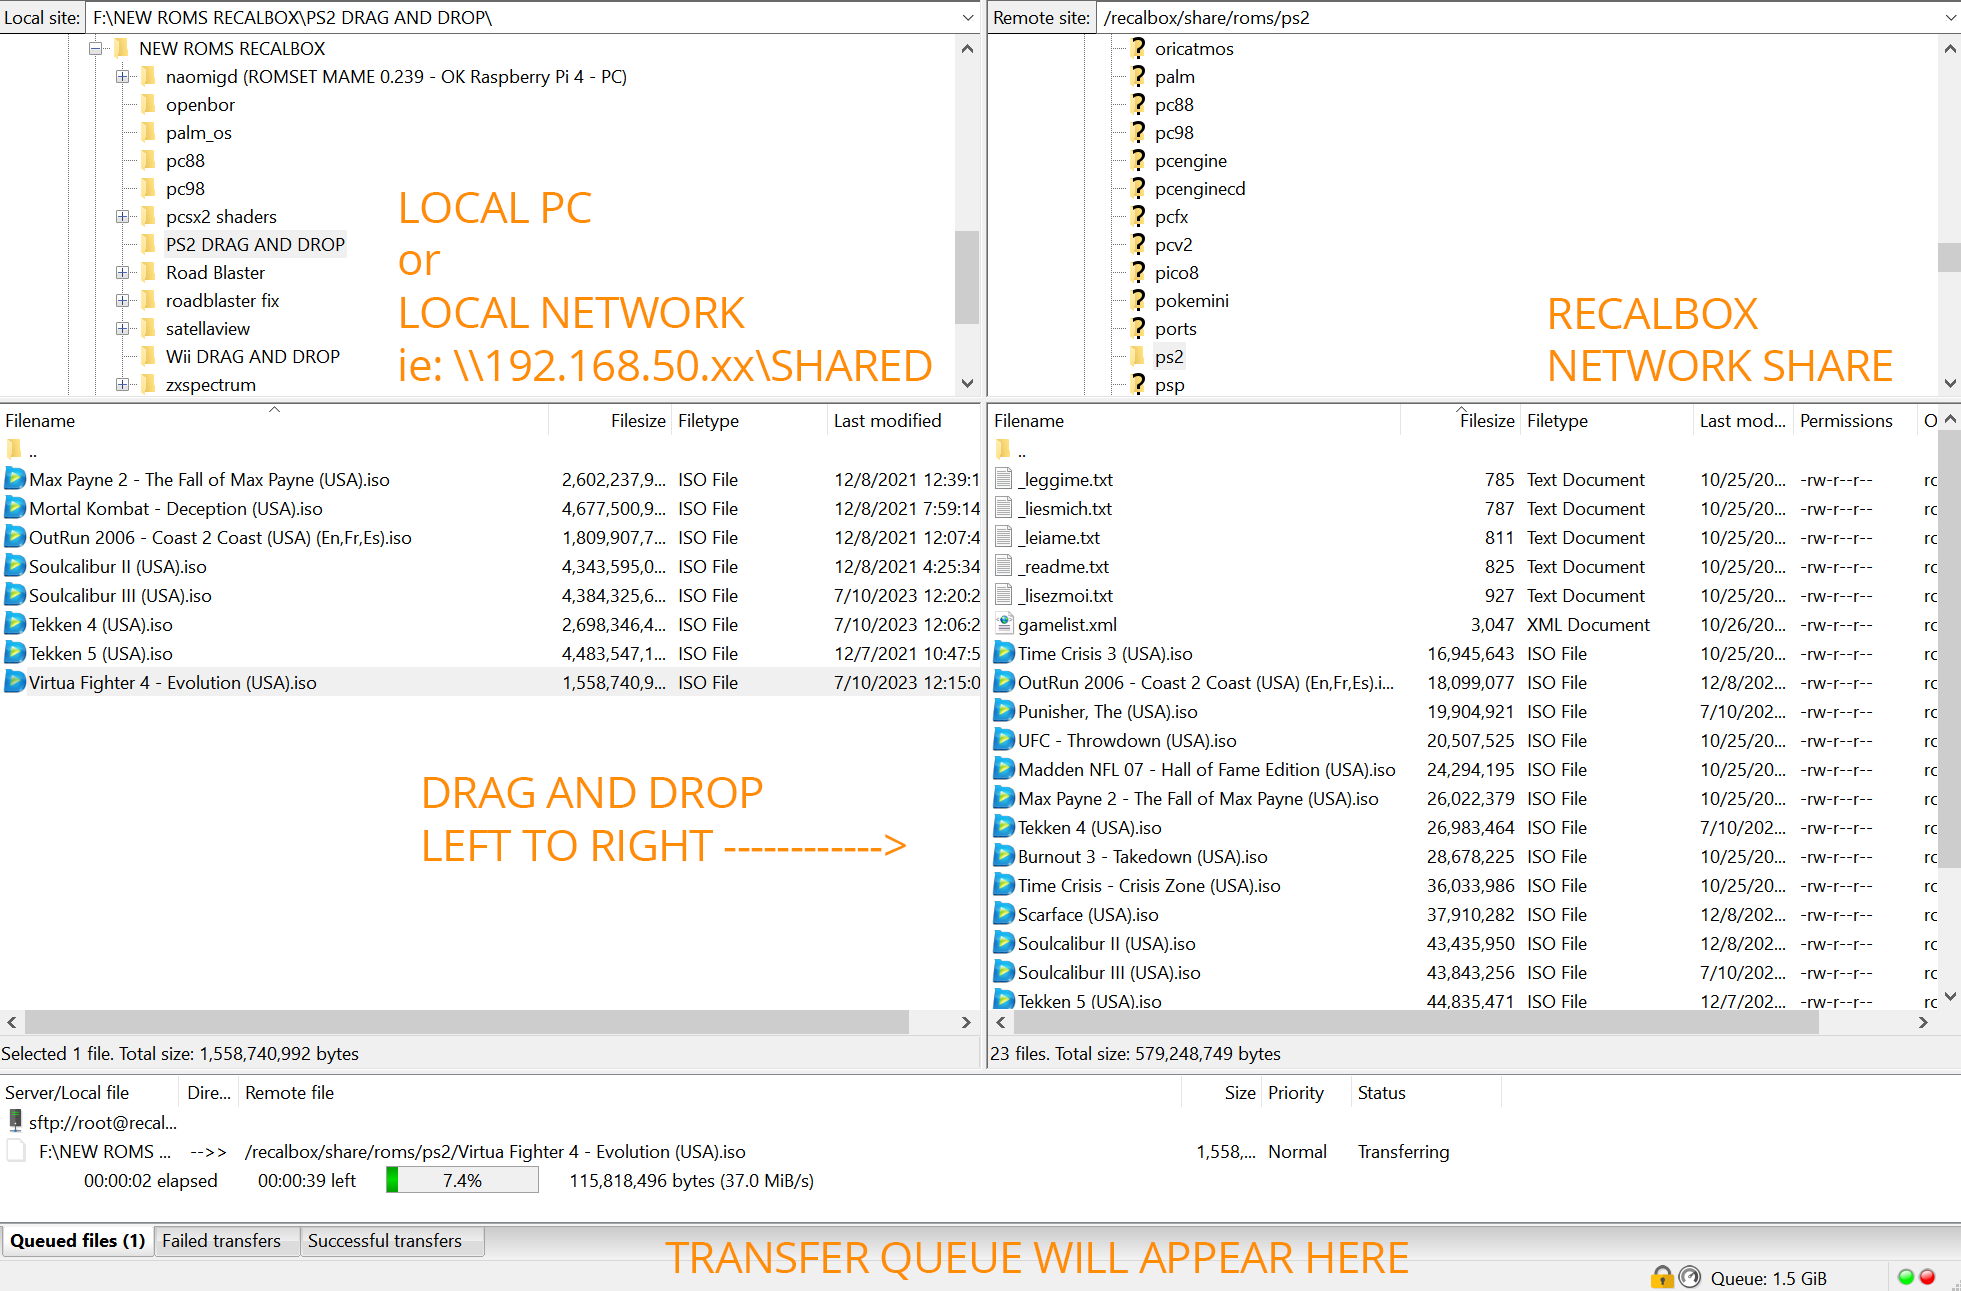
Drag and Drop (Network) Windows 10/11
1. Open Windows Explorer and type \\RECALBOX in the URL Bar and PRESS Enter
2. Navigate to share\roms\”console or system”
3. Drag and Drop your Roms into the appropriate directory
(This is the preferred method when uploading lots of files or files larger than 2GB in size)
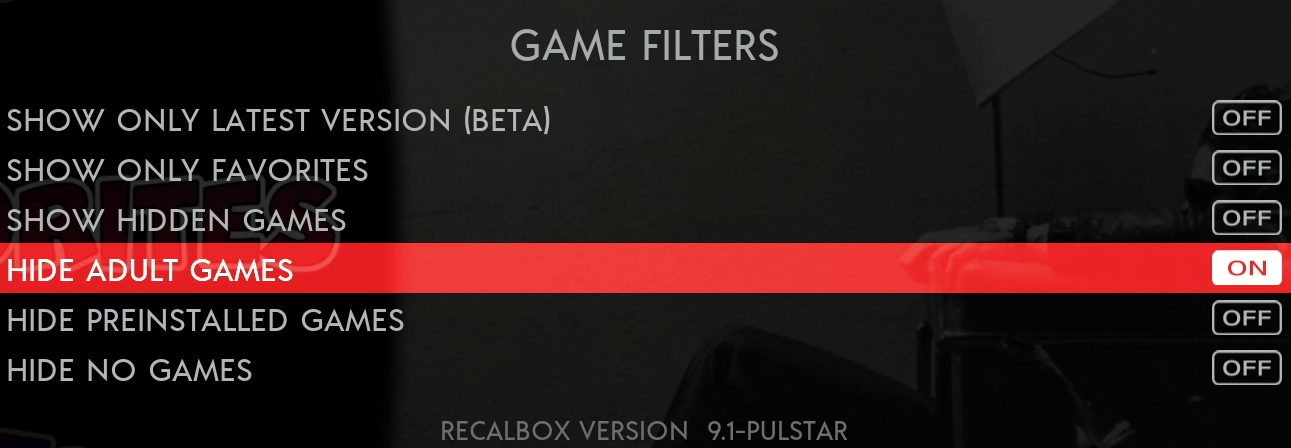
Show/Hide Adult / Hidden and Pre-Installed Games
PRESS Start and SELECT UI SETTINGS
SELECT GAME FILTERS
Ensure SHOW HIDDEN GAMES is OFF, and HIDE ADULT GAMES is OFF
Ensure HIDE PRE-INSTALLED GAMES is ON/OFF, and HIDE NO GAMES is ON/OFF
This means if you have scraped your games, the pre-installed ones wont mess up the look of your games.
If a system has no games for it, it won’t show up in the list.
It also stops any game that has somehow been flagged as an “adult” from not being visible in your games list
Only Show My Games
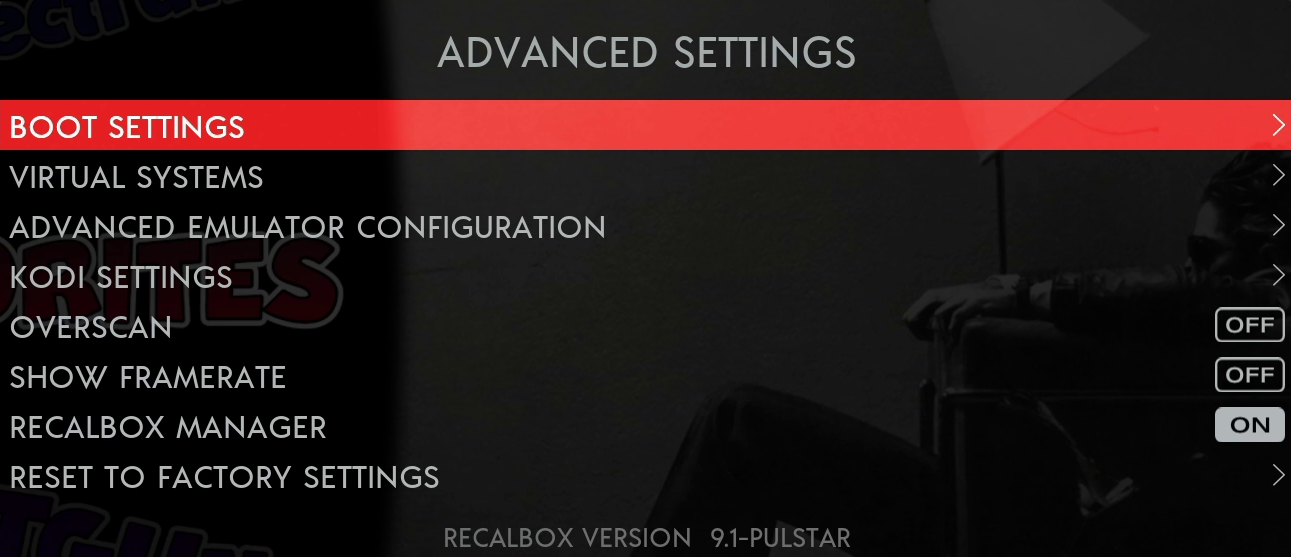
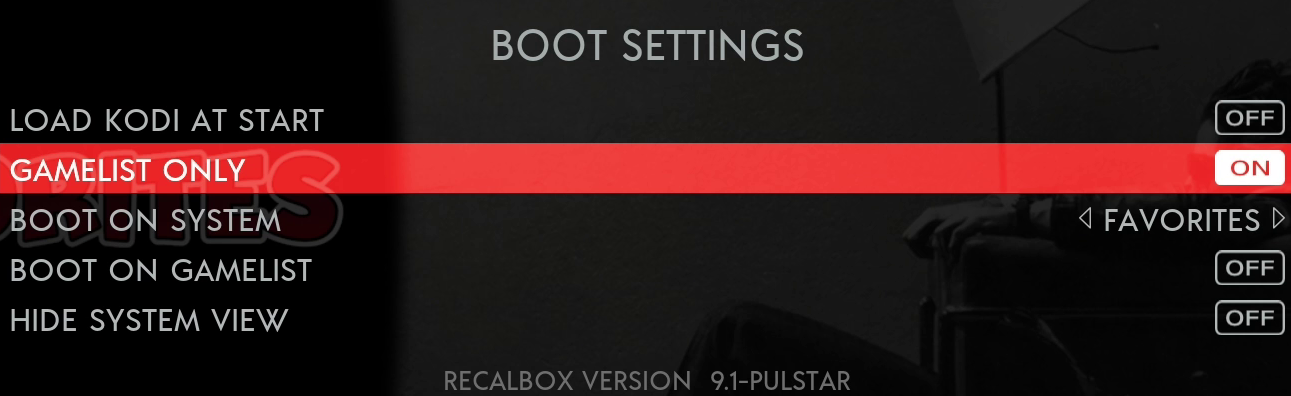
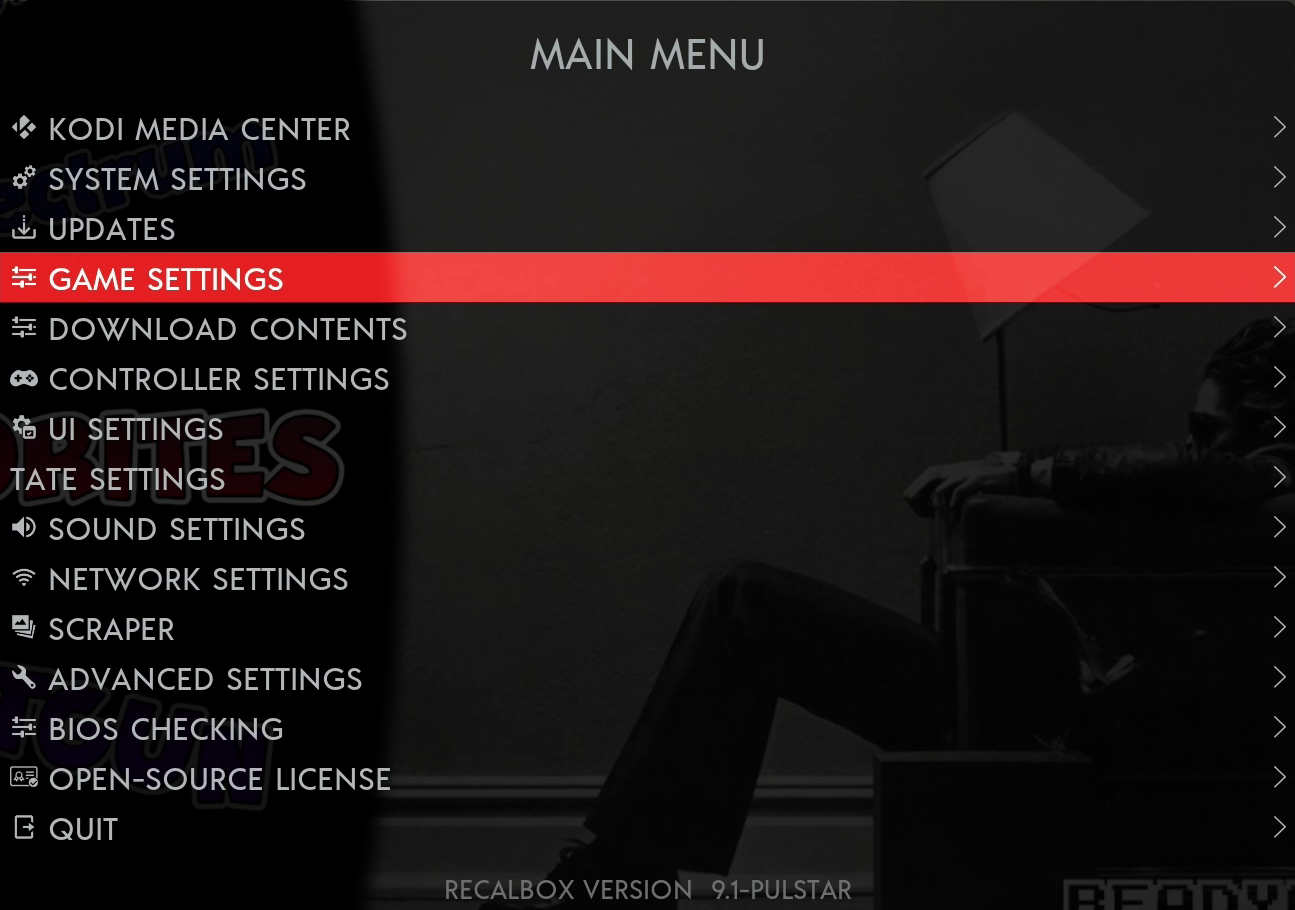
PRESS START and SELECT ADVANCED SETTINGS
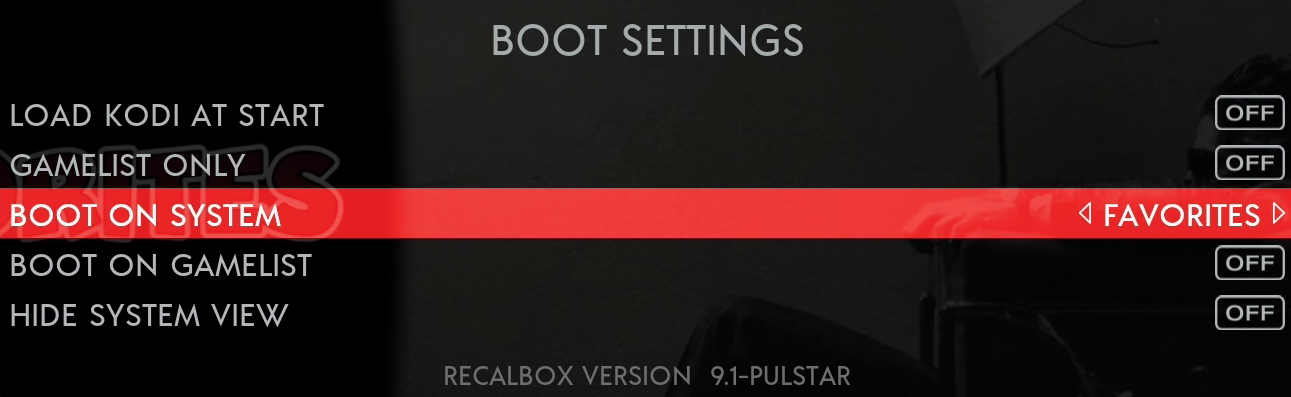
SELECT BOOT SETTINGS
At GAMELIST ONLY change to ON if you have scraped your games OUTSIDE of Recalbox, so only your games show.
*Will only display games if they are featured in the gameslist.xml*
If you are unsure please leave GAMELIST ONLY OFF
BOOT ON SYSTEM you can change to show your favorite system first.
*Saves time scrolling through all the consoles*
PRESS LEFT or RIGHT until you find it and make your selection
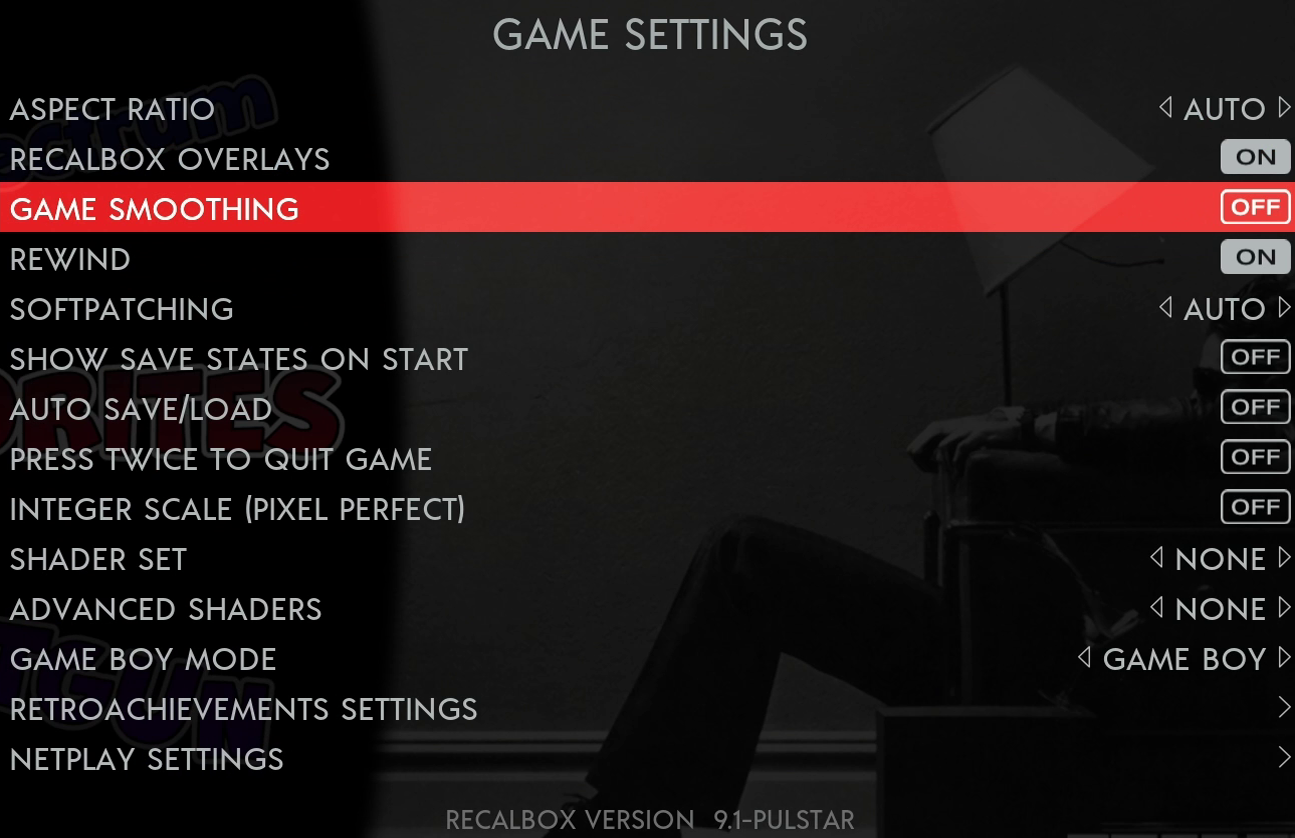
Game Smoothing / Sharp Pixels
Almost all the consoles emulated up until the Playstation are very low resolution, and on a large tv, the pixels can look very blocky.
Game Smoothing applies anti-aliasing to them, to smooth out the rough edges If you prefer the “jagged” look, feel free to leave this OFF.
PRESS START and SELECT GAME SETTINGS
SCROLL down to GAME SMOOTHING and turn it ON/OFF
REWIND ON is fine for Readycade
If you do notice slowdown in your game, try turning REWIND OFF
We STRONGLY recommend GAME SMOOTHING OFF
Clean Pixels is what it’s all about!
Sega Model 3 Fixes
The correct config files have never been completely implemented in Recalbox, so they need set manually for the non-working games to allow them to load
For any game that gives a black screen and a looping “cancelled” message, this is easy to resolve
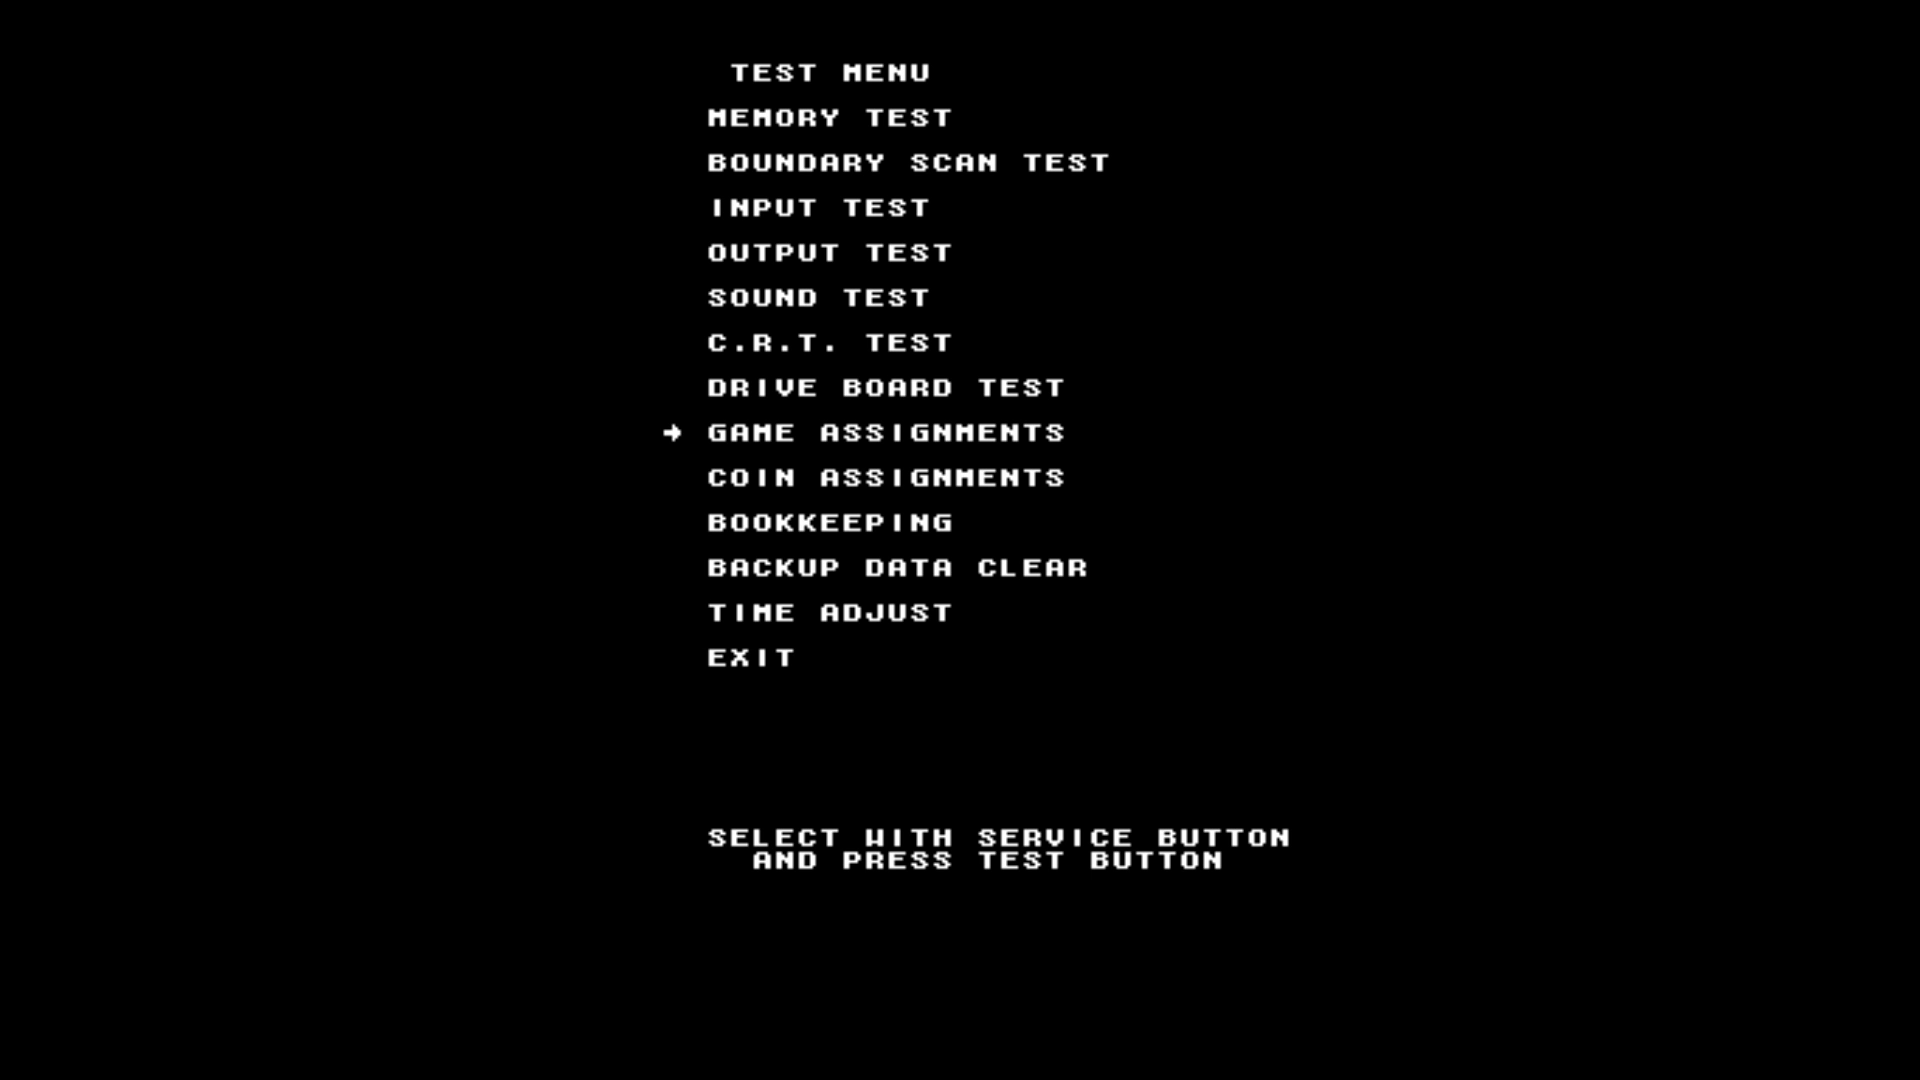
Reload the game, and when the screen goes black, PRESS L3 to get into the “TEST MENU”
Use R3 to move the cursor (Varies by game)
Use L3 to make SELECTIONS
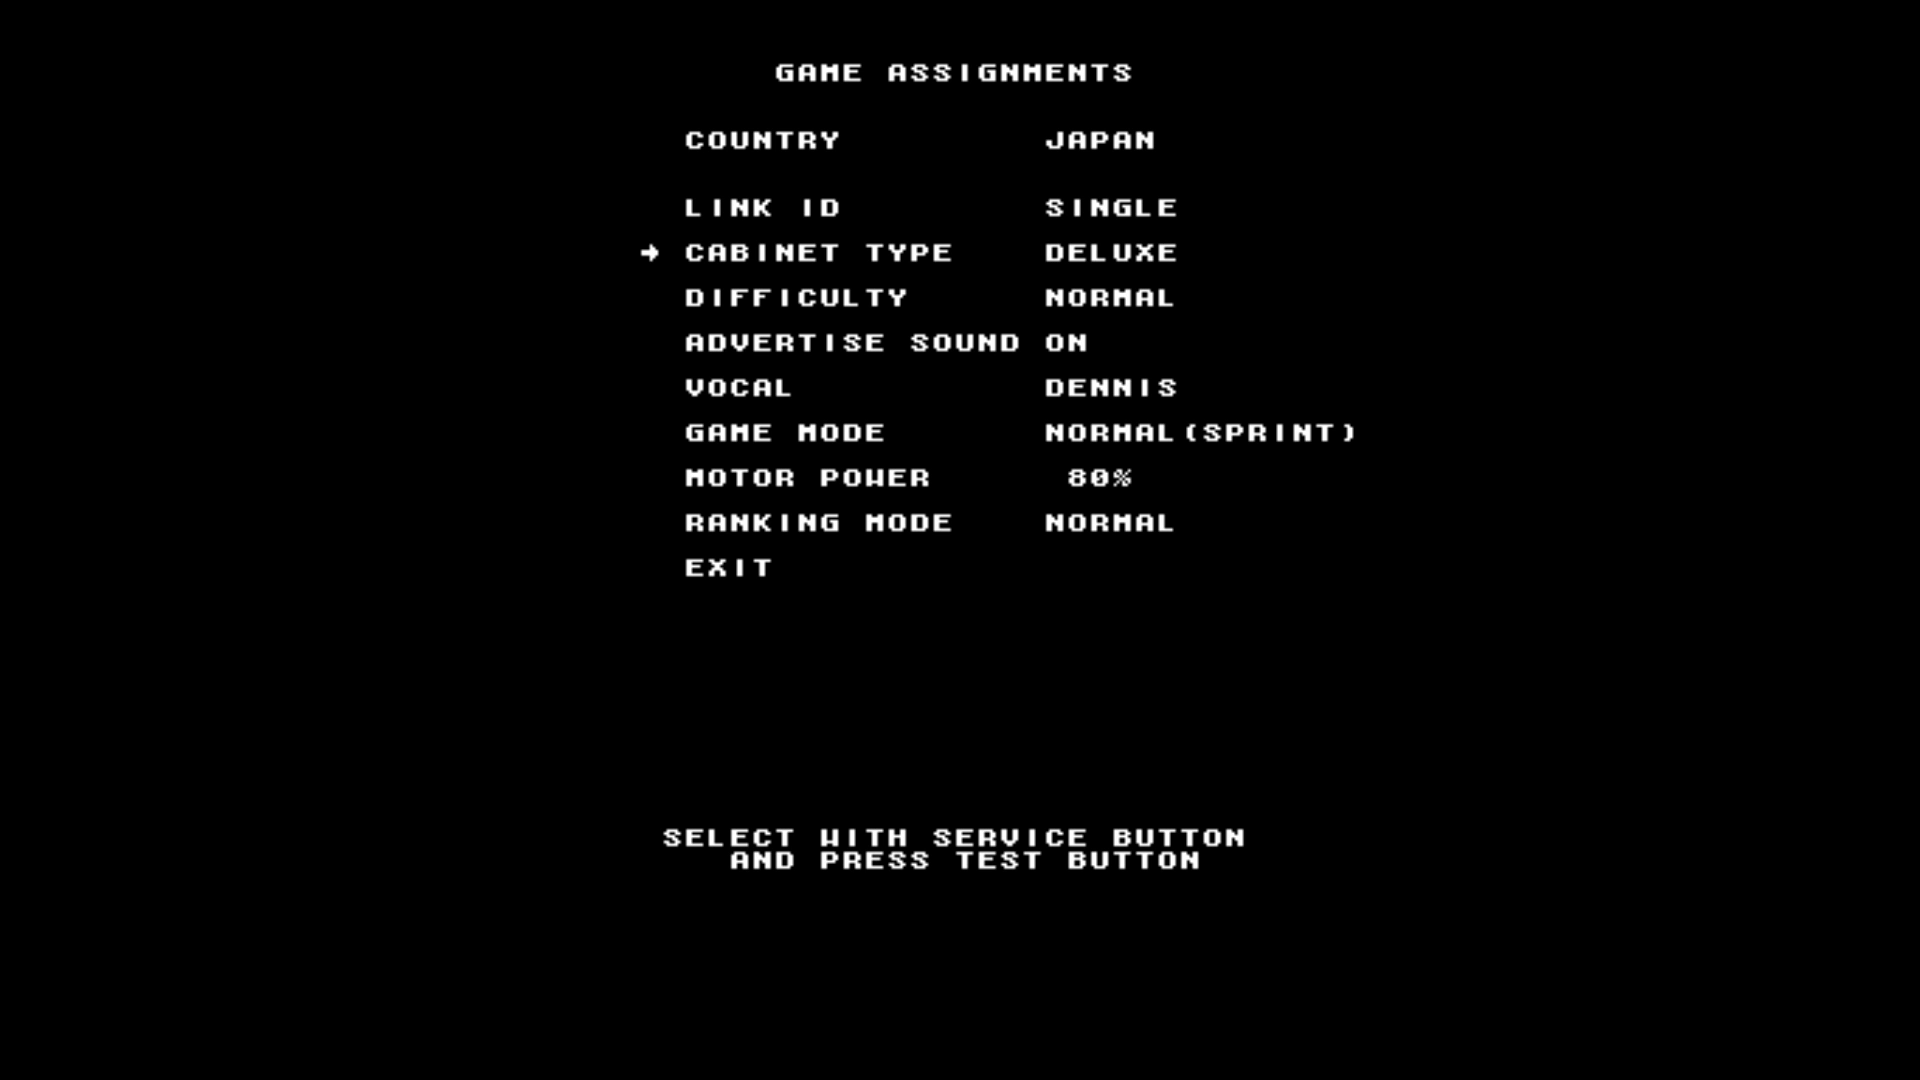
SELECT Game Assignments
Now go to “LINK ID” and change from “MASTER” to “SINGLE” by PRESSING R3
CHANGE Cabinet Type from Twin to Deluxe (Varies by game)
This is why all games with this message do not load – they come from a twin arcade cabinet setup, and as a result, the game is looking for the 2nd cabinet via the link, so we change the machine back to being a single player cab
You can also see DIFFICULTY – by using the same buttons, you can change this to anything you want!
Other interesting settings can also be found, ie: in some Japanese games, you can change COUNTRY from “Japan” to “USA”
Also, the Voice Over option can be changed, ie:, change from everything being spoken in Japanese to American.
To change this, select VOCAL, and see what voices are available
Finally, SELECT EXIT, then SELECT TEST MENU, again SELECT EXIT
The game will now load – just do this with all games that you have this issue with
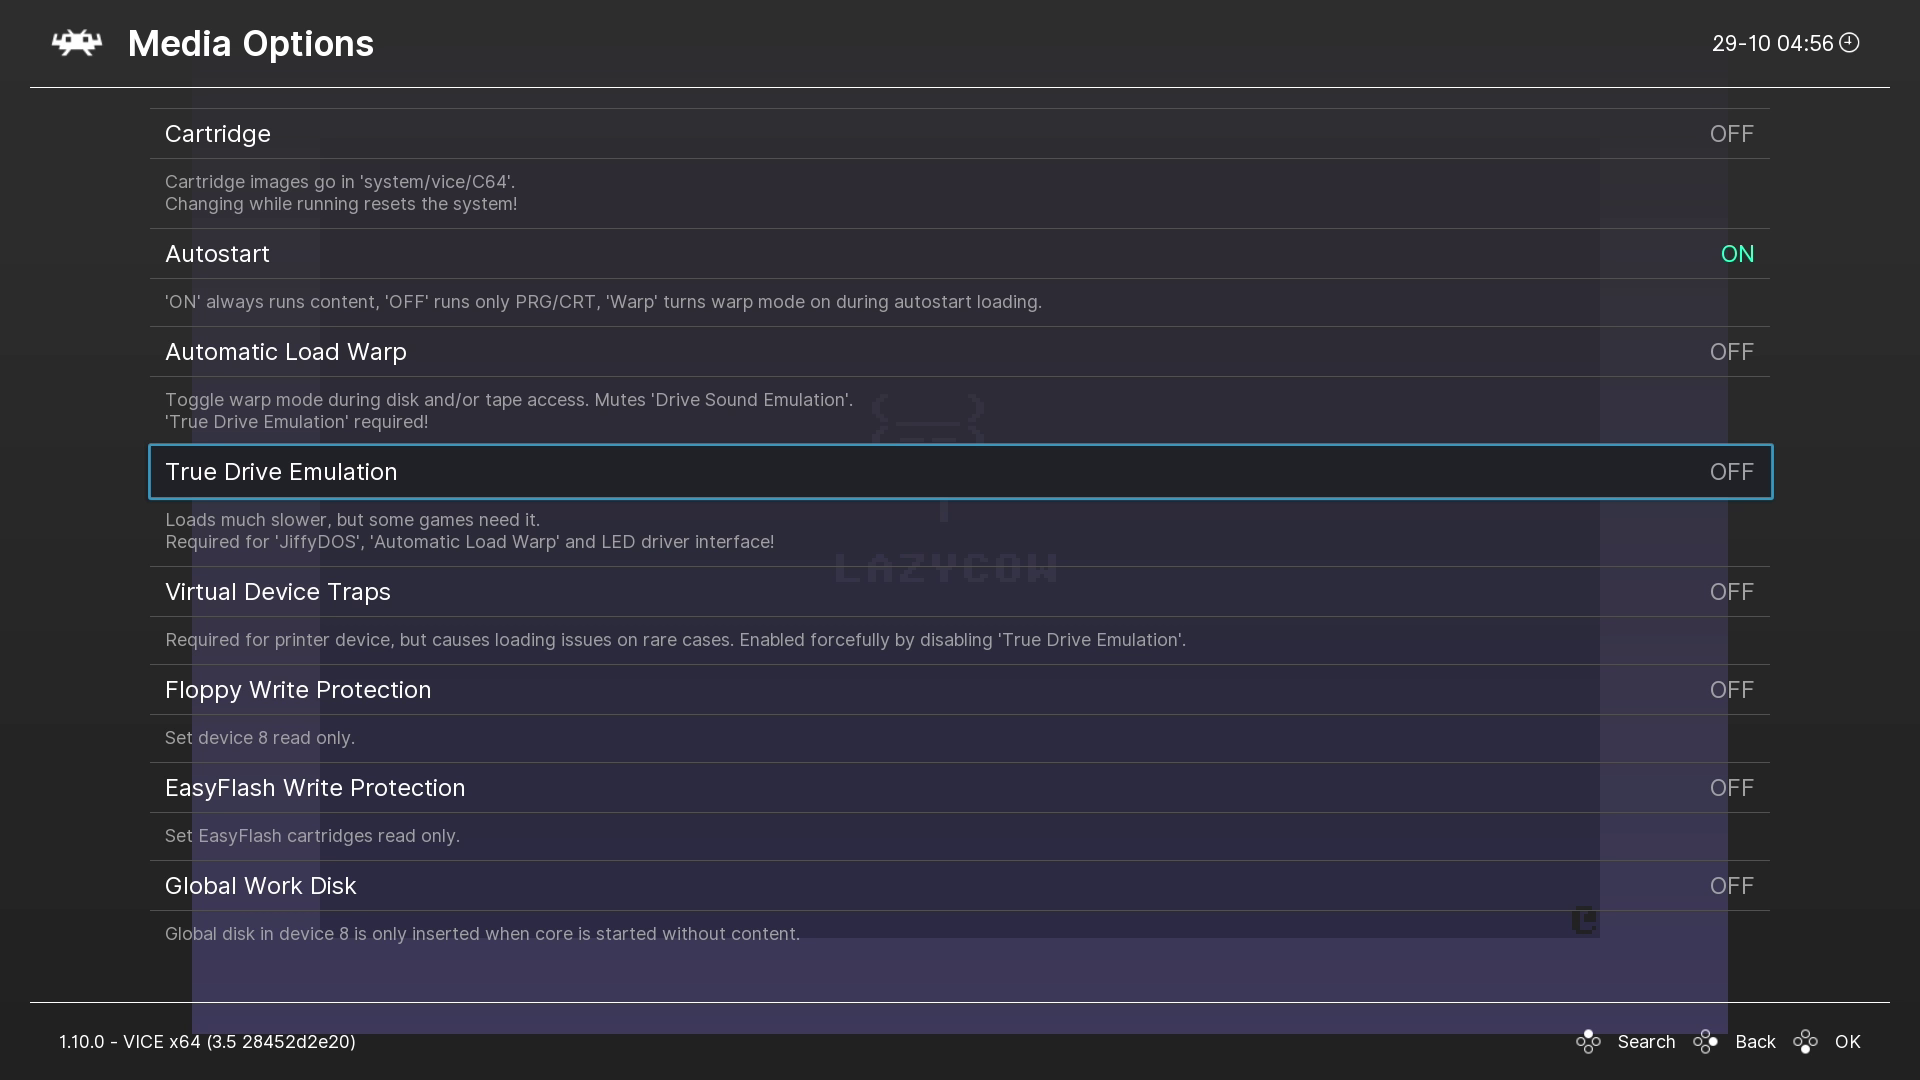
How to speed up C64 loading times, and fix audio issues?
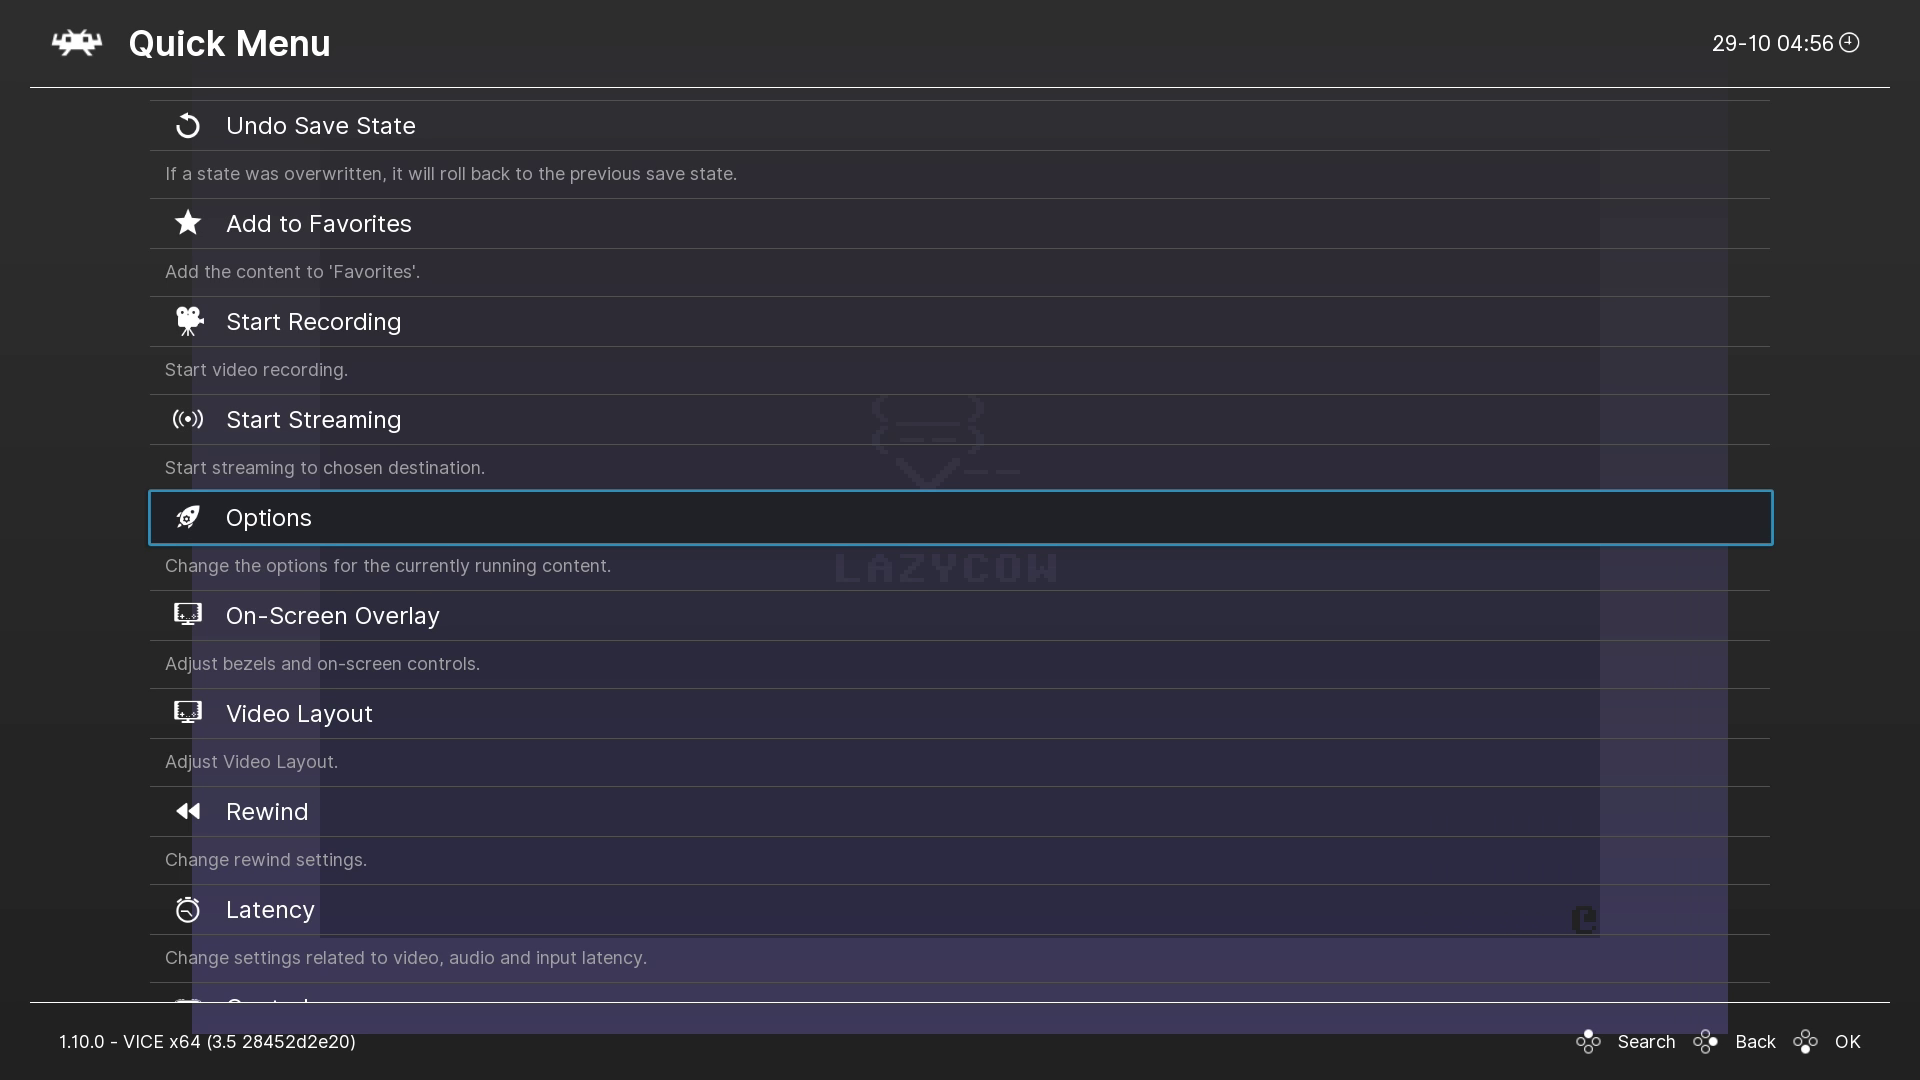
LOAD any Commodore 64 game, then PRESS (Hotkey+B) or (Hotkey+A) to enter Retroarch Options
SCROLL down to Options
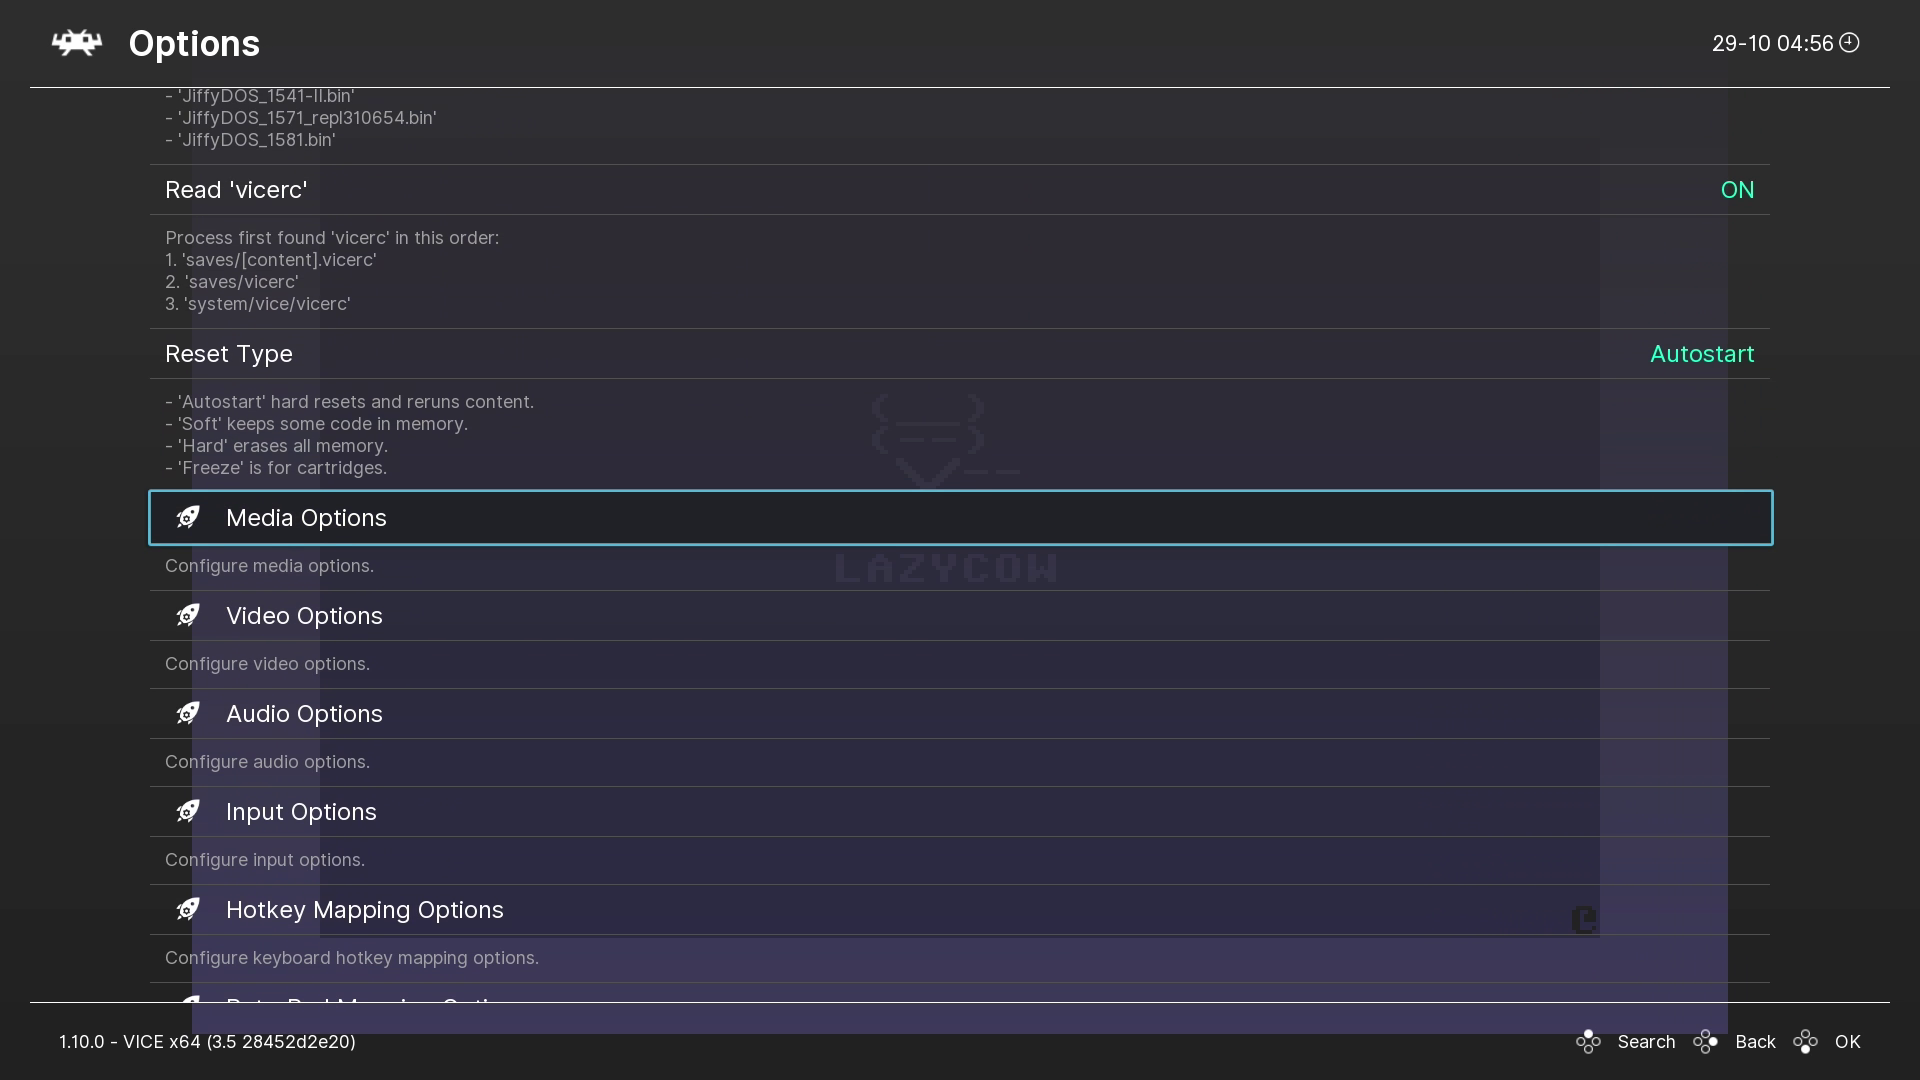
SELECT Media Options
SCROLL down to True Drive Emulation and change this to OFF
GO BACK to Options
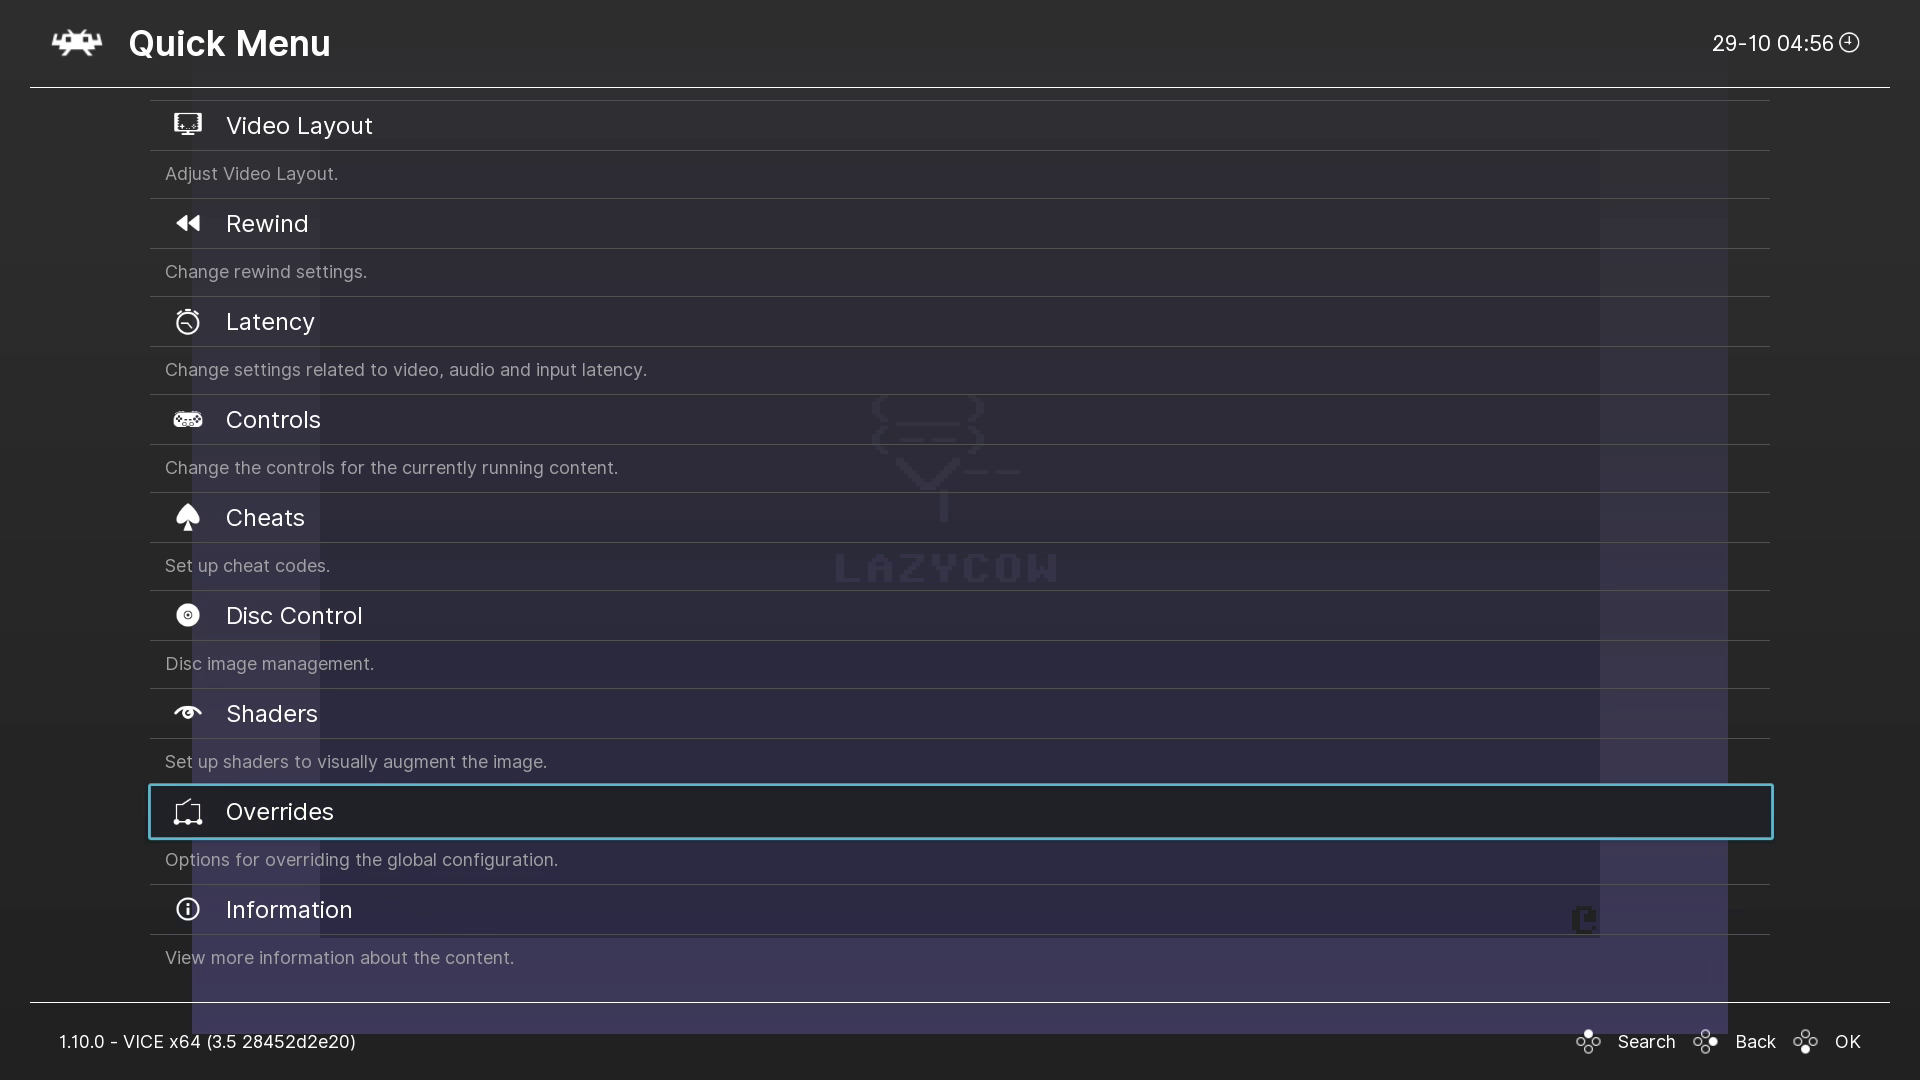
SCROLL down to Overrides
Save Core Overrides
Finally EXIT the emulator (Hotkey + Start)
This will make the changes to the C64, VIC20, Plus4, and C16 games, as they all use the same core
Why is this needed?
The author of the Vice emulator made the disk and tape games load at the speed they would load on real hardware for maximum compatibility, however, this meant that the VIC20, C64, Plus4 and C16 games could take minutes to load – several minutes
However, it is easy to change this. The author says some games may not load, but I have not come across any issues, and if you do, simply change it back for that game
How much faster do the games load?
Example game, Dynamite Dan disk version: Loading time: 120 seconds, “True Drive Emulation” off: 7 seconds!
How to fix crackling audio in the games, or, make them sound better:
Some PC’s have issues with the default SID chip emulation used, but even if you do not, as long as you do not have a really old and slow PC, you can improve the audio emulation to make it much more accurate
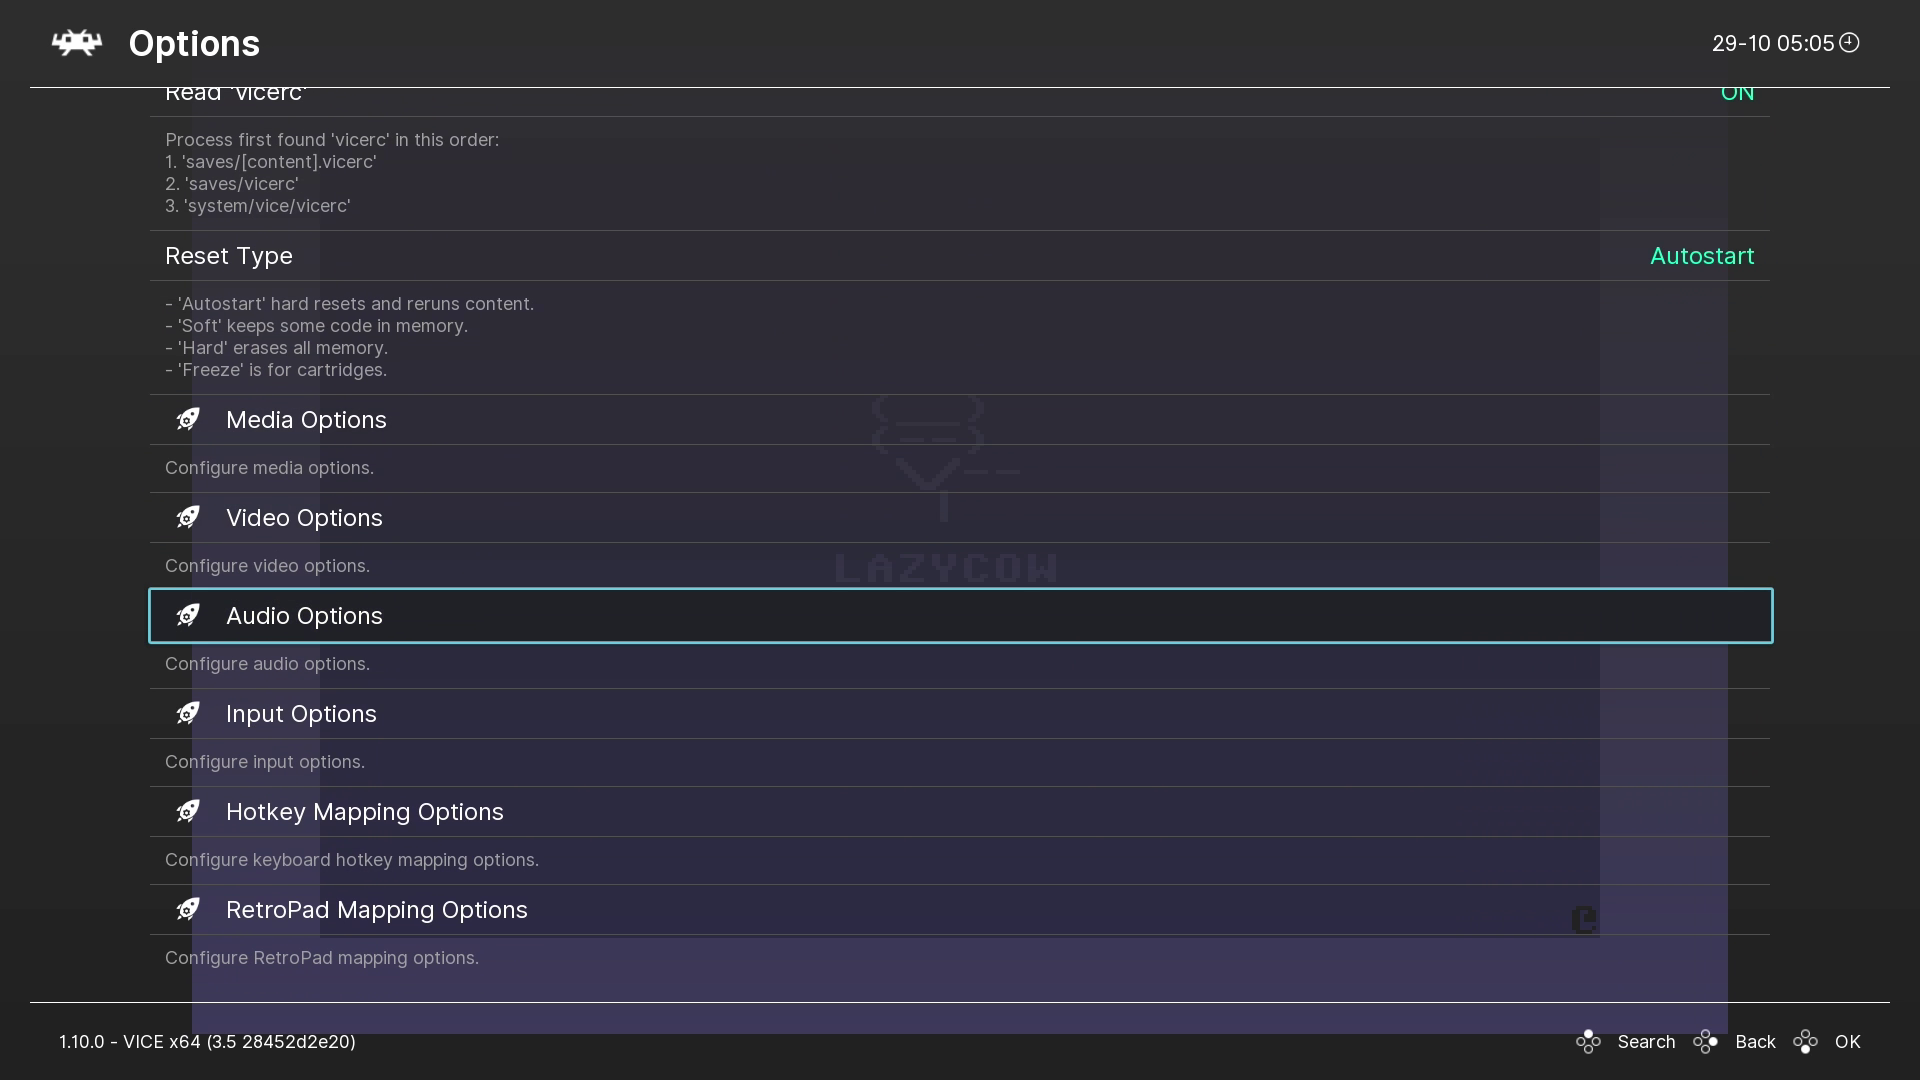
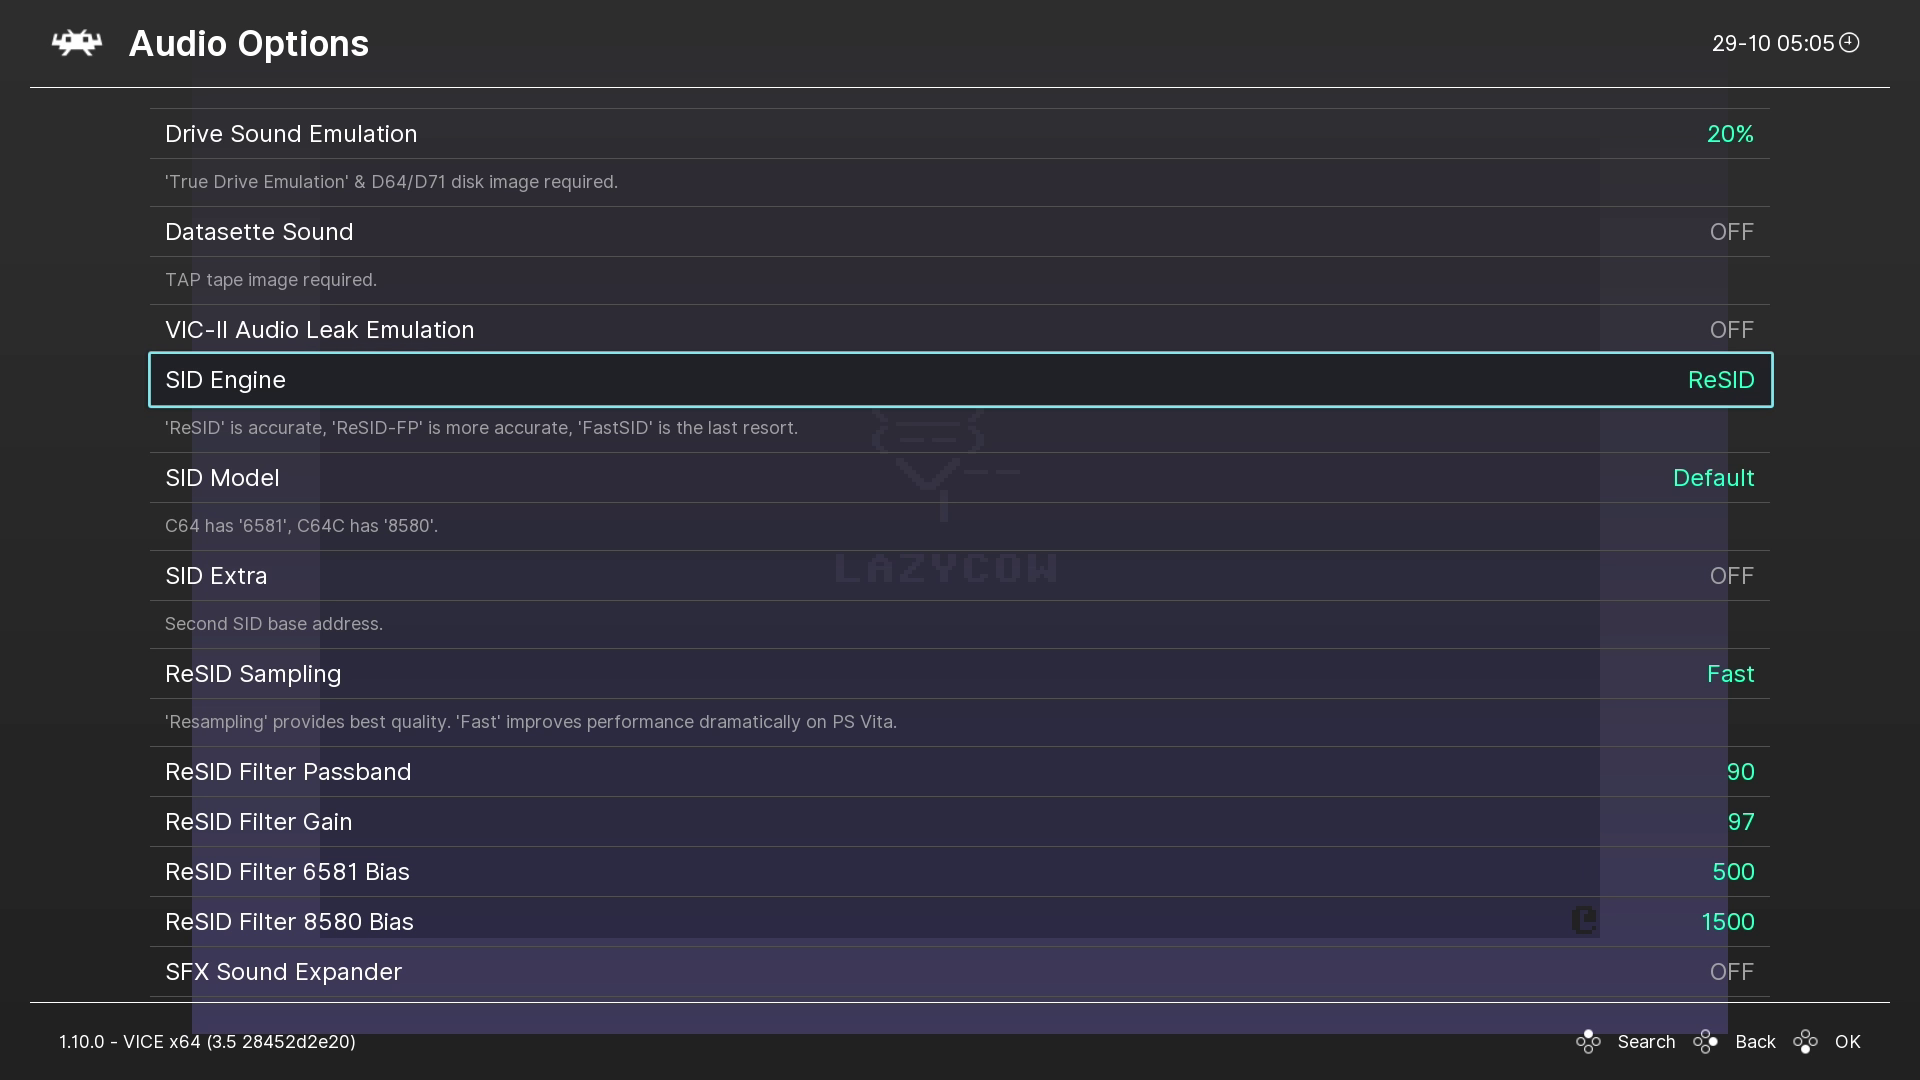
LOAD any C64 game, then PRESS (Hotkey+A) or (Hotkey+B) to enter the Retroarch options
SCROLL down to Options
SELECT Audio Options
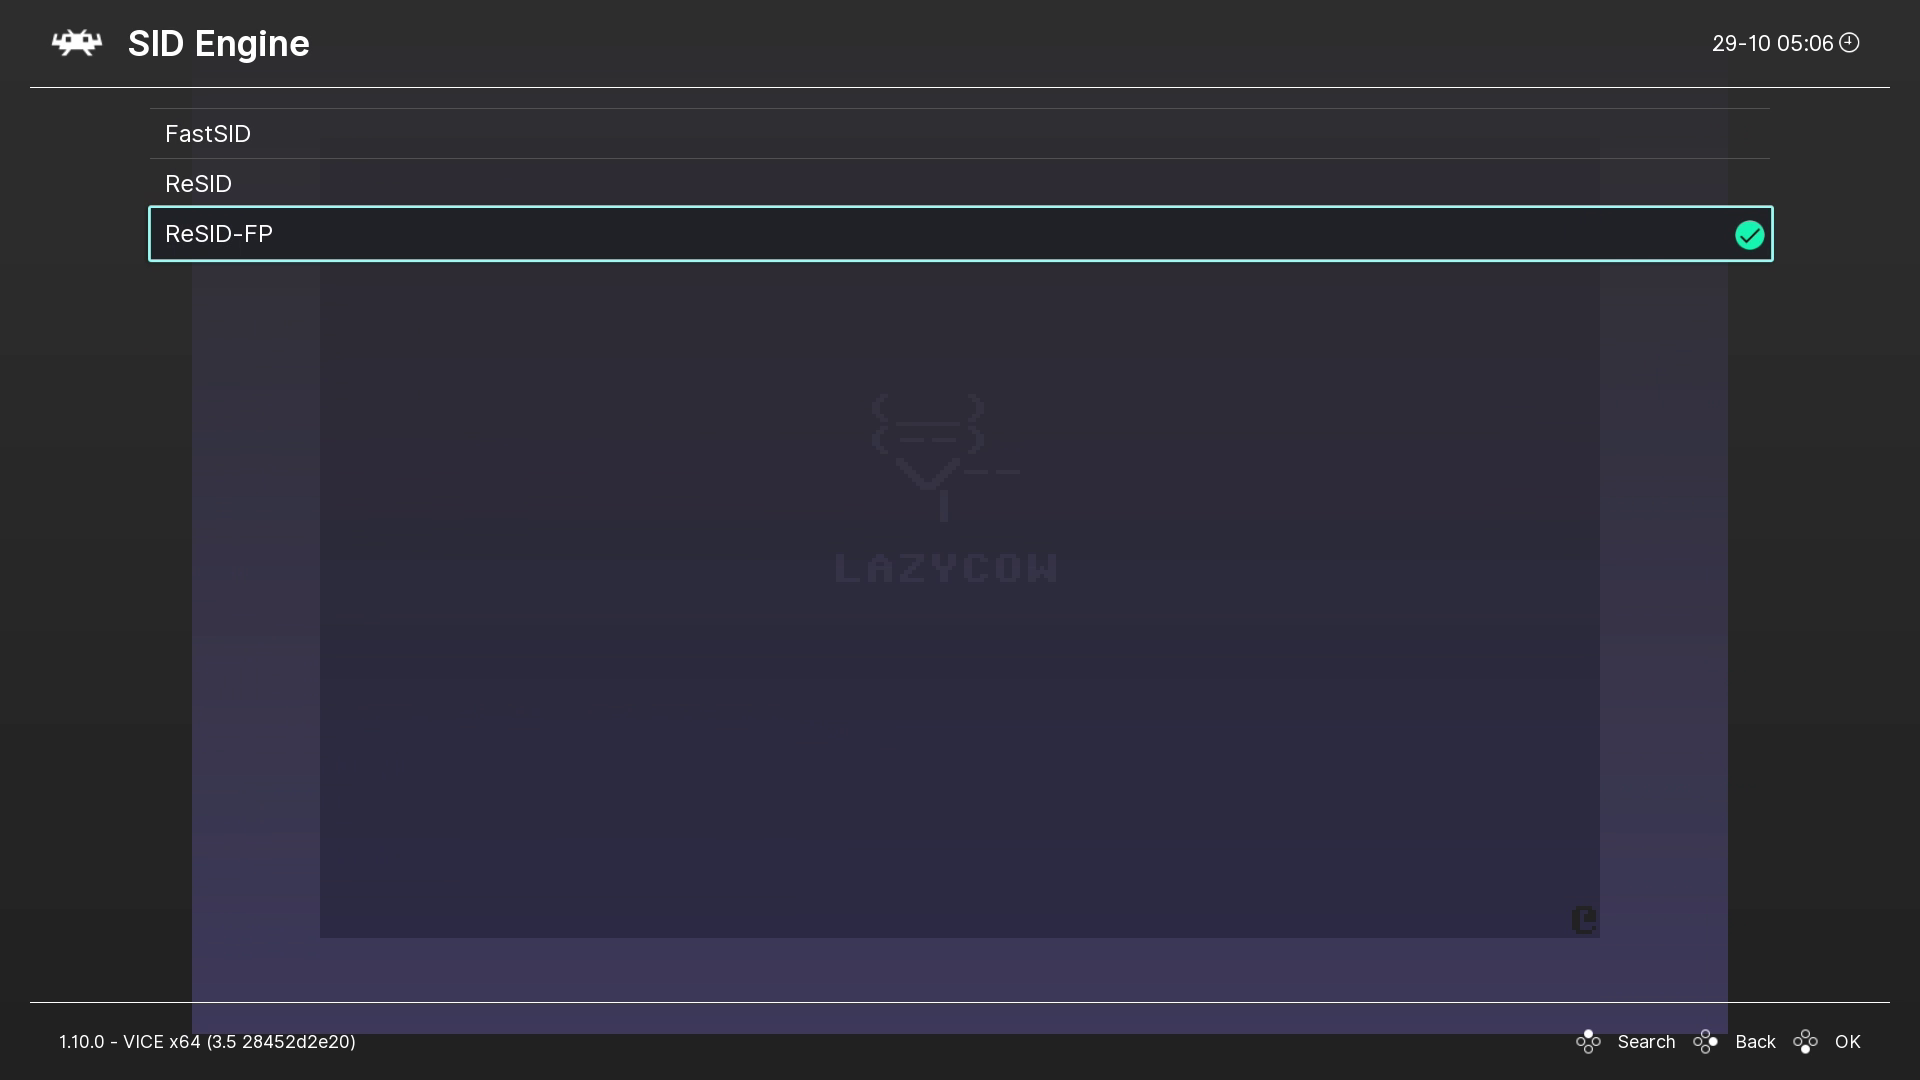
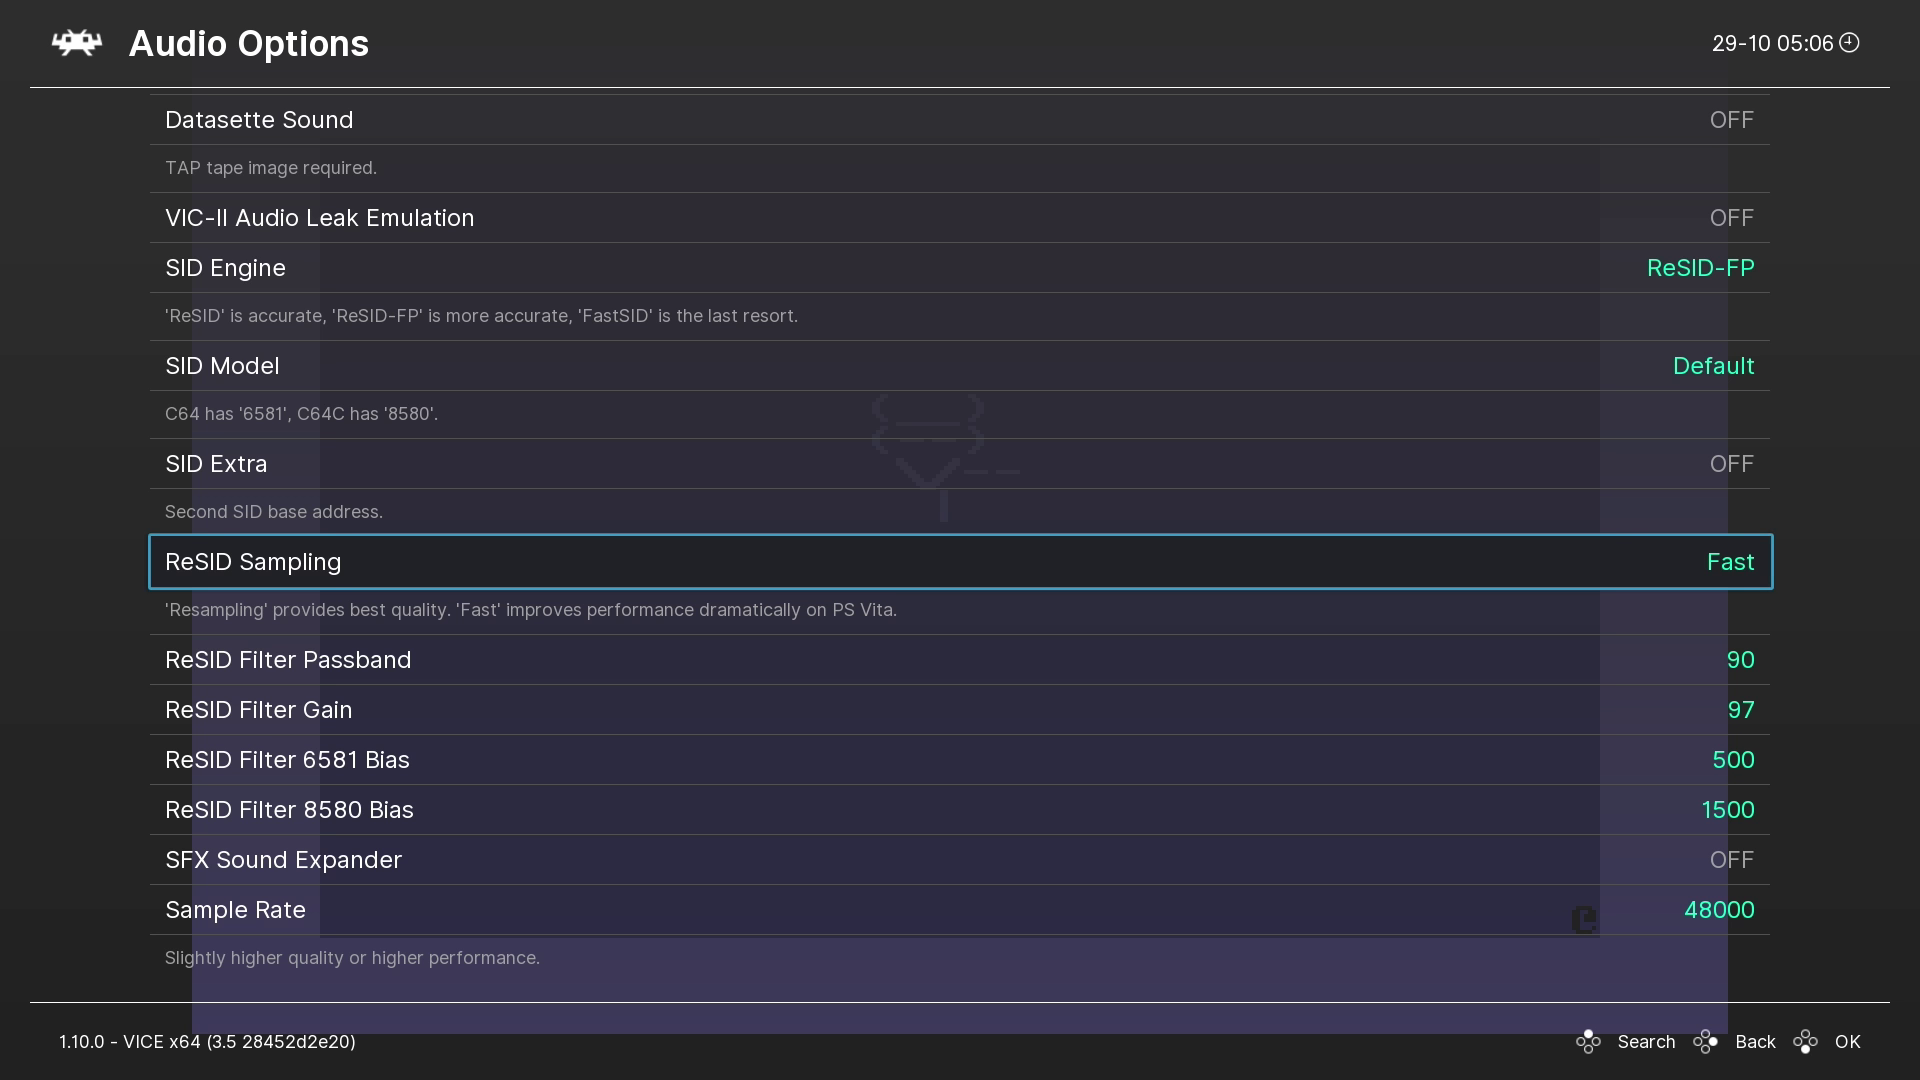
SELECT SID Engine, and change to ReSID-FP
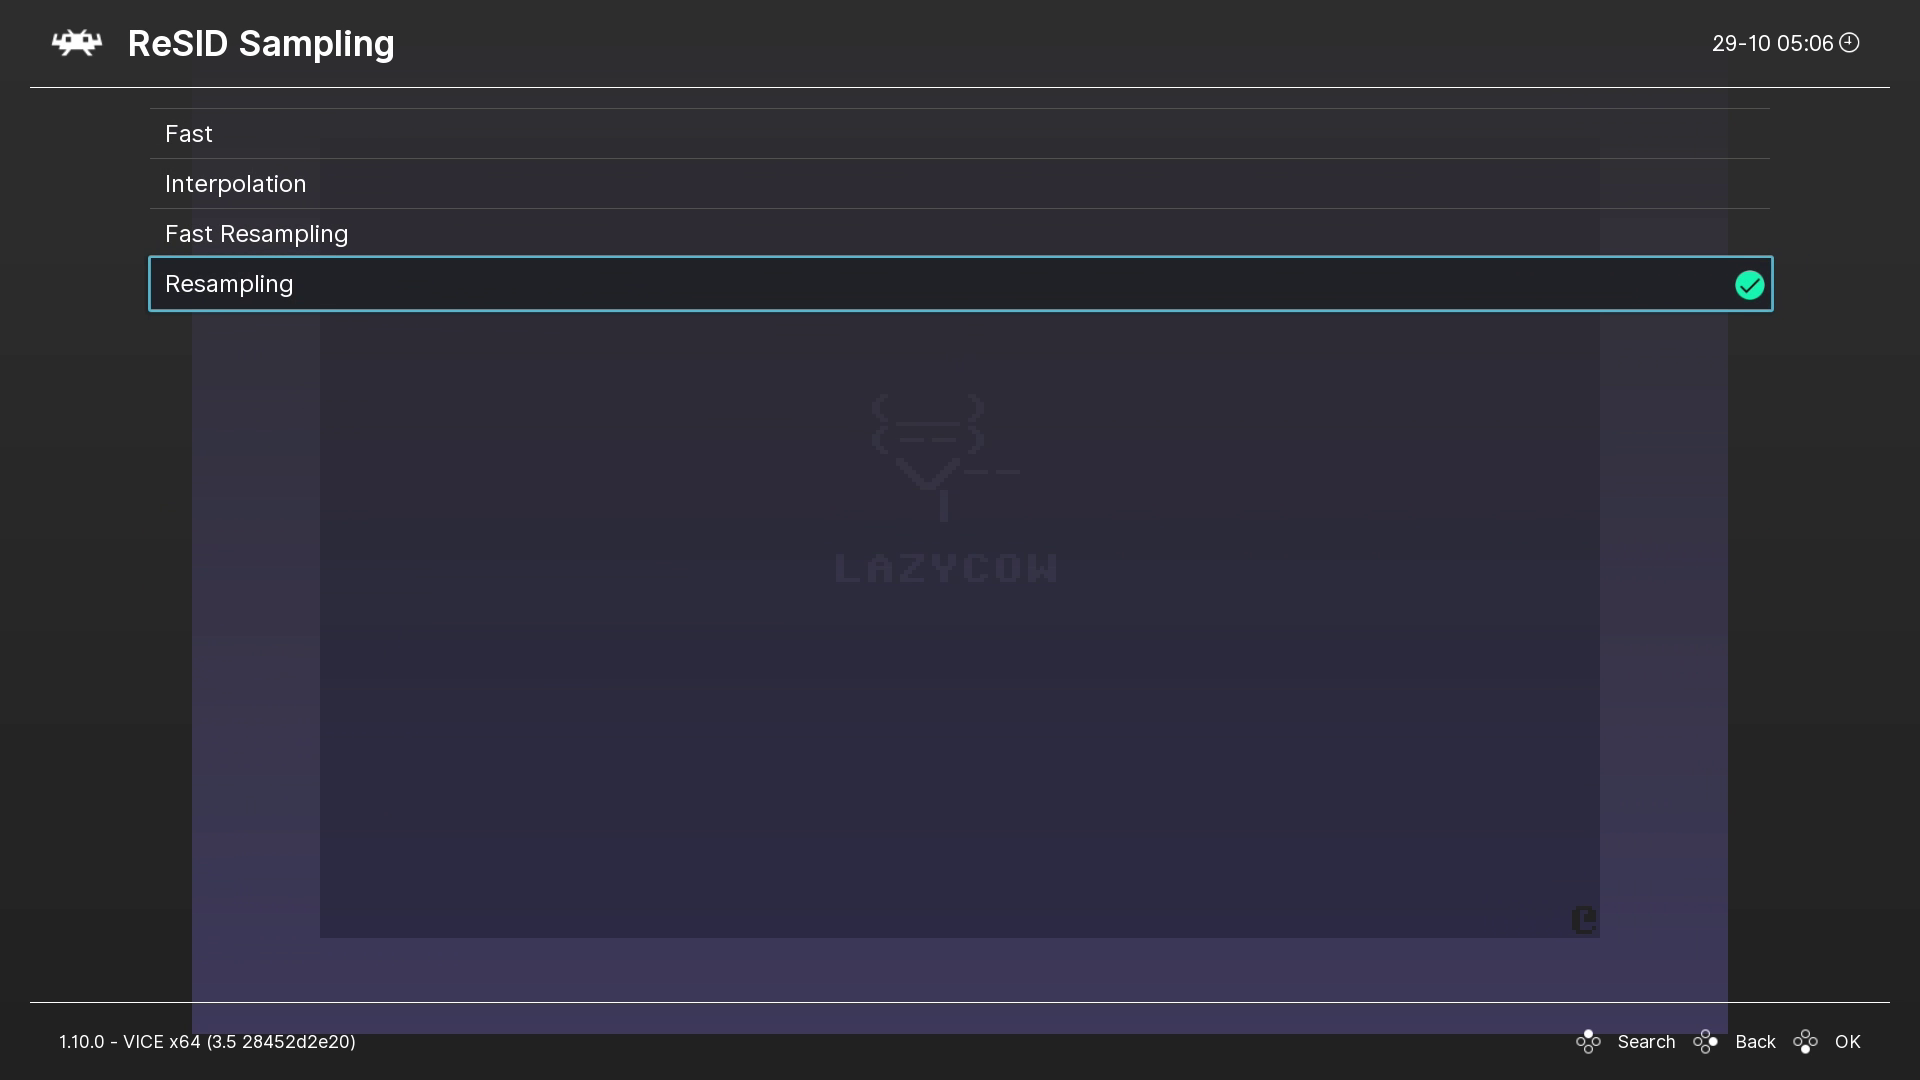
GO BACK and CHANGE “ReSID Sampling” to “Resampling”
GO BACK to the Quick Menu, and SELECT Overrides
Save Core Overrides
EXIT the Emulator (Hotkey+Start)
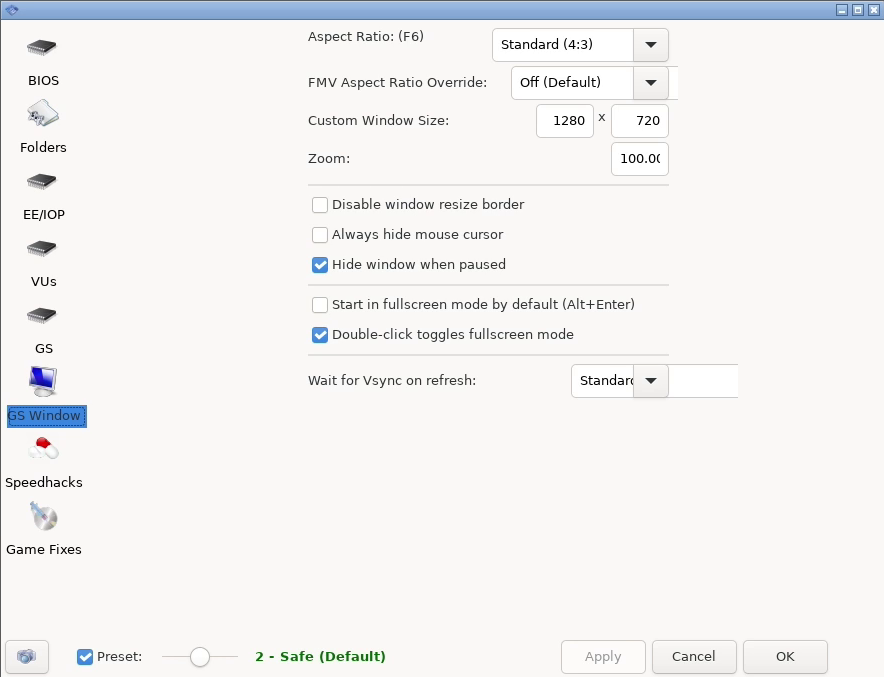
Playstation 2 Namco Graphical Fixes
These Steps have been already made for your Readycade
The following is just for educational purposes or you stray from the default setup
LOAD any Playstation 2 game, then press ESC or ALT+F4 on your Keyboard to enter the PCSX2 Emulator Options
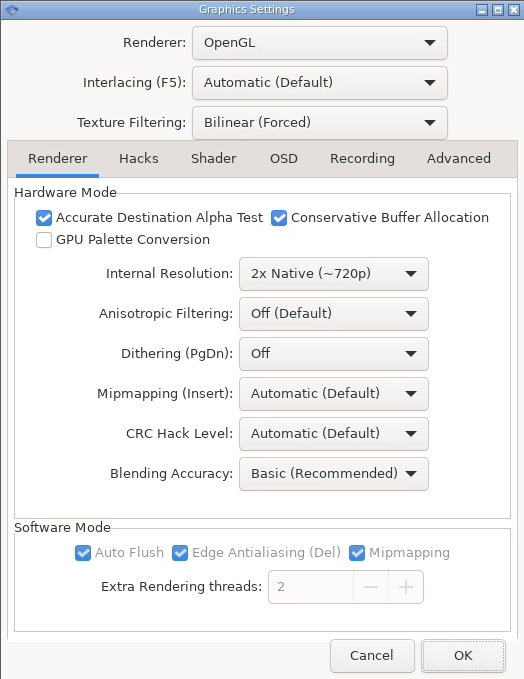
Use the mouse to CLICK on Config
Use the mouse CLICK on Graphics Settings
CHANGE Internal Resolution to 2x Native (~720p)
You can try 3x Native (~1080p) if your PC is fast enough and you have set your Recalbox to 1080p via the line in the recalbox.conf file, ie: the “system.externalscreen.forceresolution=1280×720” that you may have as =1920×1080
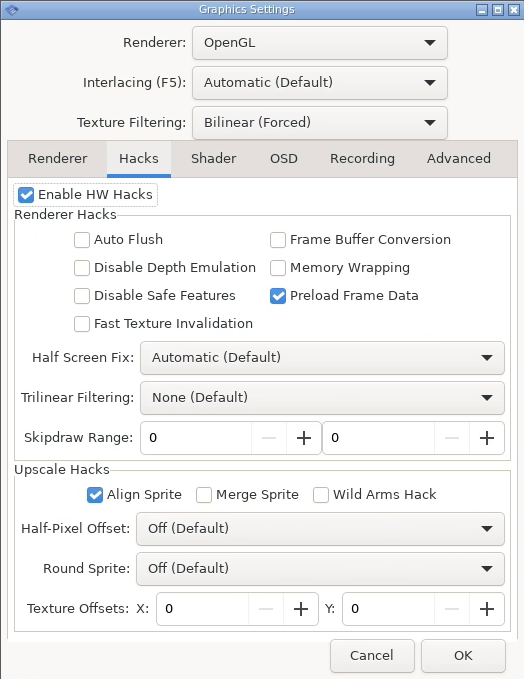
Next, in that same Graphics Settings box, CLICK on Hacks, then TICK the BOX immediately below, called Enable HW Hacks, and TICK the Align Sprite box, then CLICK OK at the bottom
This fixes the graphical vertical lines glitch in every Namco game, that appears if you increase the render resolution
GO BACK and CLICK on Config and SELECT General Settings
CHANGE Aspect Ratio to “Widescreen (16:9)” if it isn’t already set to that, and CHANGE the bottom option, “Wait for Vsync on refresh” to “Standard”, then CLICK on “Apply” then “OK”.
This gets rid of all the graphical “tearing” you will probably have seen on most of your PS2 games
That’s it!
Now CLICK on “System” at the top left of screen, then “Exit”.
Things to keep in mind: Although the PS2 is now in widescreen, it is stretching a 4:3 image. A lot of games however have a true widescreen option buried in their menu / settings – select that if the game has one.